New materials, old ideas

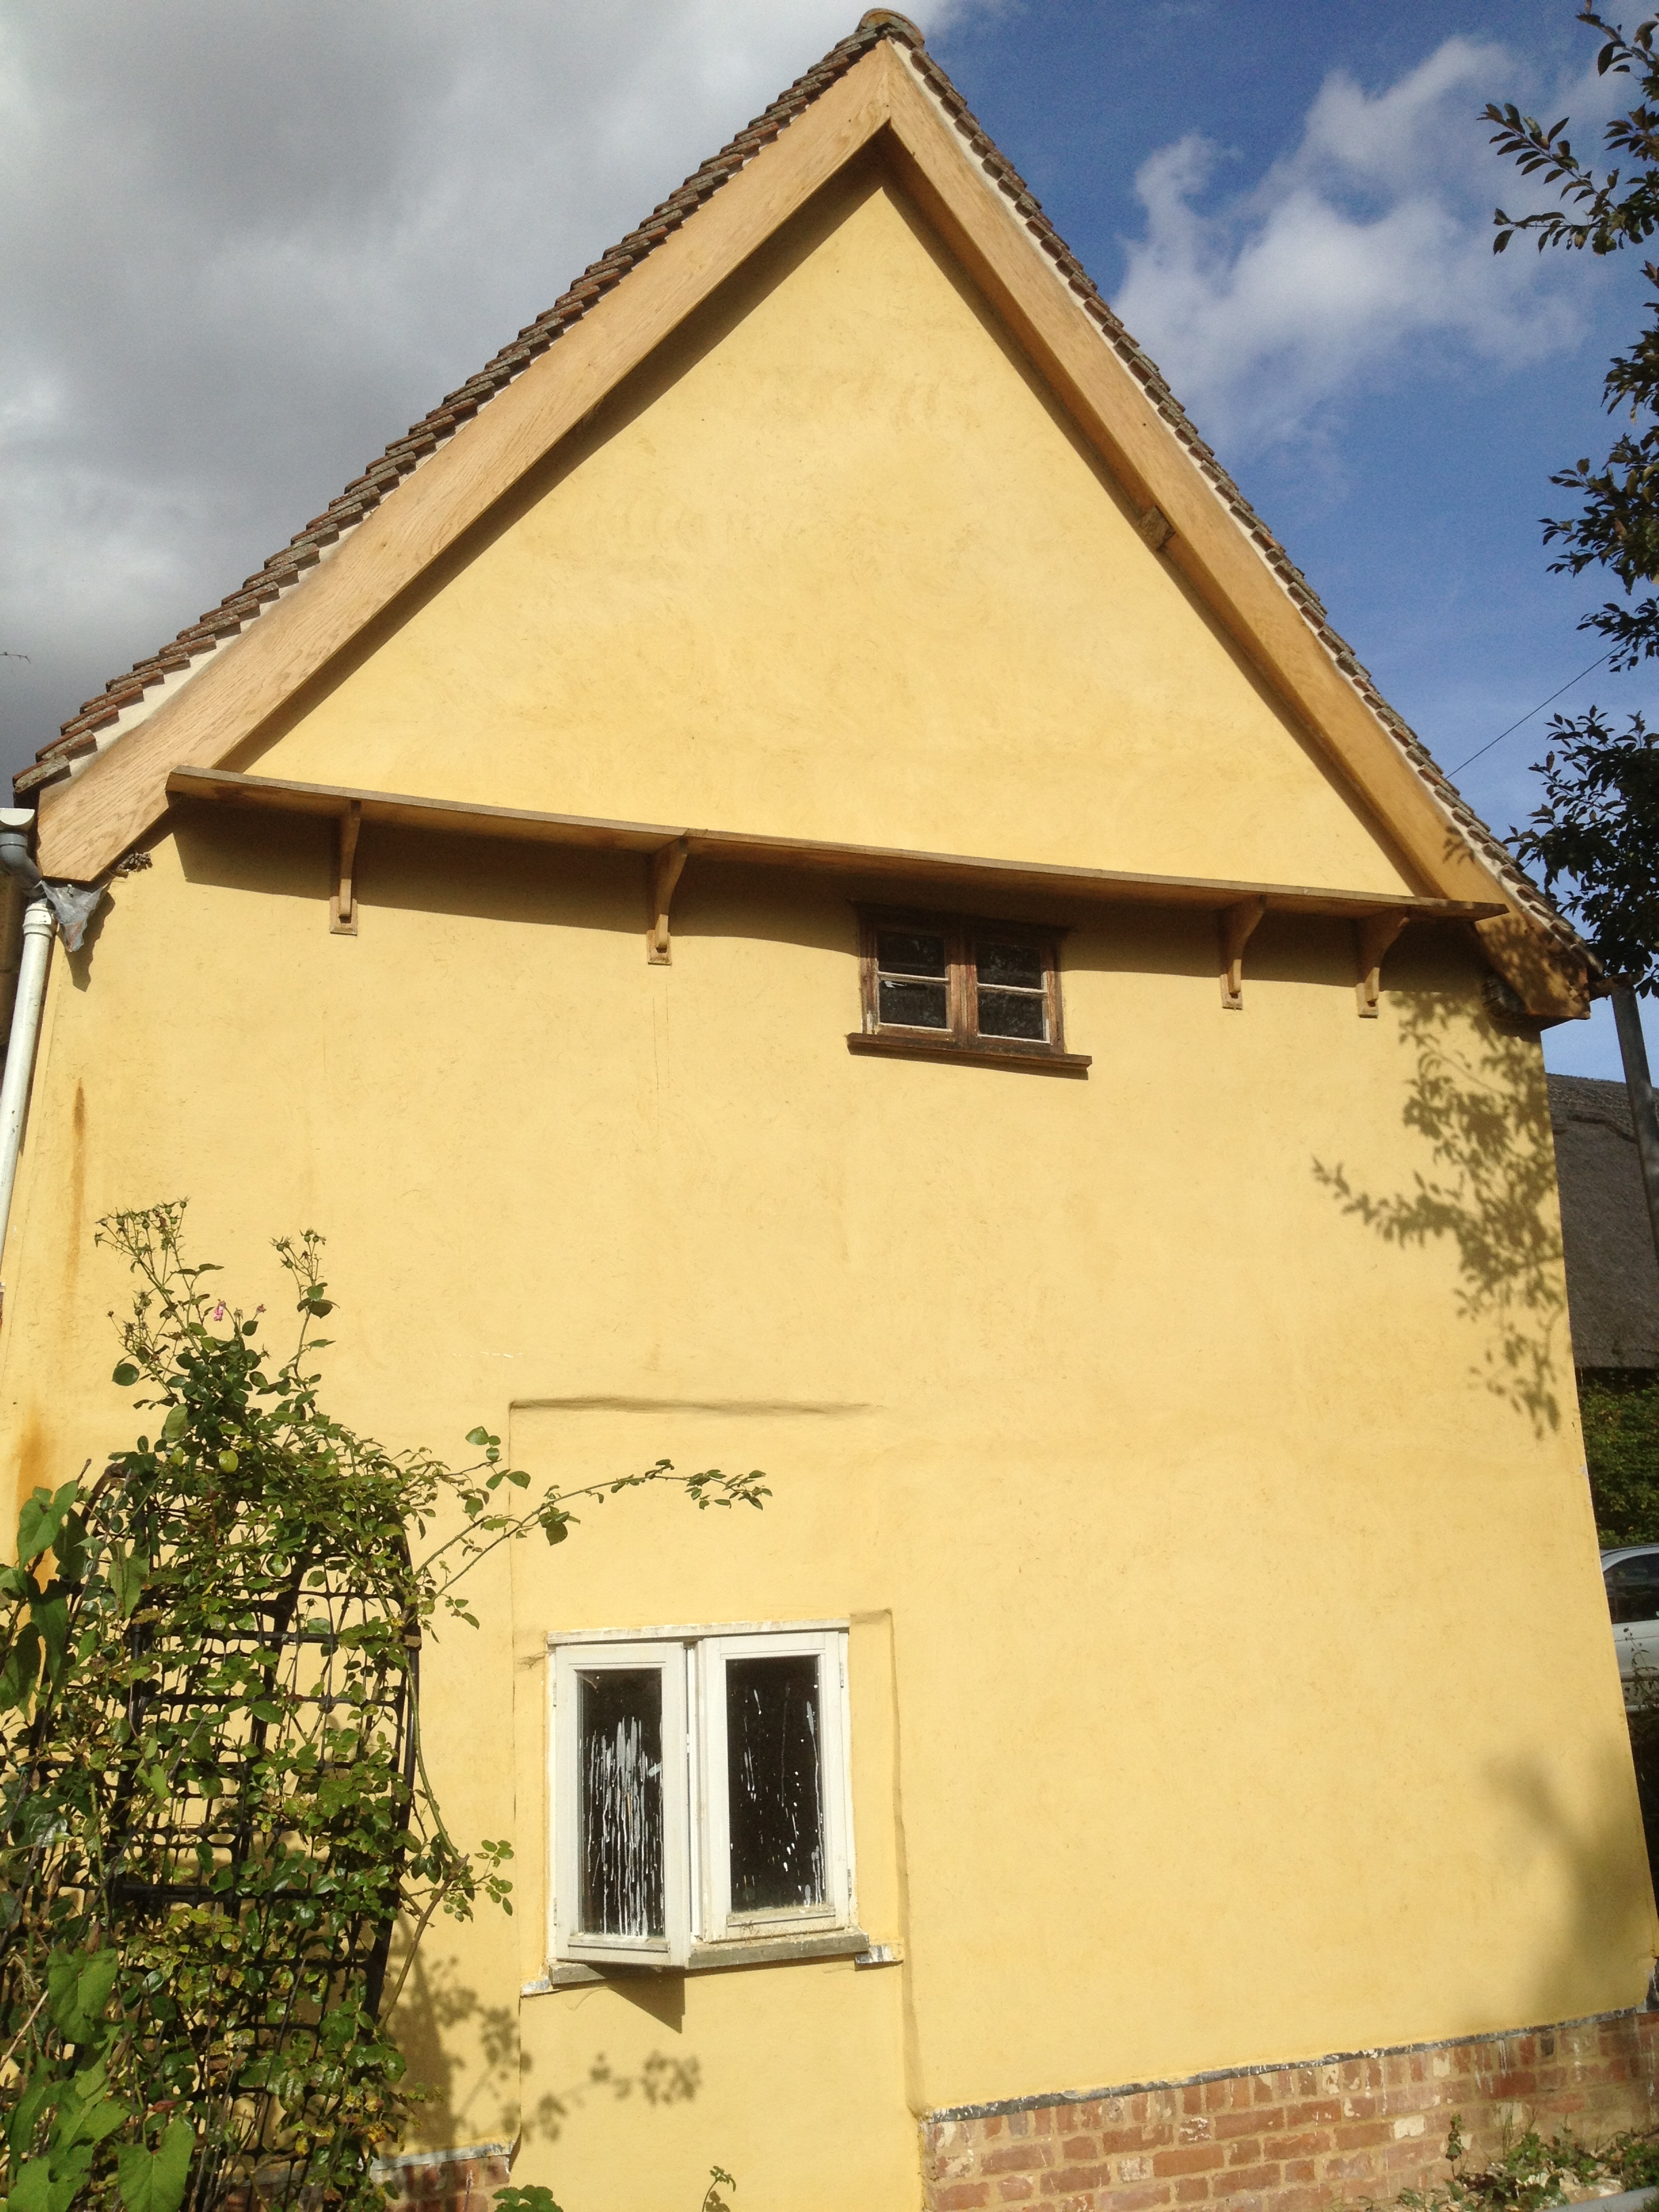
The more I look at the way our modern extension is being built, the more I am convinced that it is a fitting companion to the original 16th century oak-framed house. There is not a great deal of difference between the basic structural concepts, and only the materials and methods of fixing are new.

The biggest difference is that an old oak frame is mortised and tenoned rigidly with a few very heavy timbers while a modern softwood frame uses more but lighter timbers fixed with nails and steel hangers, and plywood sheets to increase rigidity. A modern construction can also use some big timbers, eg our glulam roof beam which runs the length of the building.

The timber frame takes shape
The roof timbers are added, with a Glulam central beam
The roof timbers are added, with a Glulam beam
The panels are infilled with insulation, with plywood panelling behind

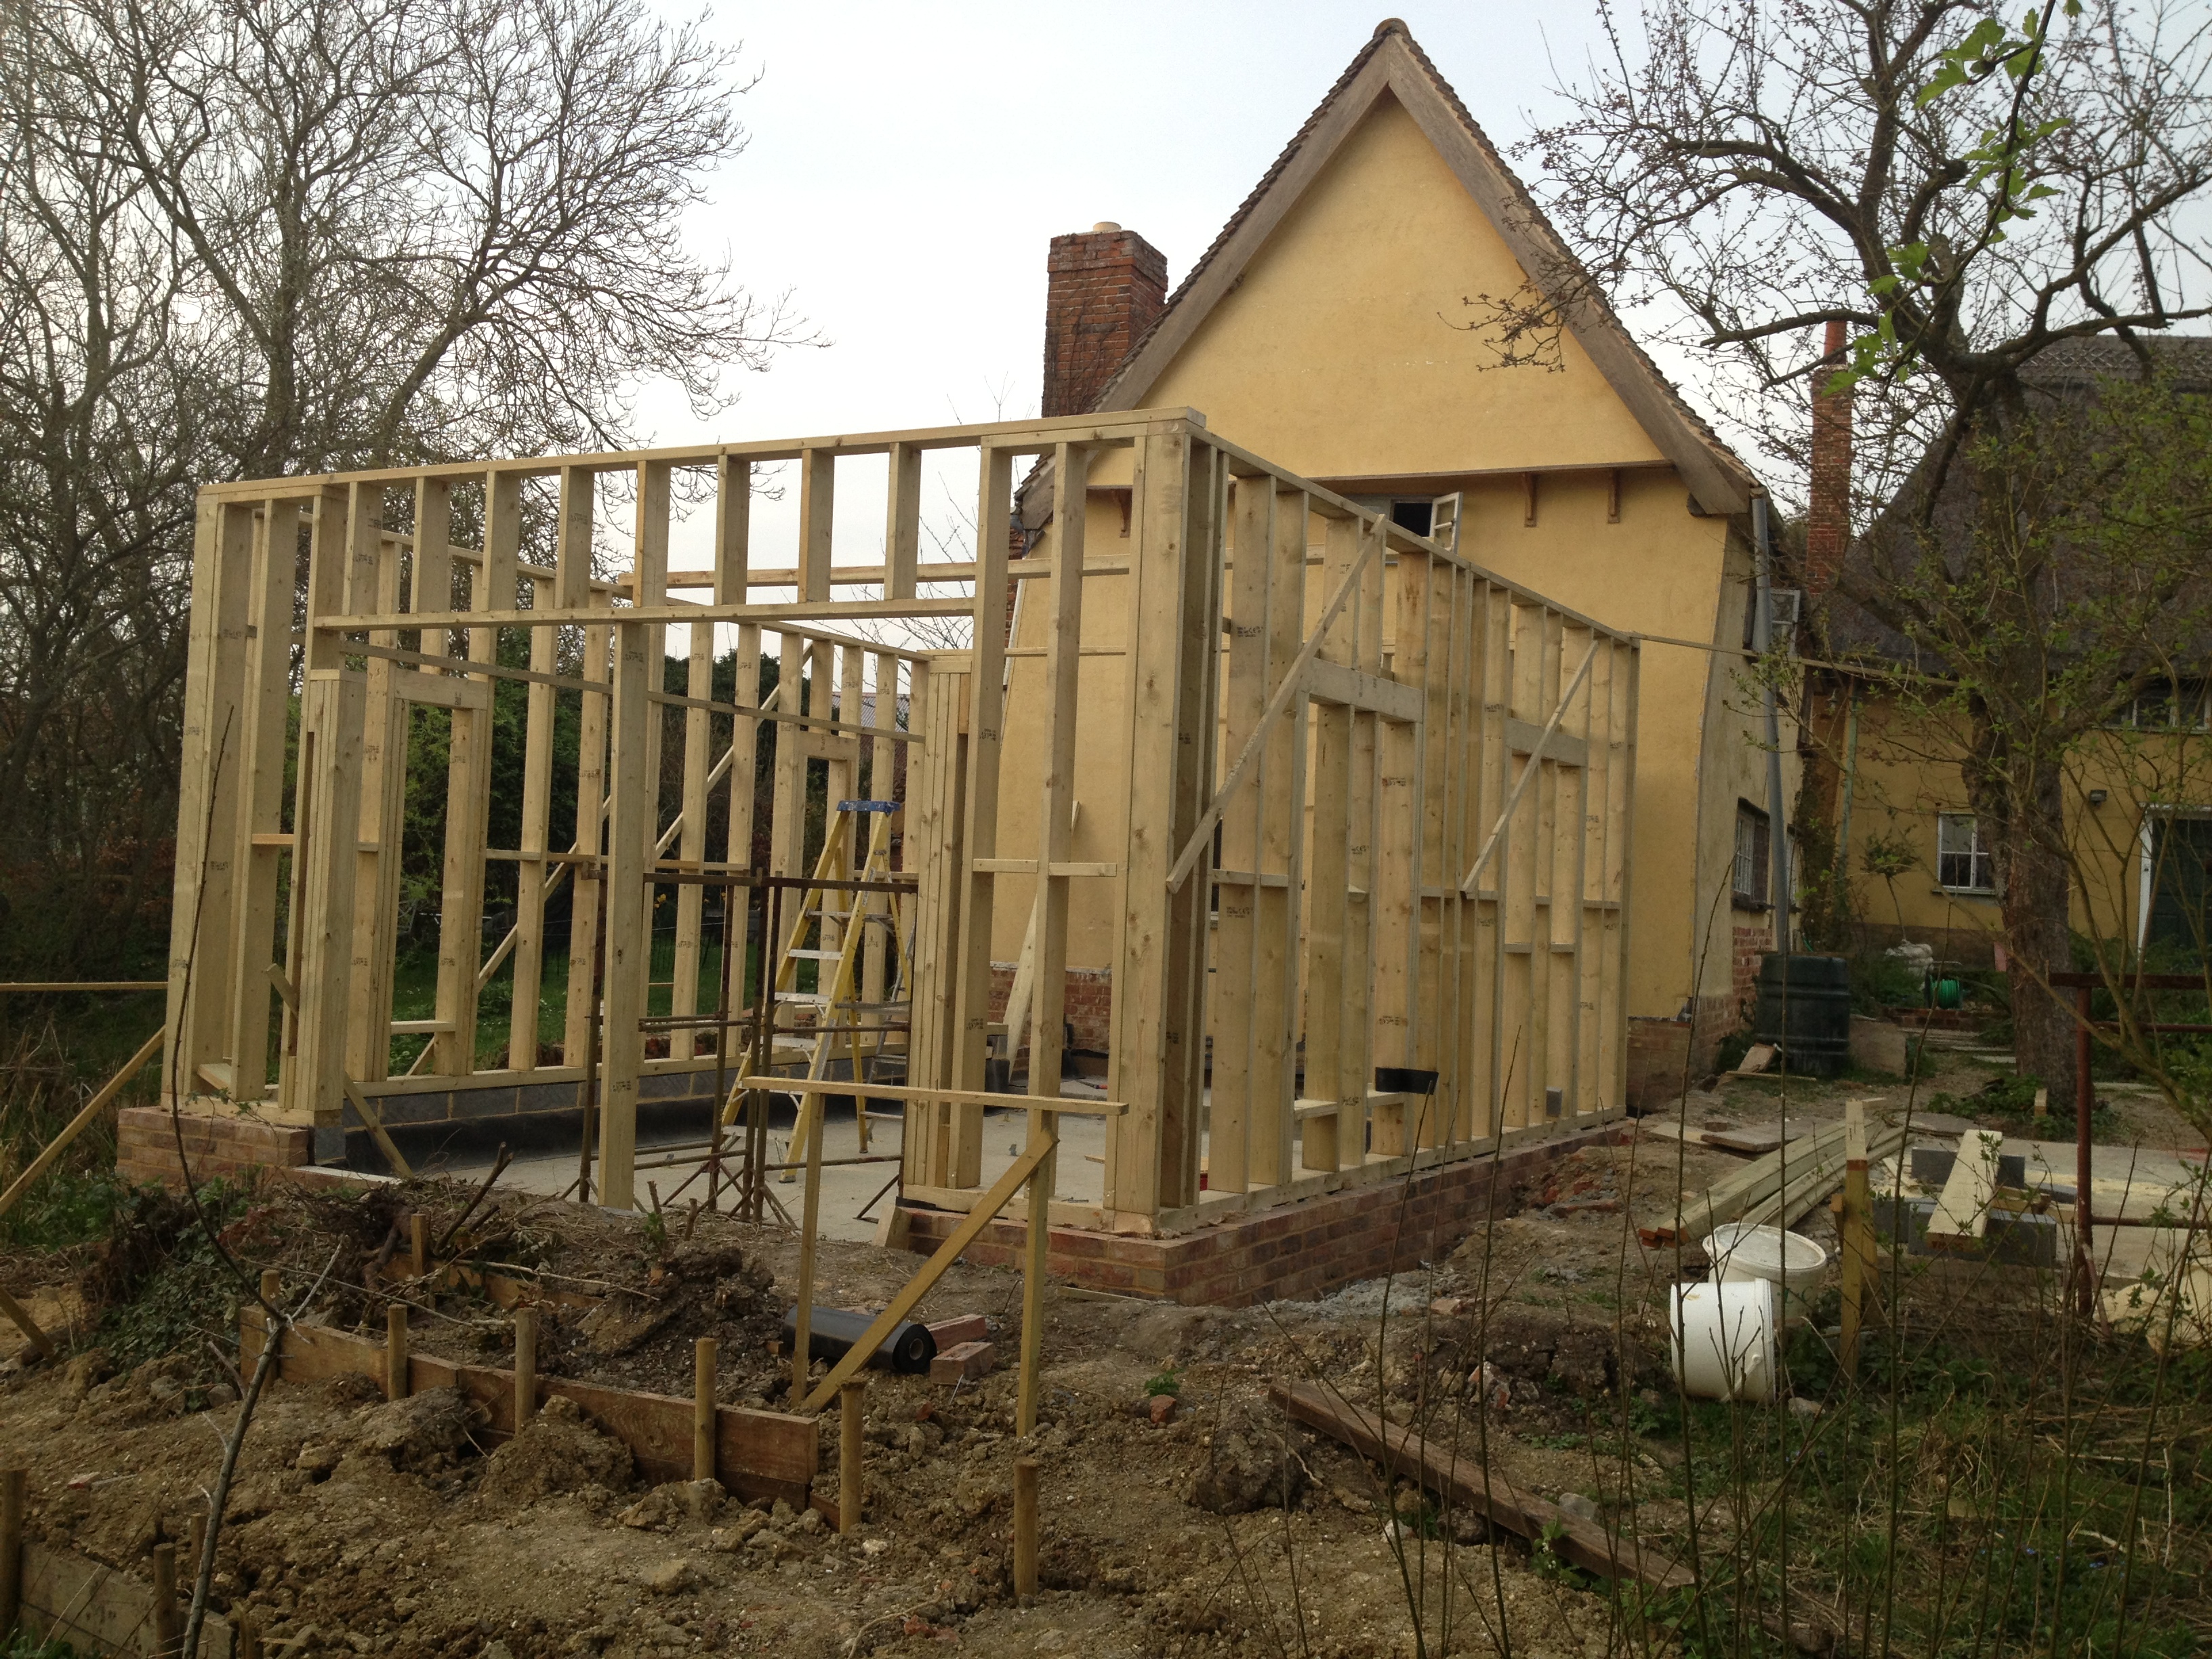
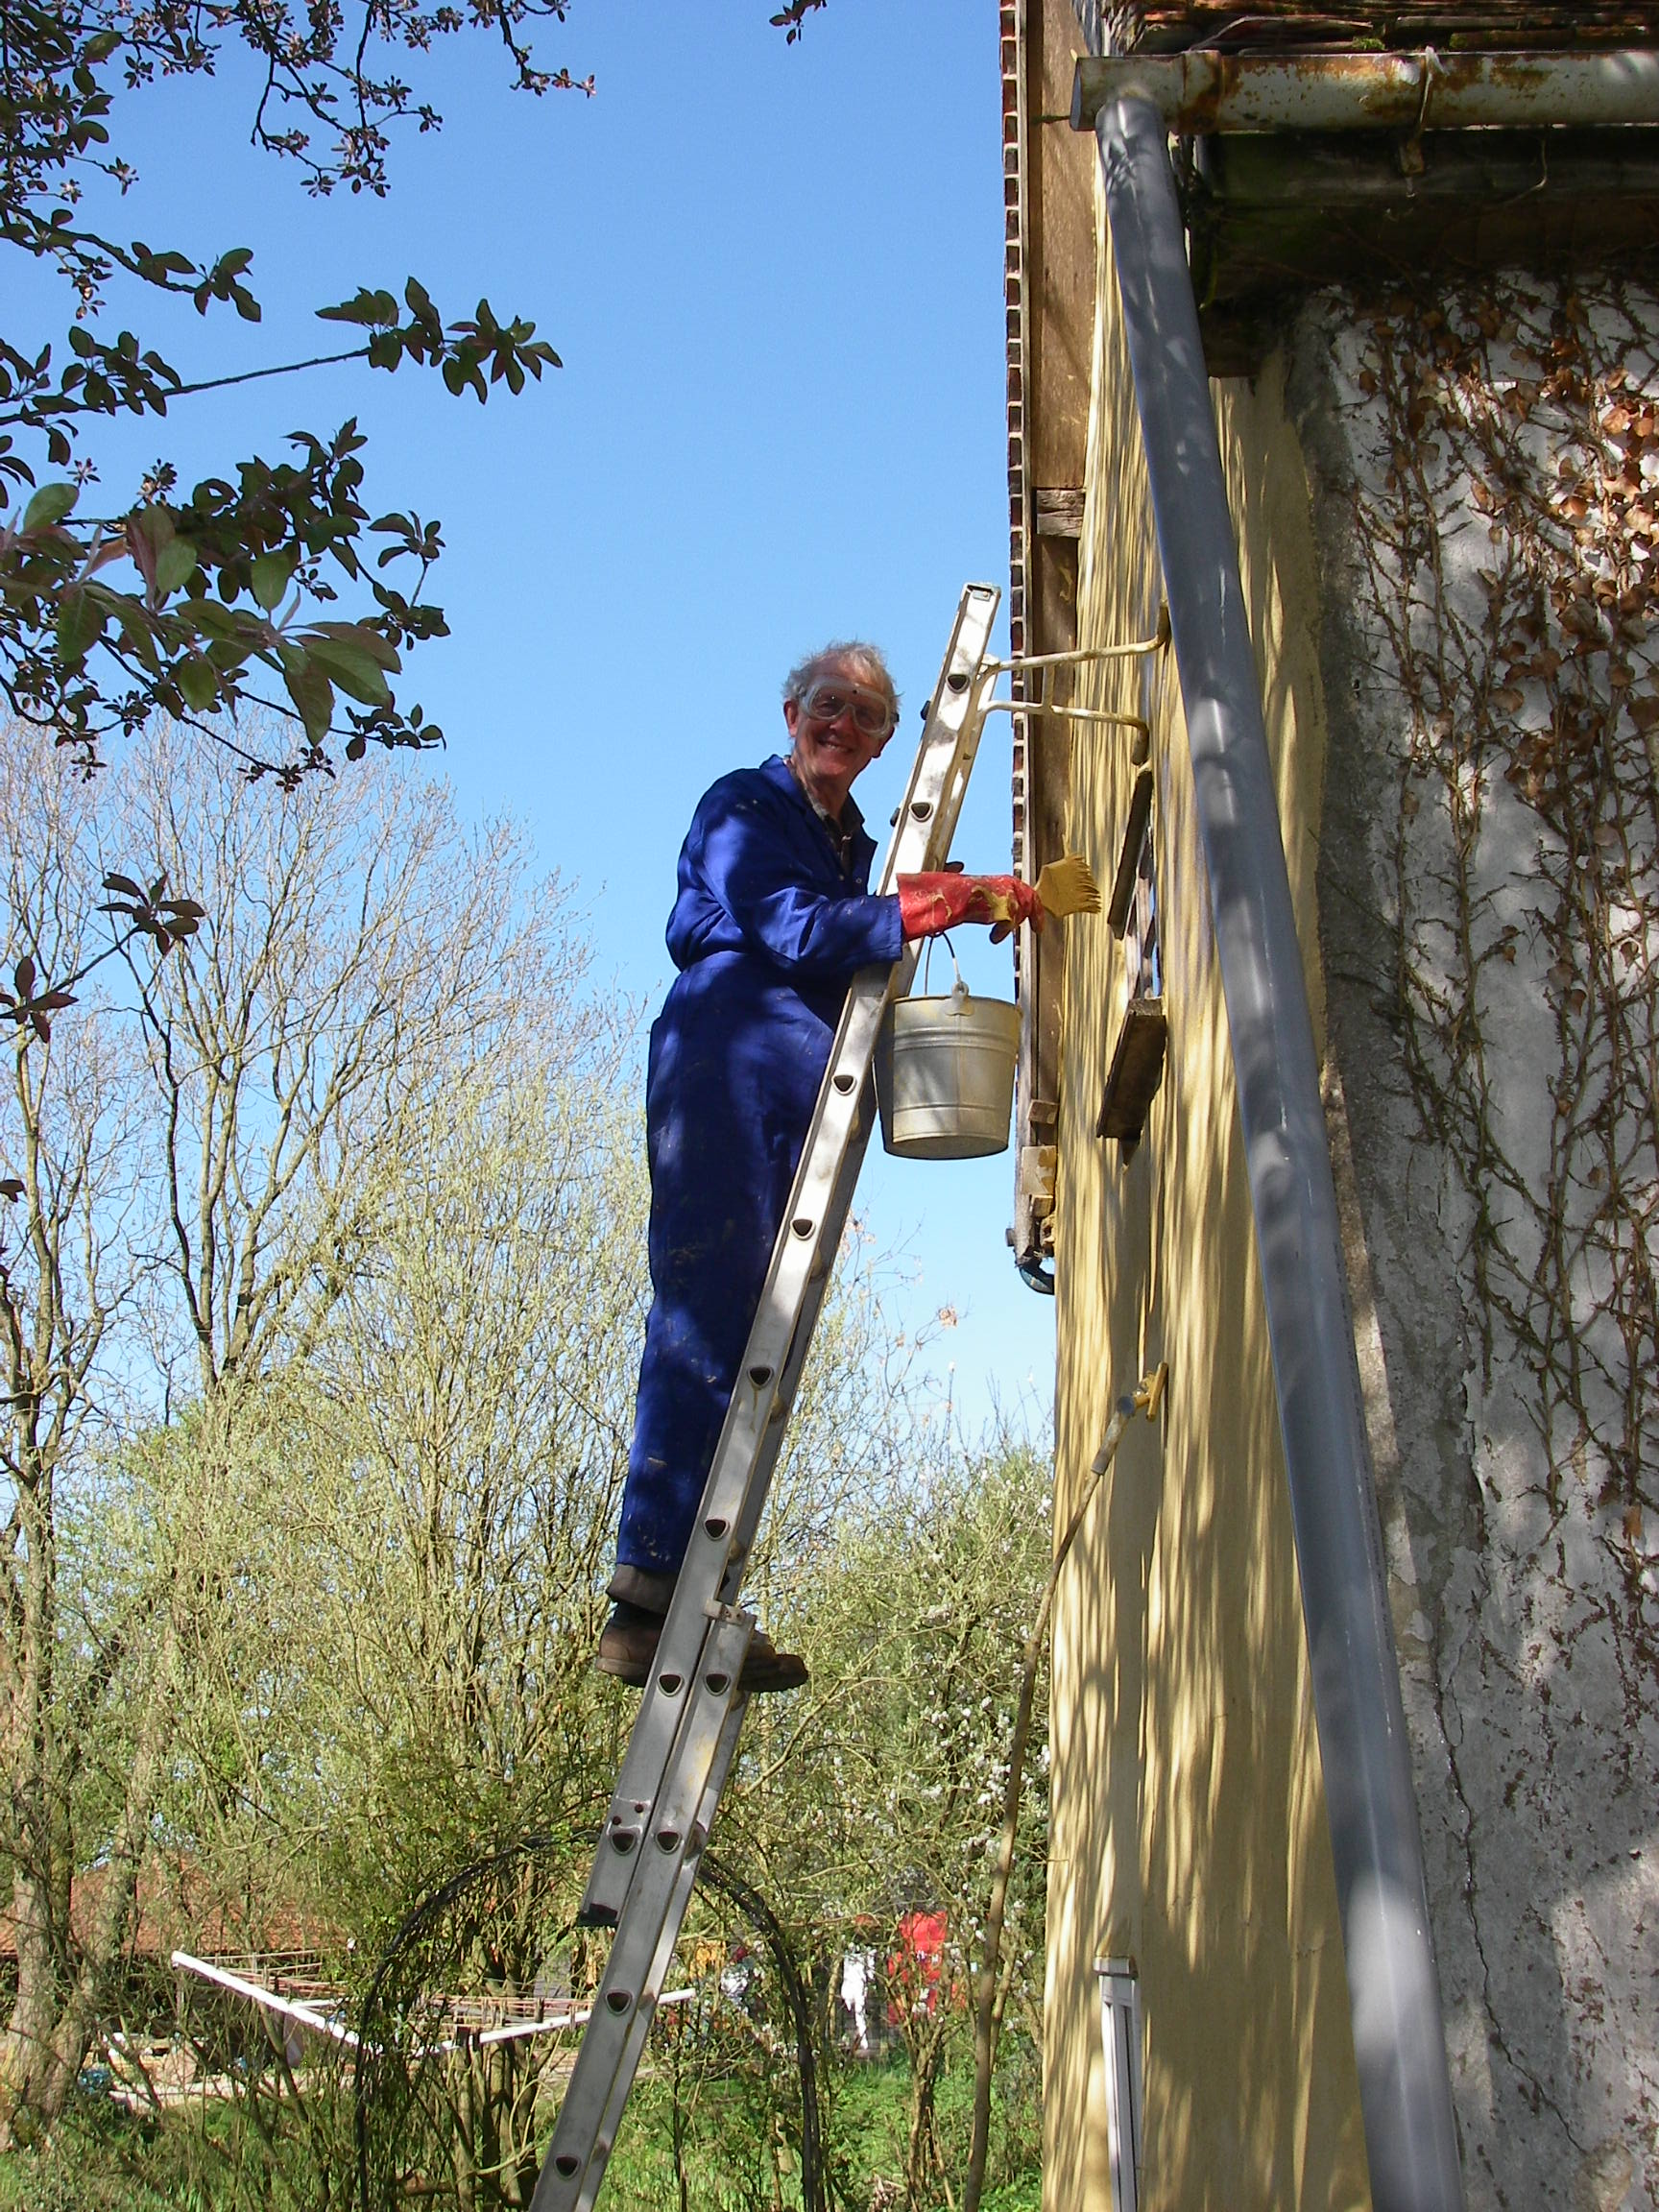
The extension is a conventional modern timber-frame building. First, a wood frame was constructed piece by piece by Terry Booty of Booty Builders and his team, Andrew and Tim, on a low brick base; then they filled the spaces between the timbers with blocks of Celotex insulation, today’s equivalent of the hazel sticks and clay daub that fill in the panels of the old house.

The new timber is treated softwood, Continue reading “New materials, old ideas”

Moats and beams

An excellent visit to a mediaeval settlement, organised by the Suffolk branch of the Society for the Protection of Ancient Buildings, threw new light on a puzzle about The Old Brewhouse and the farmhouse next to it: why are they outside the arms of their moat when you’d expect them to be inside?

As set out in the blog about how we reclaimed our pond (see this link), there are the remains of an obvious U-shaped mediaeval moat next to us. But it encloses a flat, empty space, now part off the next door neighbour’s garden.

Last Saturday, we were taken on a tour of Westhall, a Suffolk village where the original settlement has largely disappeared, leaving many clues to its existence, including pottery, raised platforms, moats, ponds, tracks and surviving buildings. Continue reading “Moats and beams”

Foundations

After several redesigns, the engineers settled on a system of 12 piles and a reinforced slab. It was a bit of a saga getting to that point, because although we are next to a pond, there was nevertheless more water in the trial borehole than the experts expected.

Auger drilling an 11 metre test hole.

The initial plan by the contractors was to auger the piles, to avoid using a pile driver near an old building. However, this was vulnerable to water inflows, which proved excessive,  which would have made it hard to be sure the concrete would set properly.

So we were advised to switch to steel-cased piles, with the first three metres augered. With hammered piling starting three metres below ground, it was hoped that the vibrations in the old house would be reduced. This proved the case, though we checked the house carefully every hour or so to make sure there was no damage. Continue reading “Foundations”

Continental drift and the art of choosing slate

What’s the connection between Canadian slate mines and Snowdonia National Park in Wales? The answer is that 500 million years ago, before continental drift formed the Atlantic Ocean, they were in much the same place.

What has this got to do with extending a Grade II listed house, you may well ask? Quite a lot, it turned out: by last week we had obtained all the listed building consents required before breaking ground on the extension foundations, bar one; the remaining condition was the source of the roofing slate. The strong preference of our local authority was for Welsh slate, because that was what used to be used in East Anglia. Our request to use Spanish slate did not go down well. Continue reading “Continental drift and the art of choosing slate”

Replacing the part of the house that collapsed.

20140121-163248.jpg
The cleared site ready for work to start

As described in an earlier post, we are now about to rebuild the end of the house that rotted and fell down 40 or more years ago. The first step, which took up much of the summer and autumn, has been to complete the main repairs to the old building, especially the gable end where the new structure will join. Continue reading “Replacing the part of the house that collapsed.”

Hemp insulation

Early on, we filled panels where the clay had disappeared with new wattle and daub. This year we have switched   to a new plan: these panels, which had been filled in the last 30 years with Thermalite blocks and broken bricks, have been made into a breathable hemp sandwich.

We lined the outside of the building with Savalit woodwool boards (as described before), then plastered them with haired chalk and lime mix bought from Anglia Lime. We used battens to fix Savalit boards on the inside, recessed just enough to take the plaster, and gave them a thinner layer of chalk and lime plaster, also with hair. In fact, internally, Savalit boards can take an extremely thin, almost skim coat of haired lime plaster and still look good.

In the middle we put  two 75mm layers of natural hemp batts, Continue reading “Hemp insulation”

Oak and other problems under the old render

All new plaster, limewash, oak pentice board, soffts and bargeboards.
All new plaster, limewash, oak pentice board, soffits and bargeboards.

When the cement was removed, we found some repairs were needed for the timber frame, including a new stud where an  old one had disappeared (judging by the empty mortice), completing another stud that had rotted away for the first foot above its mortice in the sole plate, a knee to reinforce the joint between a main internal beam and a post, and a  strengthening of one of the corners, where a sound main corner post did not seem very well tied in to the sole plate. It was reinforced with a flexible glass fibre rod through the timbers and a steel plate. All the timber work was carried out by William Clement Smith. Continue reading “Oak and other problems under the old render”

Removing cement render – 2013

…. in preparation for the extension

Repairs on a building this age are never really finished, but there is a list of essential jobs we want to do before starting on the extension, for which we won planning permission in late 2012. The first step is to finish the external repairs to the end of the old building where the extension will be built. This means removing a large amount of cement render. Continue reading “Removing cement render – 2013”

Moving on – chalk and woodwool boards

 Our thinking has moved on from when we started work in 2009 and 2010. One advantage of repairing a house very slowly is that it gives time to learn as you go along.

This applies particularly to the question of which materials to use when repairing walls and infill panels and when plastering and rendering, and to the question of energy efficiency. Continue reading “Moving on – chalk and woodwool boards”

Wonderful clay

The grey, chalky pond clay makes a great building material
Pond cleaning in 2011: the pale grey, chalky pond clay makes a great building material. (The darker areas are pond mud on top of the clay).

Postscript on wattle and daub – 2013

We have a great resource in the pond, which we knew about from when we drained it in 2011, but we had not appreciated until this year its amazing building material potential: pale blue-grey boulder clay, which underlies much of Suffolk. Continue reading “Wonderful clay”

Techniques

Looking around a typical Suffolk village, houses repaired with lime are still quite rare. It is clear that many homeowners and builders have yet to be persuaded of the vital importance of breathability and the use of traditional materials on an ancient structure. There is clearly a huge backlog of work to be done and, judging by the stories we hear from time to time about the terrible problems found in buildings that were repaired thoughtlessly in the 20th century, the damage is mounting right across East Anglia’s huge stock of historic houses.

There is a problem, however, when you start digging into the detail. Even among the experts in these old techniques, there is plenty of disagreement, and sometimes it gets quite heated.  As experience grows again, after decades in which some skills were in danger of being lost, ideas are bound to evolve further.

So rather than try to pass on definitive advice, these posts have been setting out some of the techniques we used – or hired experts to use – and we also note where our own ideas and the advice from experts have changed over time, for example our decision to switch from the sand and lime render we used in the first year of the project to chalk and lime plaster for later phases. 

More generally, it is important to read and discuss, to take advice from more than one source and to think through the jobs yourself with an open mind, focusing on the particular characteristics of the building concerned. The key points are:

  • always protect old material, and never do anything to it that isn’t reversible
  • in the case of infills and coatings, never put in anything that isn’t breathable.
  • and of course, put some effort into learning about the techniques you decide to use (or hire contractors to use for you).

We win planning permission to extend

It has taken much of the year, but we have finally got permission to replace the old part of the house that collapsed several decades ago, which will add just over 50 per cent to the floor area of the building.

If you look carefully, you can see the outline of the vanished end of the building marked on this recent Ordnance Survey
The outline of the section of the building which fell down – the part closest to the pond –  is still shown on this recent Ordnance Survey map

One important factor was to demonstrate with photos and archives that there was a complete building on the site only a few decades ago, and certainly post-1948, which seems to be an important date.  I may have misunderstood it, but the gist seemed to be that the old structure legally still had some vague sort of existence, so that we were in a sense rebuilding, and giving back the farm complex (of which our house is a part) its previous layout.

This began as a project to convert into a home a Grade II listed farm service building that had the same legal status as a barn and which did not even have planning permission when we bought it. Continue reading “We win planning permission to extend”

2012 repairs – pond, well, patio, drainage

New brick patio, with the well protected by a steel over with limestone slabs on top.
New brick patio, with the well and electric pump protected by a steel cover with limestone slabs on top.
  • The remaining pond mud, piled in the garden – perhaps 80 tons – was removed and used for landscaping adjustments, and grass was laid.
  • The well was properly capped with a steel cover, screwed down, on which limestone slabs were relaid.
  • A steel structure was built by the same people to make loft access safer.
  • A brick and stone patio was constructed outside the kitchen with a channel for the power supply and hose of an electric pump for topping up the pond. The flow rates were tested. At the worst of the 2011- 2012 drought, when the well was at the lowest level we have recorded, it produced more than 2 cubic metres of water a day which would be adequate to top up the pond in a summer drought. At other times its productivity was much higher.
  • The shallow trench round part of the house, which had been dug roughly to prevent damp earth lying against the brick footings above the inside floor level, was redone more carefully. A low brick retaining wall was built, the bottom of the trench the was lined with geotextile, and several inches of gravel placed on top. It stopped the damp coming through the lower bricks and discolouring the limewash on the inside of the brick footings.

Continue reading “2012 repairs – pond, well, patio, drainage”

New stairs and a restored pond – 2011

  • Felix Oliver, our next door neighbour, replaced the old stairs with a new oak staircase to a similar pattern but much better finished. The design was negotiated with, and approved by, building control. The result has been widely admired. It fits perfectly at the top to a very uneven sloping floor. Felix is a professional wooden boatbuilder as well as a specialist in oak-framed buildings – see this link to  Suffolk Timber Frame Buildings – and his boatbuilding skills show. He also installed 3 new oak studs to replace the rather agricultural – and recent – softwood posts that had been there before.

    New oak stairs
    New oak stairs
  • Insulation was put in the roof above the north bedroom, bathroom and landing, but only on the flat surfaces – the side sloping surfaces were too difficult to access. Part of the the loft area was then floored so it could be used for storage. We discovered that modern polystyrene insulation had been laid under the tiles of the roof when it was redone about 30 years ago and it seems to be intact. There is still a substantial airgap round the rafters, which is reassuring.
  • The south and east walls were limewashed, pending full re-rendering. All the external window surfaces were oiled with linseed. We couldn’t decide what colour to paint them and linseed oil seems a very good wood preservative and water repellent, so we may just keep coating them for a year or two.

    Limewashing
    Limewashing
  • The pond was cleared, removing hundreds of tons of mud, using it to landscape the garden and shrink the overall size of the pond back to where it probably was before the banks were broken down – see the blogroll link to the pond blog for all the details. This took from July to nearly the end of the year so very little was done on the house during this time.

Continue reading “New stairs and a restored pond – 2011”

Limewash

Limewash

The wall repaired in 2009 was limewashed the following spring with a colour made up to our specification by Ted Ingleby, the well known traditional paint manufacturer of Glemsford, Suffolk, which he called Rodgers Flint. We asked him  to match the very attractive colour of the render itself, which came from the sand we used. (We took it to him painted onto a flint). The recipe is on his file and we have continued to order it.

There turned out to be a bit of controversy over grades of limewash – one for the those into the detail of repairing old buildings. Ted is very keen on an ancient Suffolk recipe using tallow, which he markets for outdoor use. It can cover a wall effectively in three coats rather than five and is very waterproof, and has considerably better coverage and durability than some other versions of limewash. But various books we consulted advised against tallow as not breathable enough, and suggested linseed oil was better, or even plain limewash in sheltered positions. Three of our walls are very sheltered.

The urgent repairs finished. The darker area is cement render that has yet to be removed.

We decided to add new coats the following year, 2011, using  Ted Ingleby’s interior limewash, with linseed oil, on the outside. Continue reading “Limewash”