…. in preparation for the extension
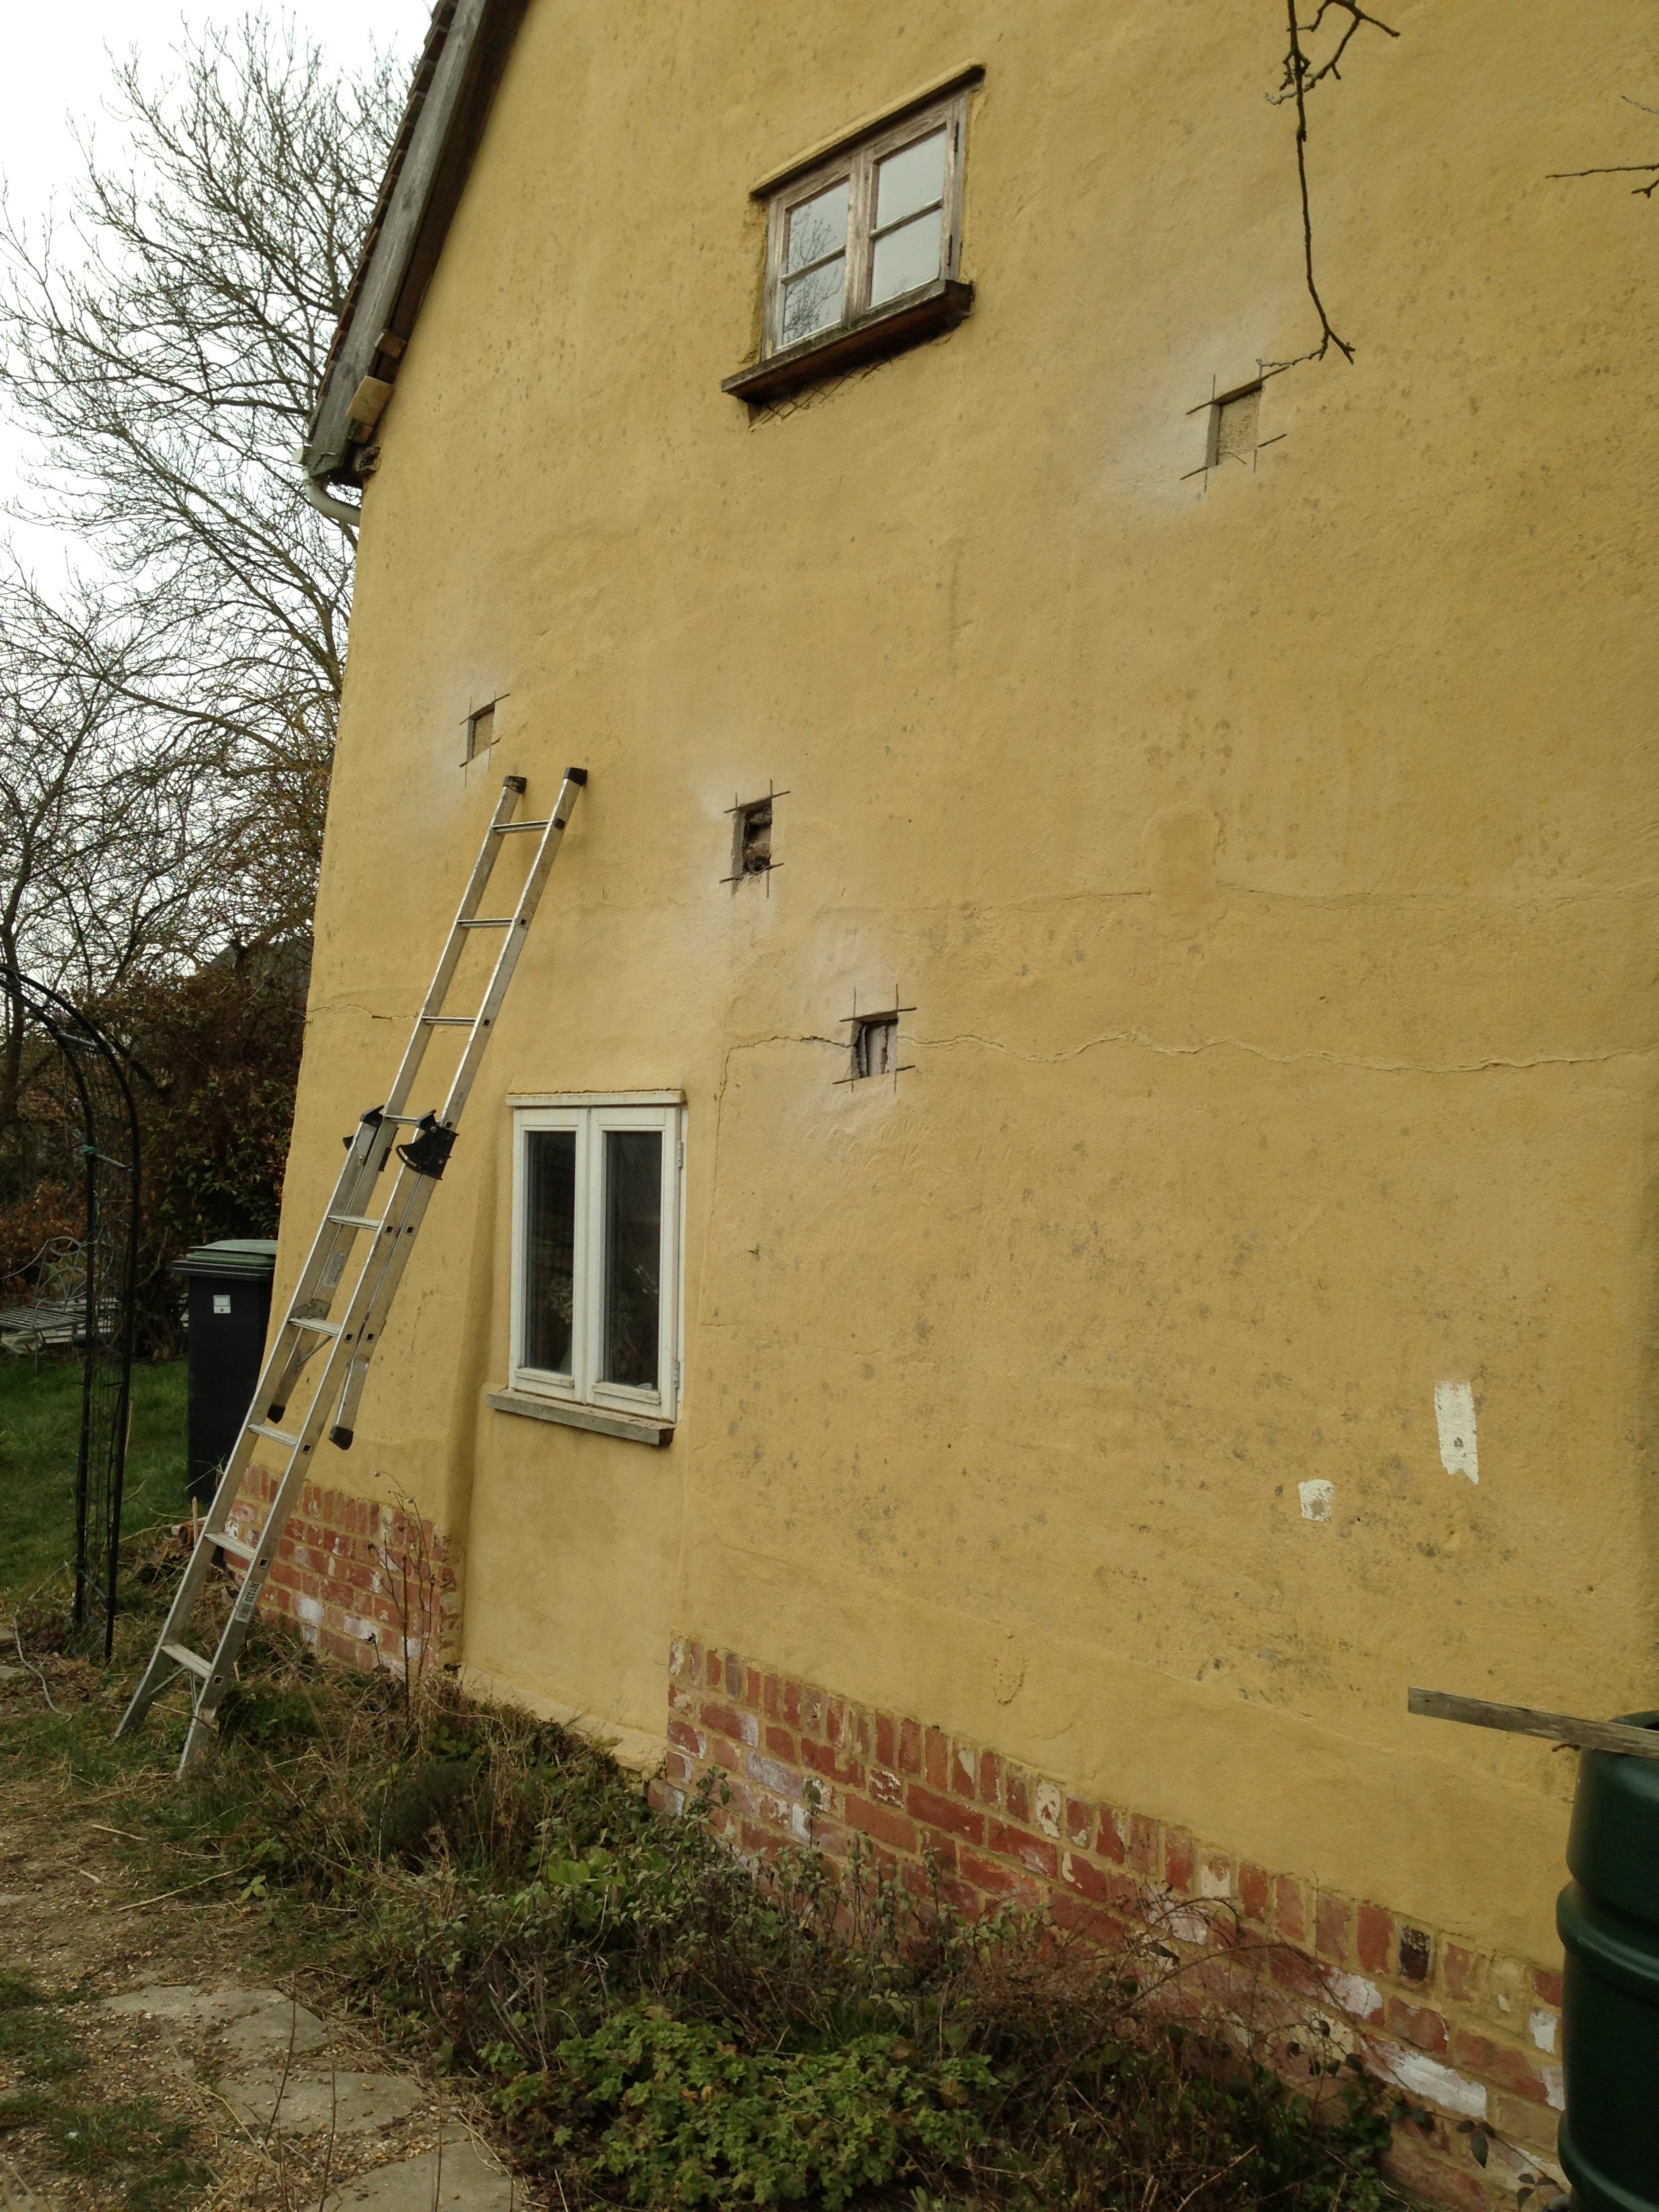
Repairs on a building this age are never really finished, but there is a list of essential jobs we want to do before starting on the extension, for which we won planning permission in late 2012. The first step is to finish the external repairs to the end of the old building where the extension will be built. This means removing a large amount of cement render.
- Alan Wilkins, a lime specialist, has been commissioned to remove the cement and plaster the south gable wall and the return to the chimney. The plastering is being done in close cooperation with Paul Harrison, the conservation officer.
- The first stage was to make four exploratory cuts in the old cement render to inspect the condition of the timbers and materials underneath, which was generally good.

Four exploratory holes - The rest of the cement was cut off in small pieces with a grinder, using towers at first though later we used proper scaffolding, for safety. All but one of the ground floor panels proved to be filled with thermalite blocks, which were removed by Alan, who worked with another historic buildings specialist, Rory Sumerling. Four smaller panels on the first floor were similarly removed. Only the thermalite blocks filling the old first floor doorway were left in place because they support the window frame.

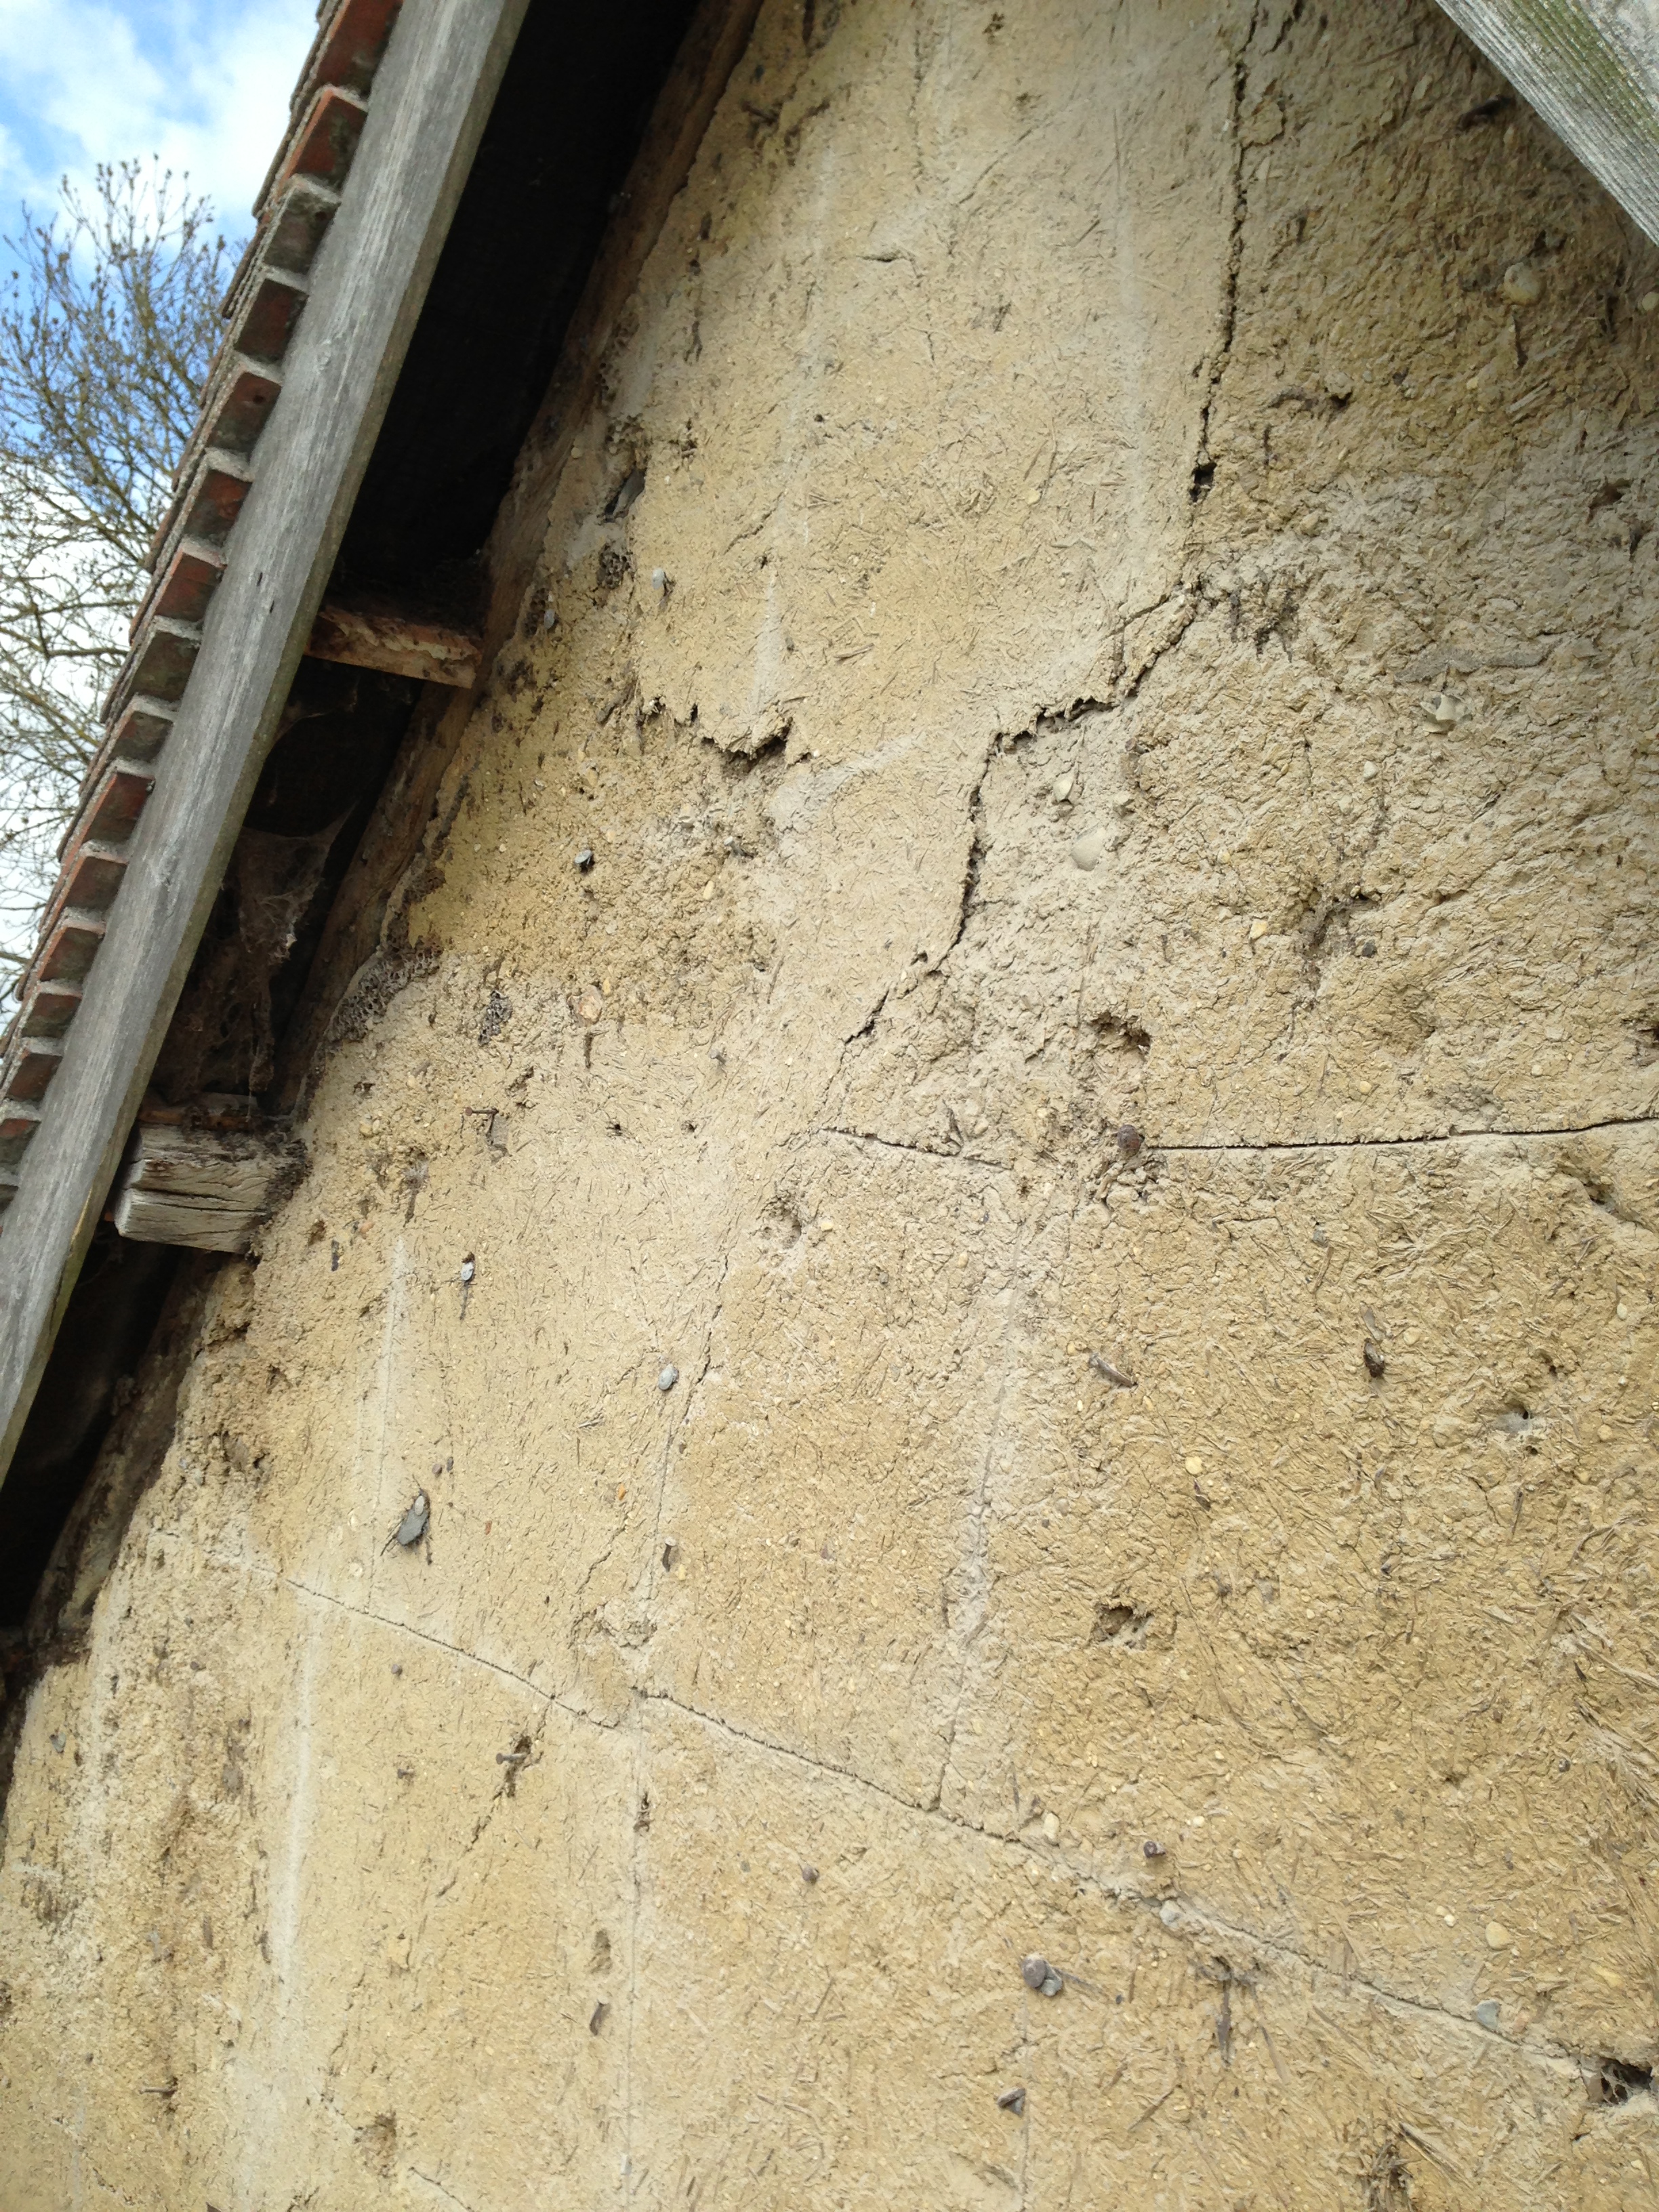
Much of the old cement render is off, the good clay on the upper level is being exposed, and the thermalite blocks on the ground floor have been removed. The first floor doorway into the demolished section of the house is now occupied by the window and thermalite blocks. - Lead flashings were also put in above the brick footings. They are needed because the wall leans inwards and water running down it has been running in over the top of the bricks.
- Paul Harrison has agreed that we can use breathable Savalit boards (a similar alternative is Heraklith) made with ‘wood wool’ instead of oak laths. The argument for this is that the clay at first floor level is largely intact and covers the frame. It does not seem to have had laths fixed in the past and has a uniform almost smooth surface which would be better protected by boards than laths. The boards can be screwed on without as much damage. They also add a small amount of insulation. Plaster can be applied direct to the surface. And the clinching argument is that they are easily removable ie the process is reversible and does not permanently alter the historic material.

Clay in good condition from first floor upwards. - We have accepted Alan’s advice that chalk, hair and lime plaster is the best option for the external surface. He advises that it is more authentic locally than sand and lime render. The mix is three chalk to one hydraulic lime (NHL2, the softest type.) Although some say lime putty should always be used, because hydraulic lime contains some clay and is a bit less breathable, the argument for this recipe is that in practice most lime in our region would have had clay in it like hydraulic lime, it cures faster, and on a gable end wall the extra strength is worth having. It is also easier to mix.
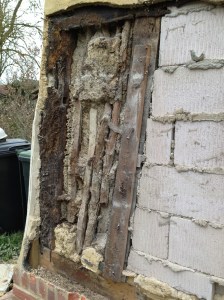
A clay and hazel panel, next to thermalite blocks still in situ - The new plaster was also limewashed with four coats of a simple and cheap mix of water and lime putty (three water to one lime), which is highly breathable. We then applied three coats of limewash with linseed oil, which is slightly less breathable, but more water repellent. It was mixed to our preferred pale yellow ochre (labelled Rodgers’ flint) by Ingilby’s of Glemsford. Alan said afterwards that three coats with linseed oil, even diluted, reduces breathability too much, so perhaps we should have stuck to two.