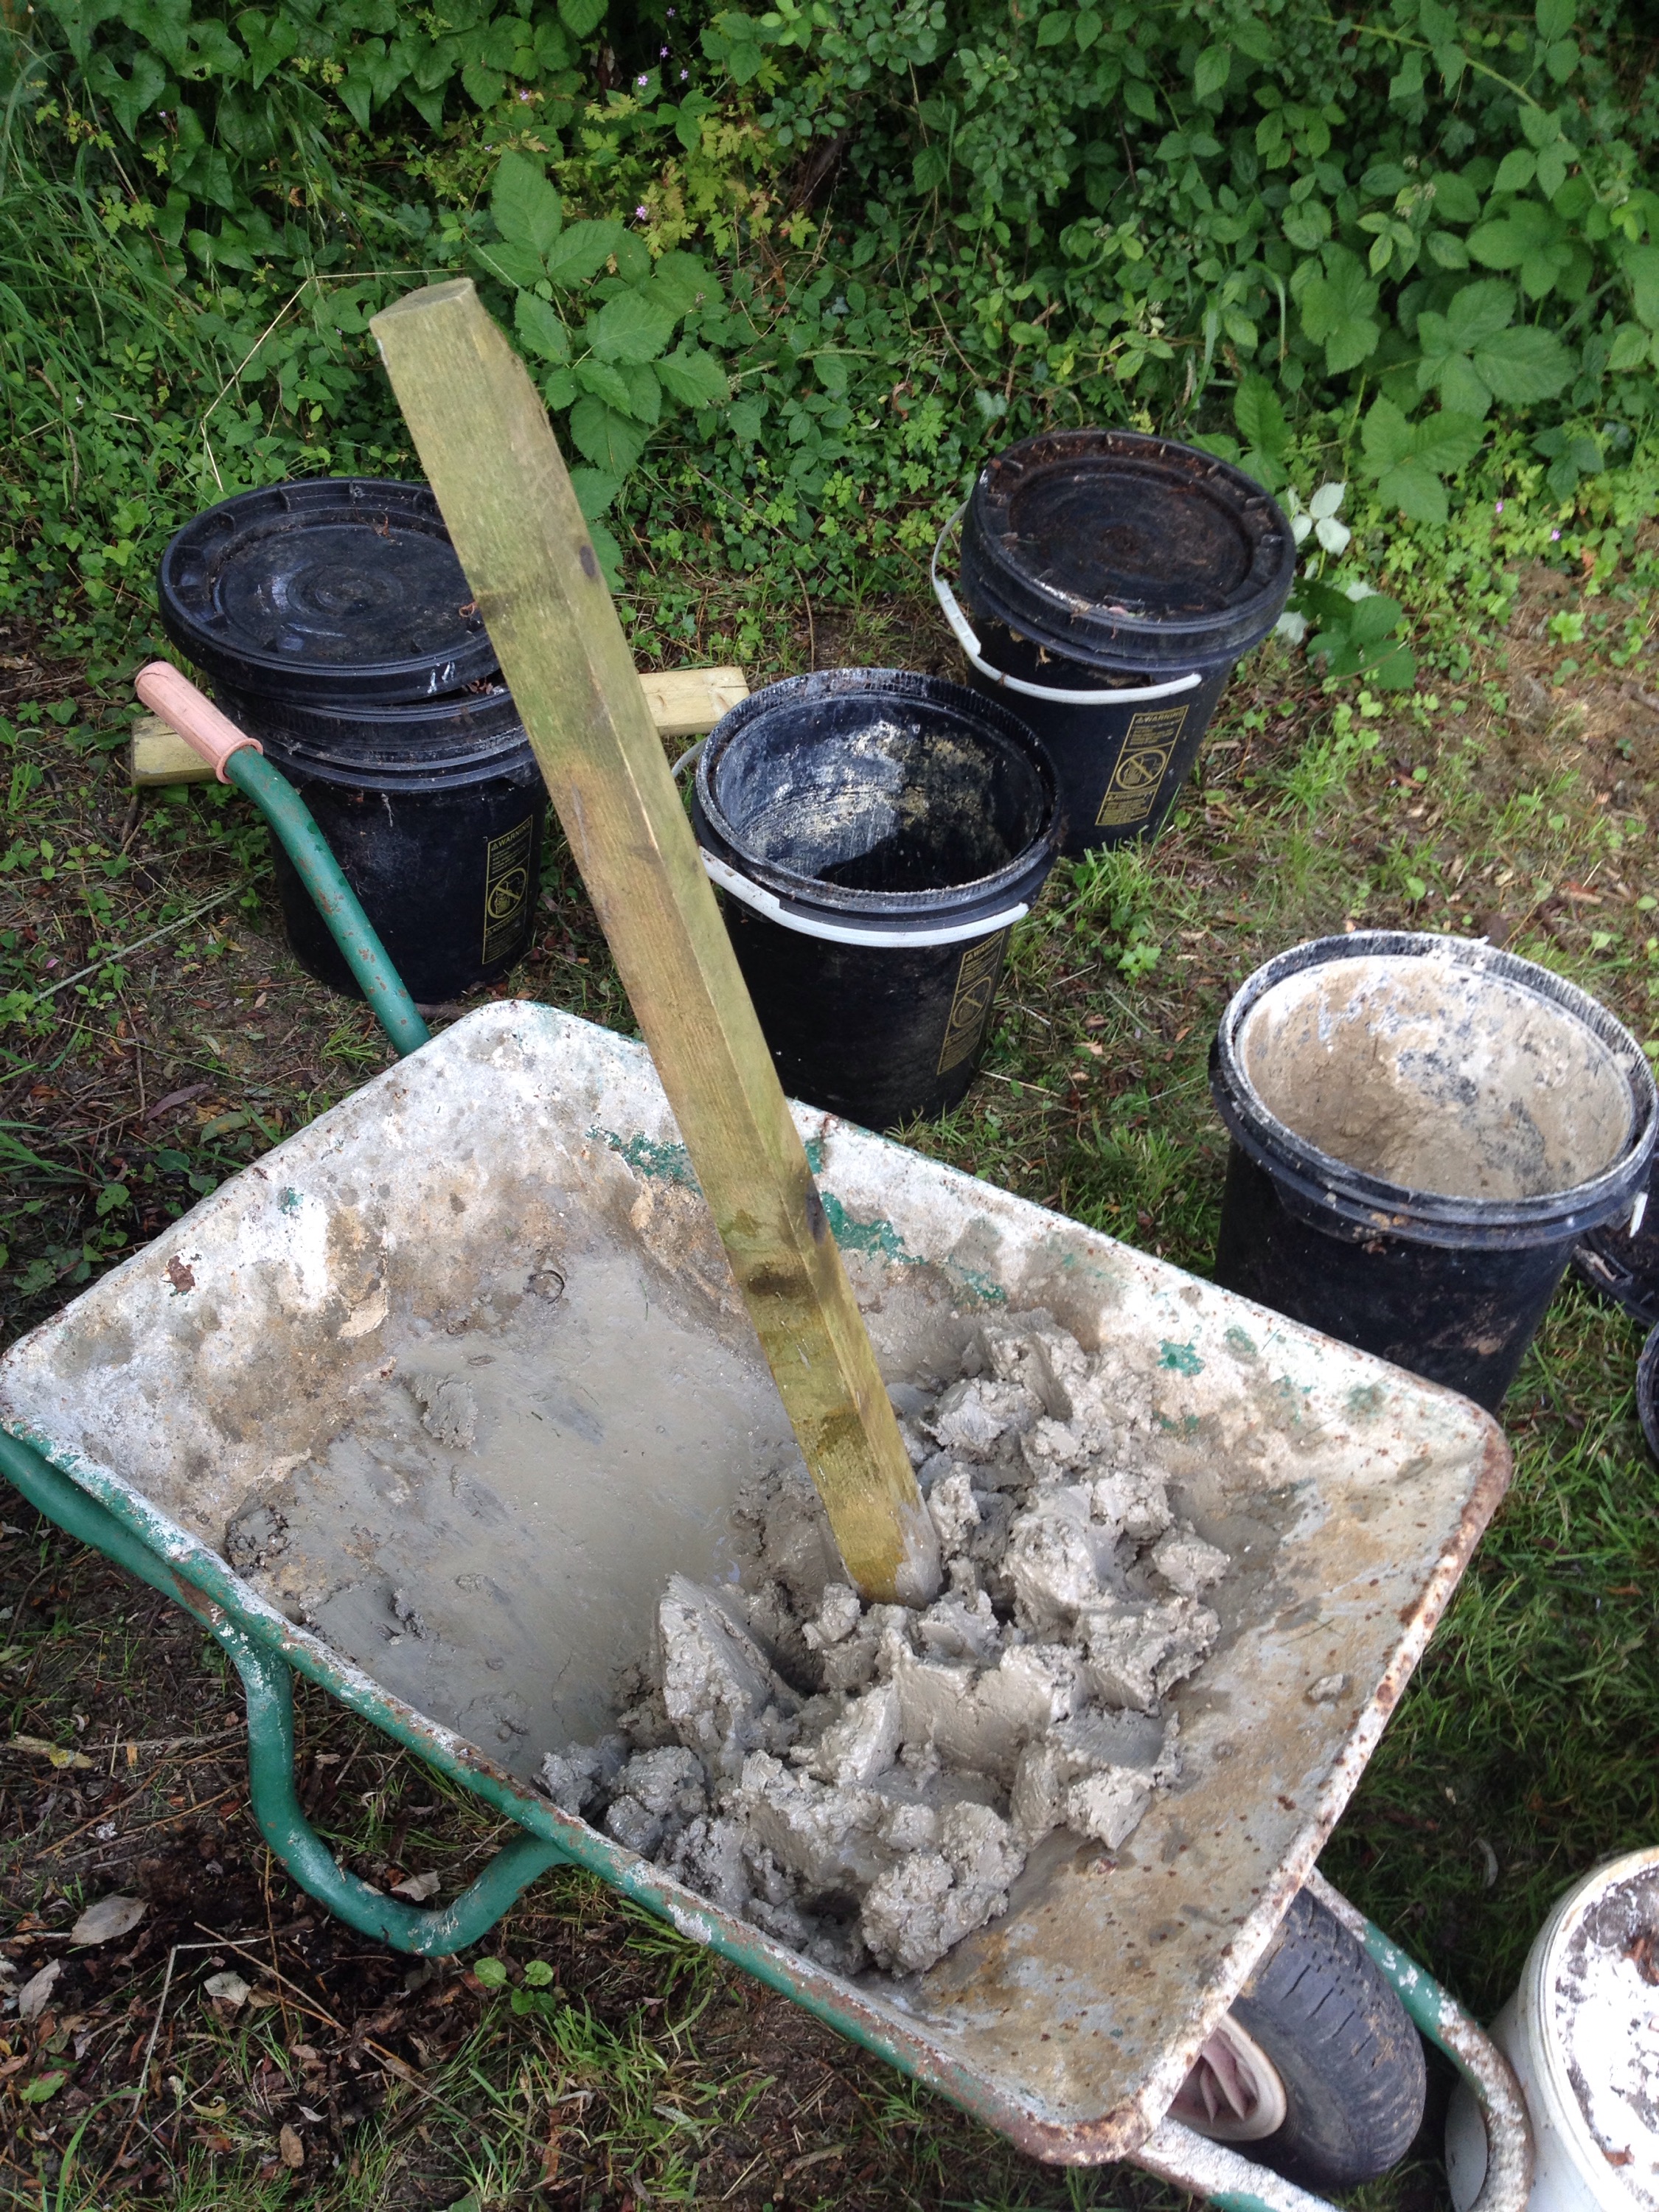
The first step is to prepare some of our grey boulder clay, which we saved from the excavations for the extension. It is much better than the brown clay we used previously when we bought ready mixed daub from a farm in Essex.
We pounded the clay lumps with the end of a piece of timber until they became like smooth plasticine.
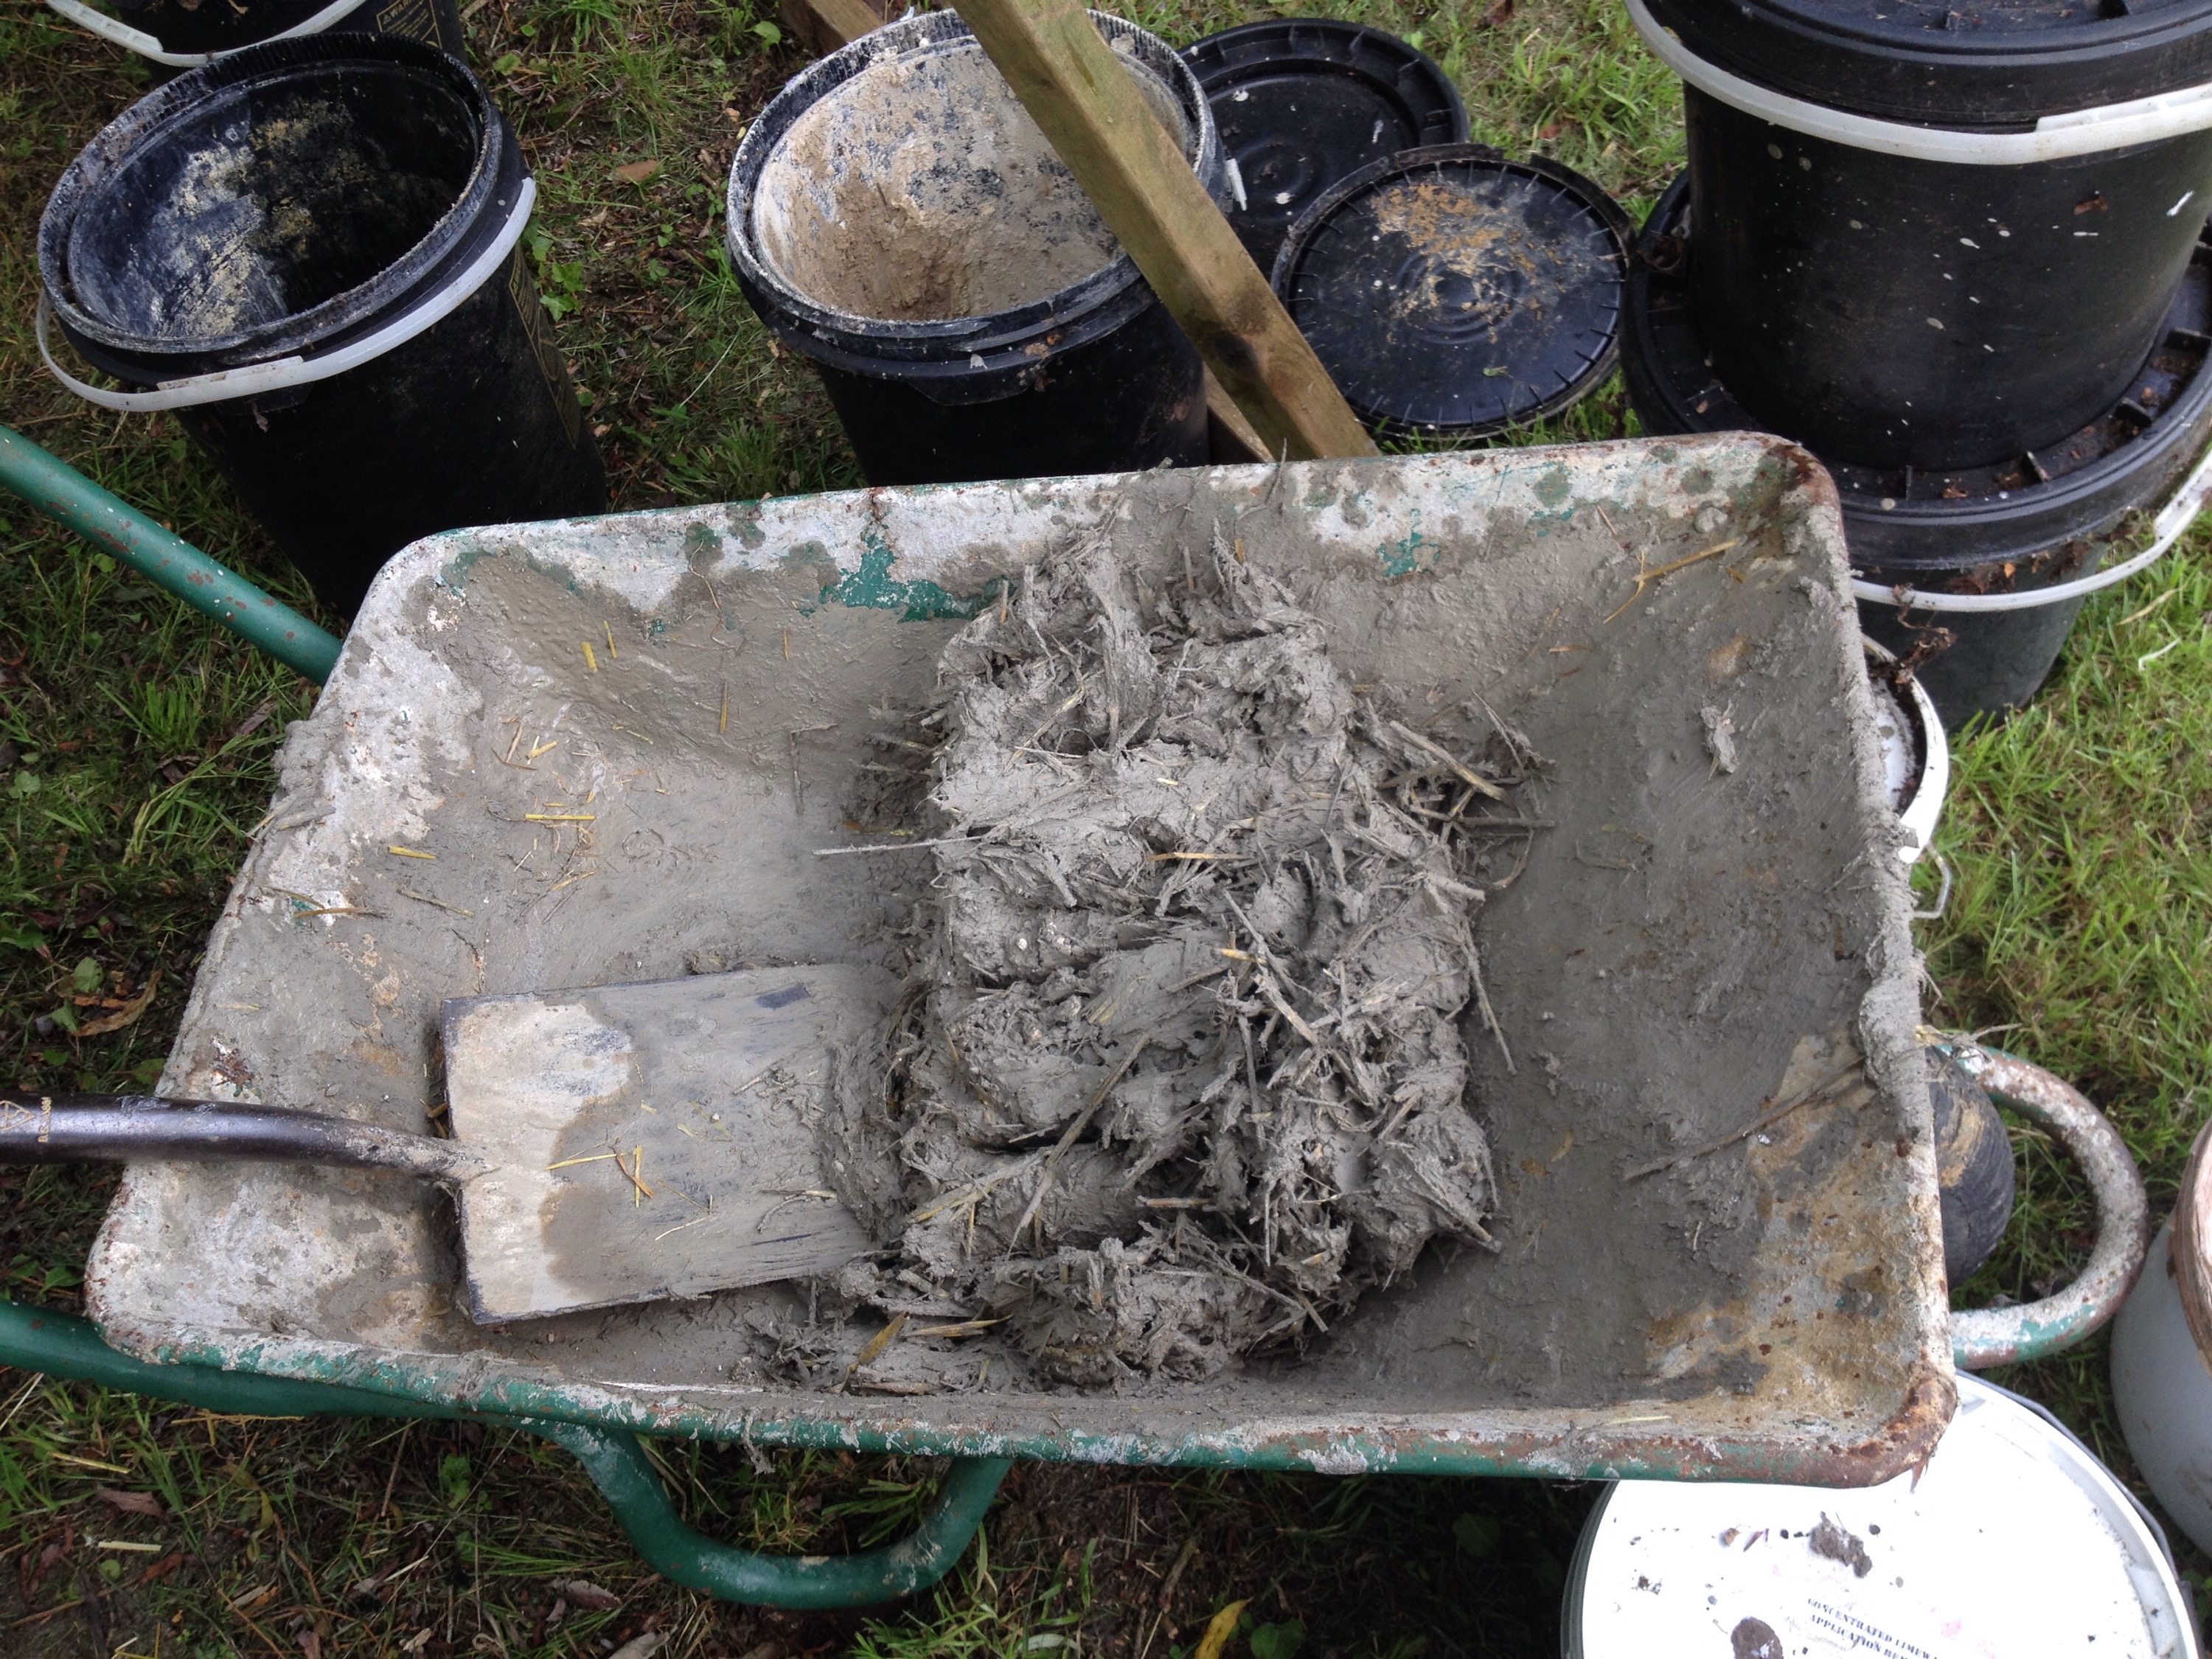
 Then chopped straw was added, which we saved from the field across the road just after a combine had been. We used a generous quantity of straw: the amount in the picture plus the same again later.
 The finished product looked like this:
 Preparing only a small quantity, the clay and straw was pounded and then mixed with a spade in a wheelbarrow; but for larger quantities it is much easier to put the clay on a hard surface, pound it a bit, then tread it wearing old boots to both finish plasticising and to incorporate the straw. The process can easily take 30 or 40 minutes for one barrow load, which is why for larger jobs it is tempting to use ready made daub if you can find a supplier.
In the old days, a cow was tethered over the clay and straw to tread it together, which maybe the reason why urine was said to be an important ingredient of clay daub. We skipped that bit of the recipe!
There seem to be quite a few variants in recipes. On a clay daub course in Essex a few years ago, the method was to add sharp sand and lime putty to the clay to produce a daub mix for repairs which was much closer to a render. That’s how we did the initial repairs to our walls.
But on closer inspection the Brewhouse walls seem to be just grey clay and straw, and there are patches where what looks like the same mix has been used for rough and ready repairs in the past. So this time we’re trying the same method.
It is vital that the old clay is thoroughly damp or the new material won’t stick to it – but it must not be wet, or it will start to disintegrate. A fine mist from a garden sprayer repeated every few hours for a couple of days does the job. A little bit of detergent in the water helps dampen the surface. And avoid hot, dry weather and strong winds.This being August, it was warm and dry so as well as dampening the wall we had to make the clay daub rather wet, or it would not stick. Even then it required a lot of hand and trowel pressure to make a bond. The drawback of using very wet clay is that it produces more shrinkage cracking.
After pressing and troweling on the clay, it was given a quick smoothing over…. … and then scored to make a key for a final coat of chalk, lime and synthetic fibre plaster bought from Anglia Lime.
  As the photo below shows, we also plastered along some cracks to seal them. The synthetic fibres in the plaster make a very strong composite when it is dry and they in effect stitch together weak sections of the surface which is enough to delay repairs for a year or two. The plaster is likely to crack but it can still be worked with a trowel the next day to close the cracks.
This sort of workmanship wouldn’t get me an apprenticeship with a plasterer, but it’s the way this building has been kept together for a few hundred years, and once limewashed it will look just right in the context of a wall covered in old patch repairs.
 In fact, the plan was just to repair with clay and then limewash it, which seems to be how the old wall was treated – limewash has built up into quite a thick crust in places. But with the woodpeckers lurking, a 15-20 mm top coat of lime plaster is a good defence. They won’t get through that.
In general, clay is good for repairing deep holes. But if it is just a matter of protecting sound clay that has become exposed to the elements, then plaster is probably the best answer.
We still have some usable limewash from Ingilby of Glemsford, and that will be applied when the lime is hard but not fully cured, in a couple of weeks time.
