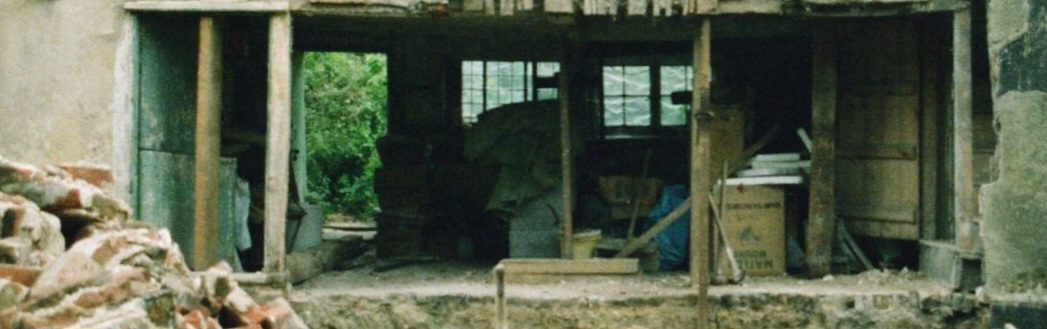
The photos below are among some recently found by our next door neighbour, Ginny, showing work carried out by her late husband, Paul, before we bought the Old Brewhouse. His repairs and alterations were even more extensive than we realised when he first described them to us. These photos add new insights to the history of the building.
(Top) The front of the house before the plaster over two mediaeval mullion windows was removed. (Above) Rebuilding the chimney at the back, demolished because it was on the point of collapse
For more photos and descriptions of previous work on the building, follow this link.
We’ve been worrying more about fire safety since we put secondary glazing on most of the old windows a year ago. All but one of our mullion windows are impossible to get through because the ancient oak bars are as strong as steel. The secondary glazing (or rather polycarbonate sheeting) makes them even more impenetrable.
Downstairs has no no internal doors, five external doors and two opening casement windows, so reassuring if any of the multiple smoke alarms go off. Upstairs, in the bigger of the old bedrooms, one big window has had enough mullions removed to make it easy to get through as an escape route.
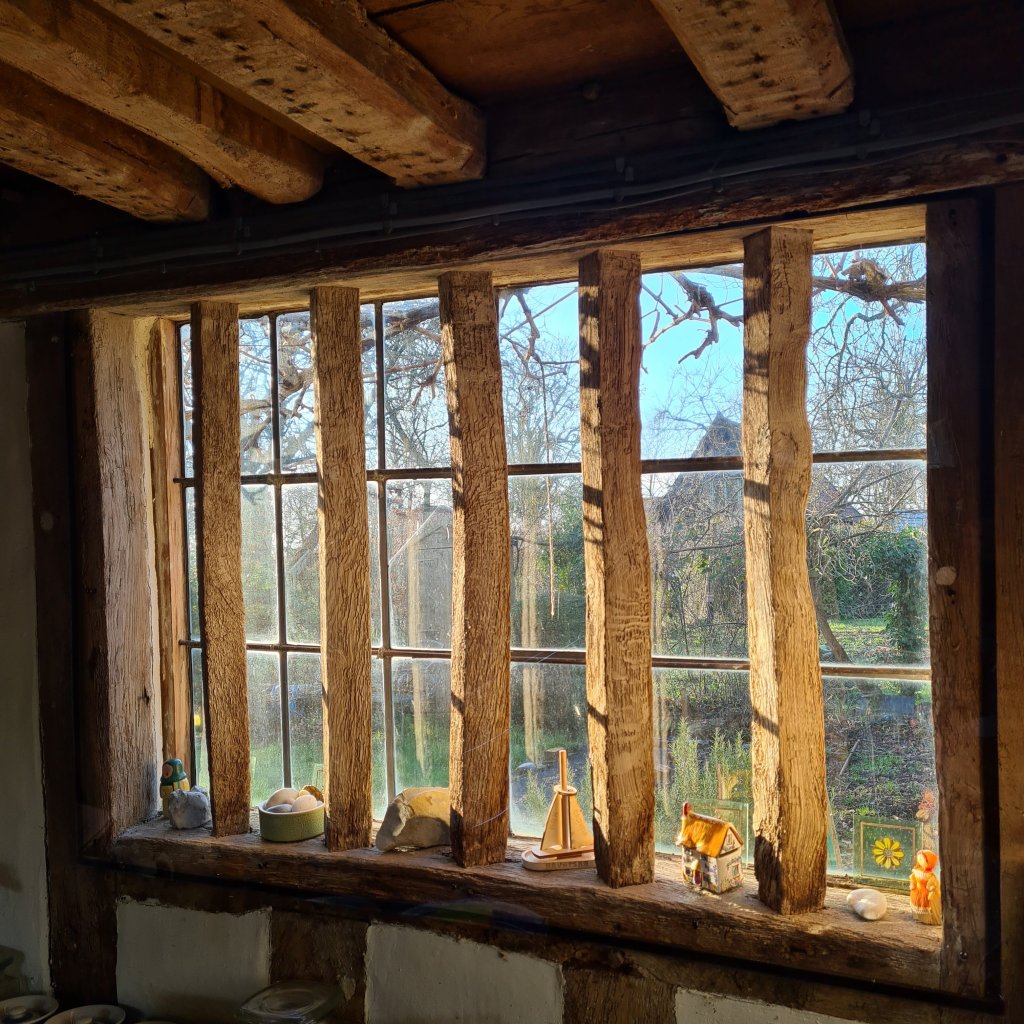
The other 16th century bedroom has three tiny double casement windows. But only one casement on each of the three can be opened – the other side is fixed. A child could squeeze through but an adult would find it a challenge in an emergency.
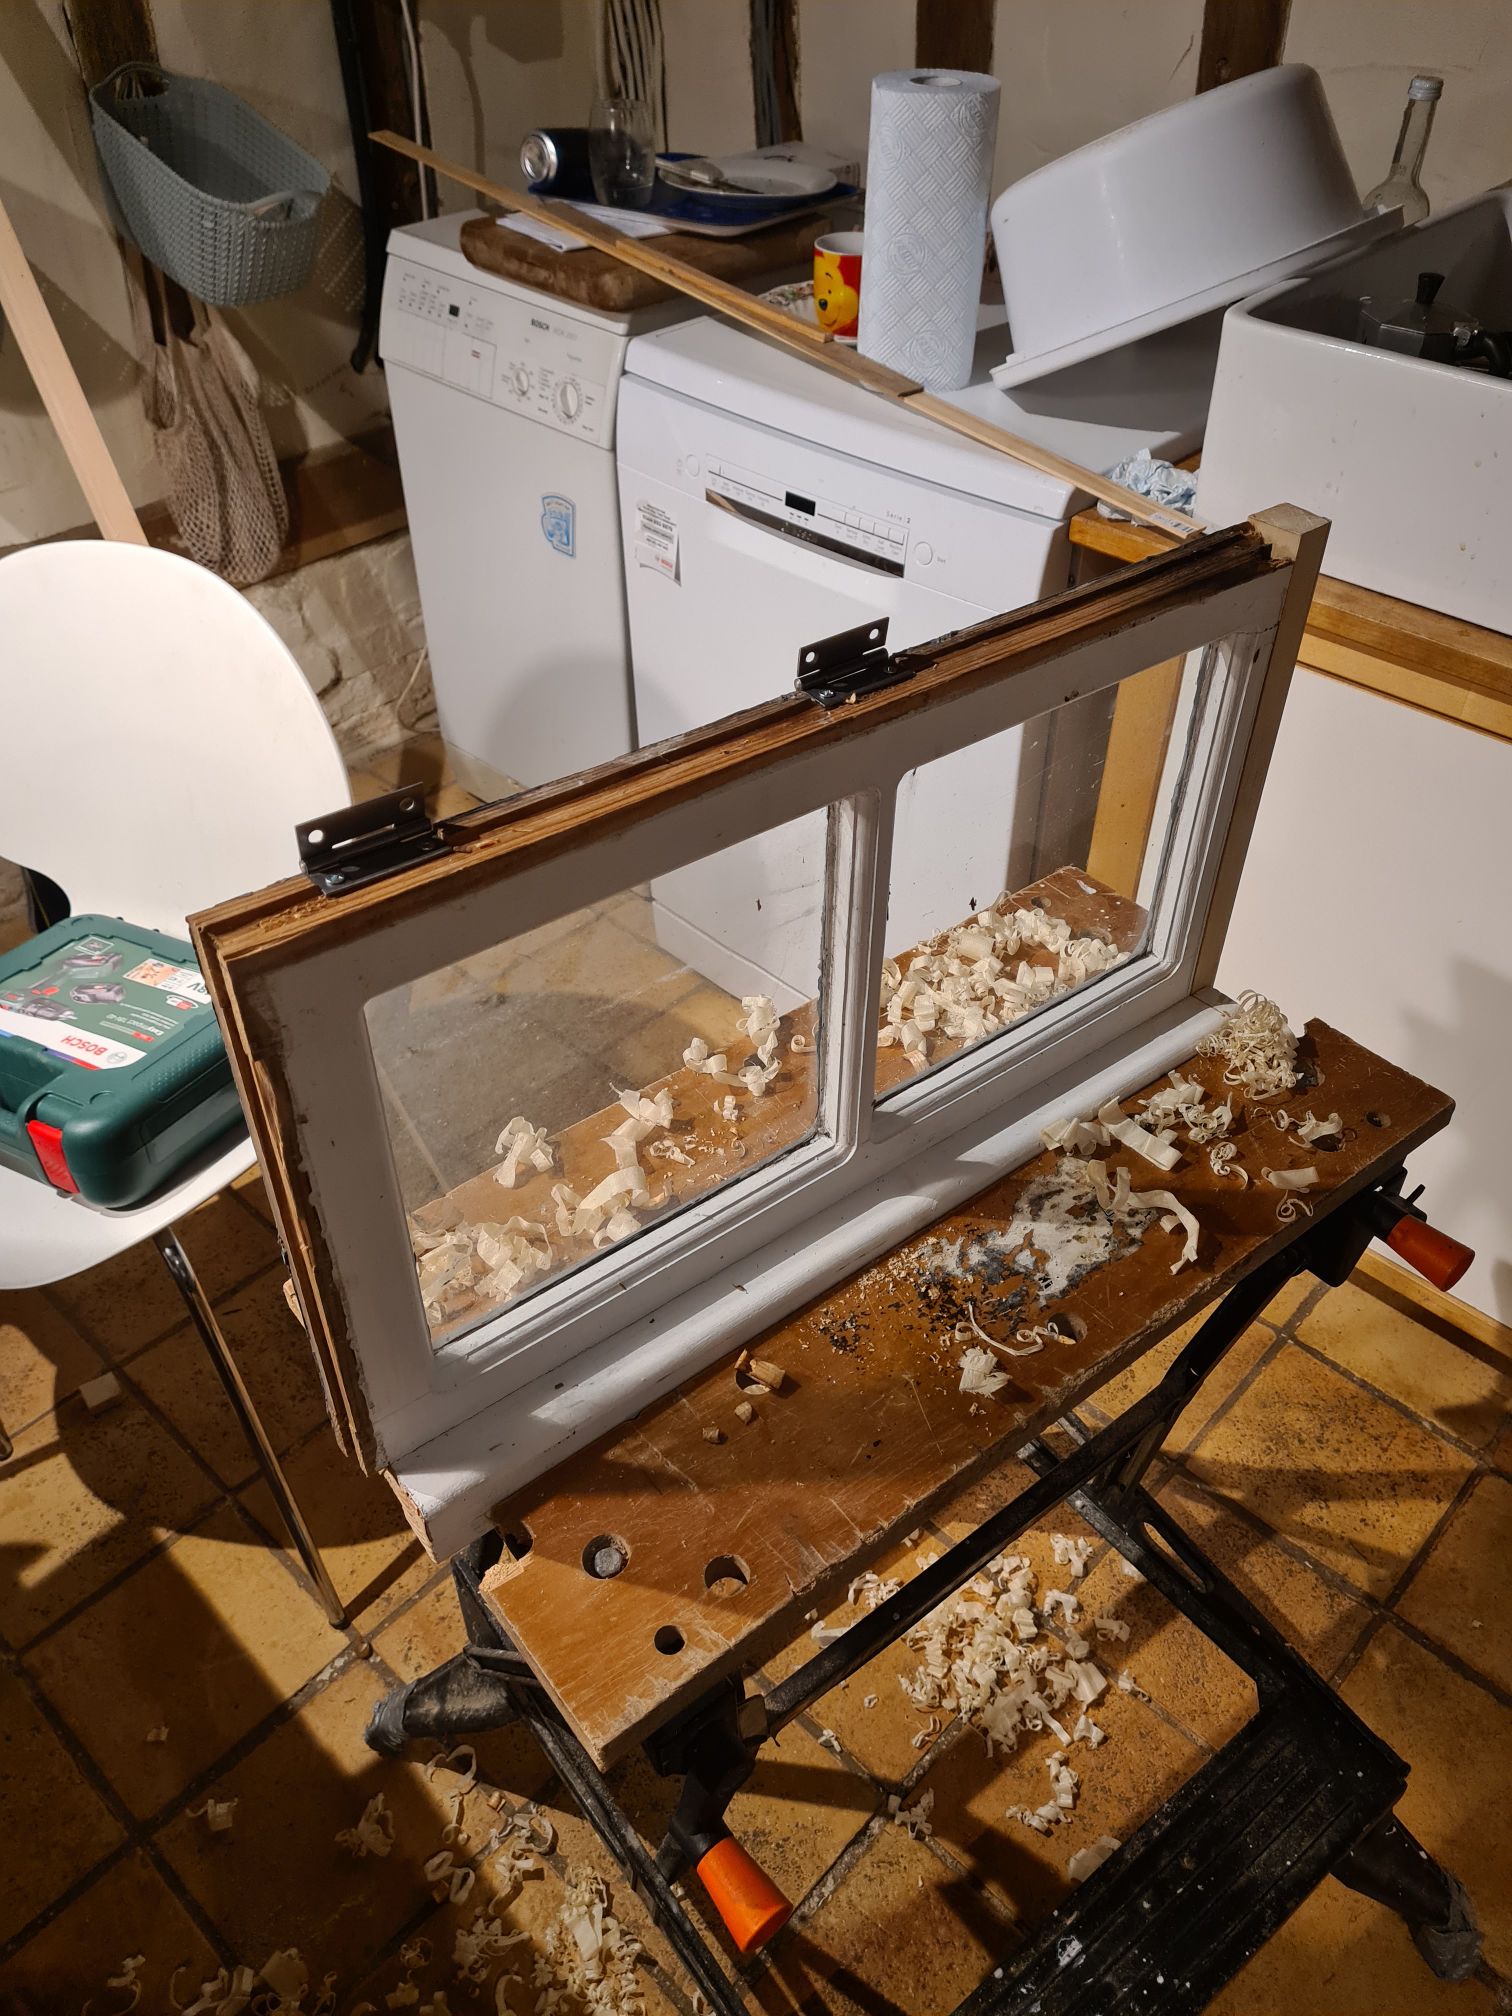
The simplest solution is to make both sides of a window open. We chose the bigger of the three, which is also the one at the back with an easy drop, to try this out.
The central post (not sure if that’s the joiner’s term for it) was cut through top and bottom. The fixed side of the window was prised away from the frame, trimmed, and hinges were fitted, while still attached to the post.
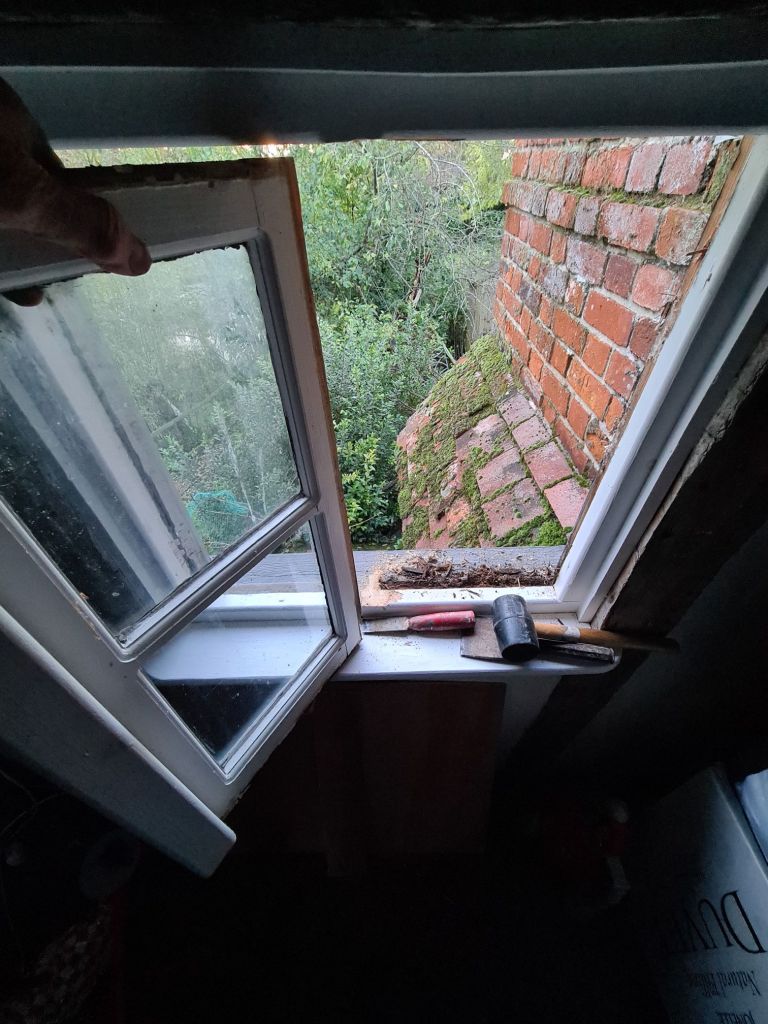
It was then refitted to the window frame, with a new security latch and two bolts. So we now have a window even a large adult could get through easily. I have to admit, we should have done it years ago.
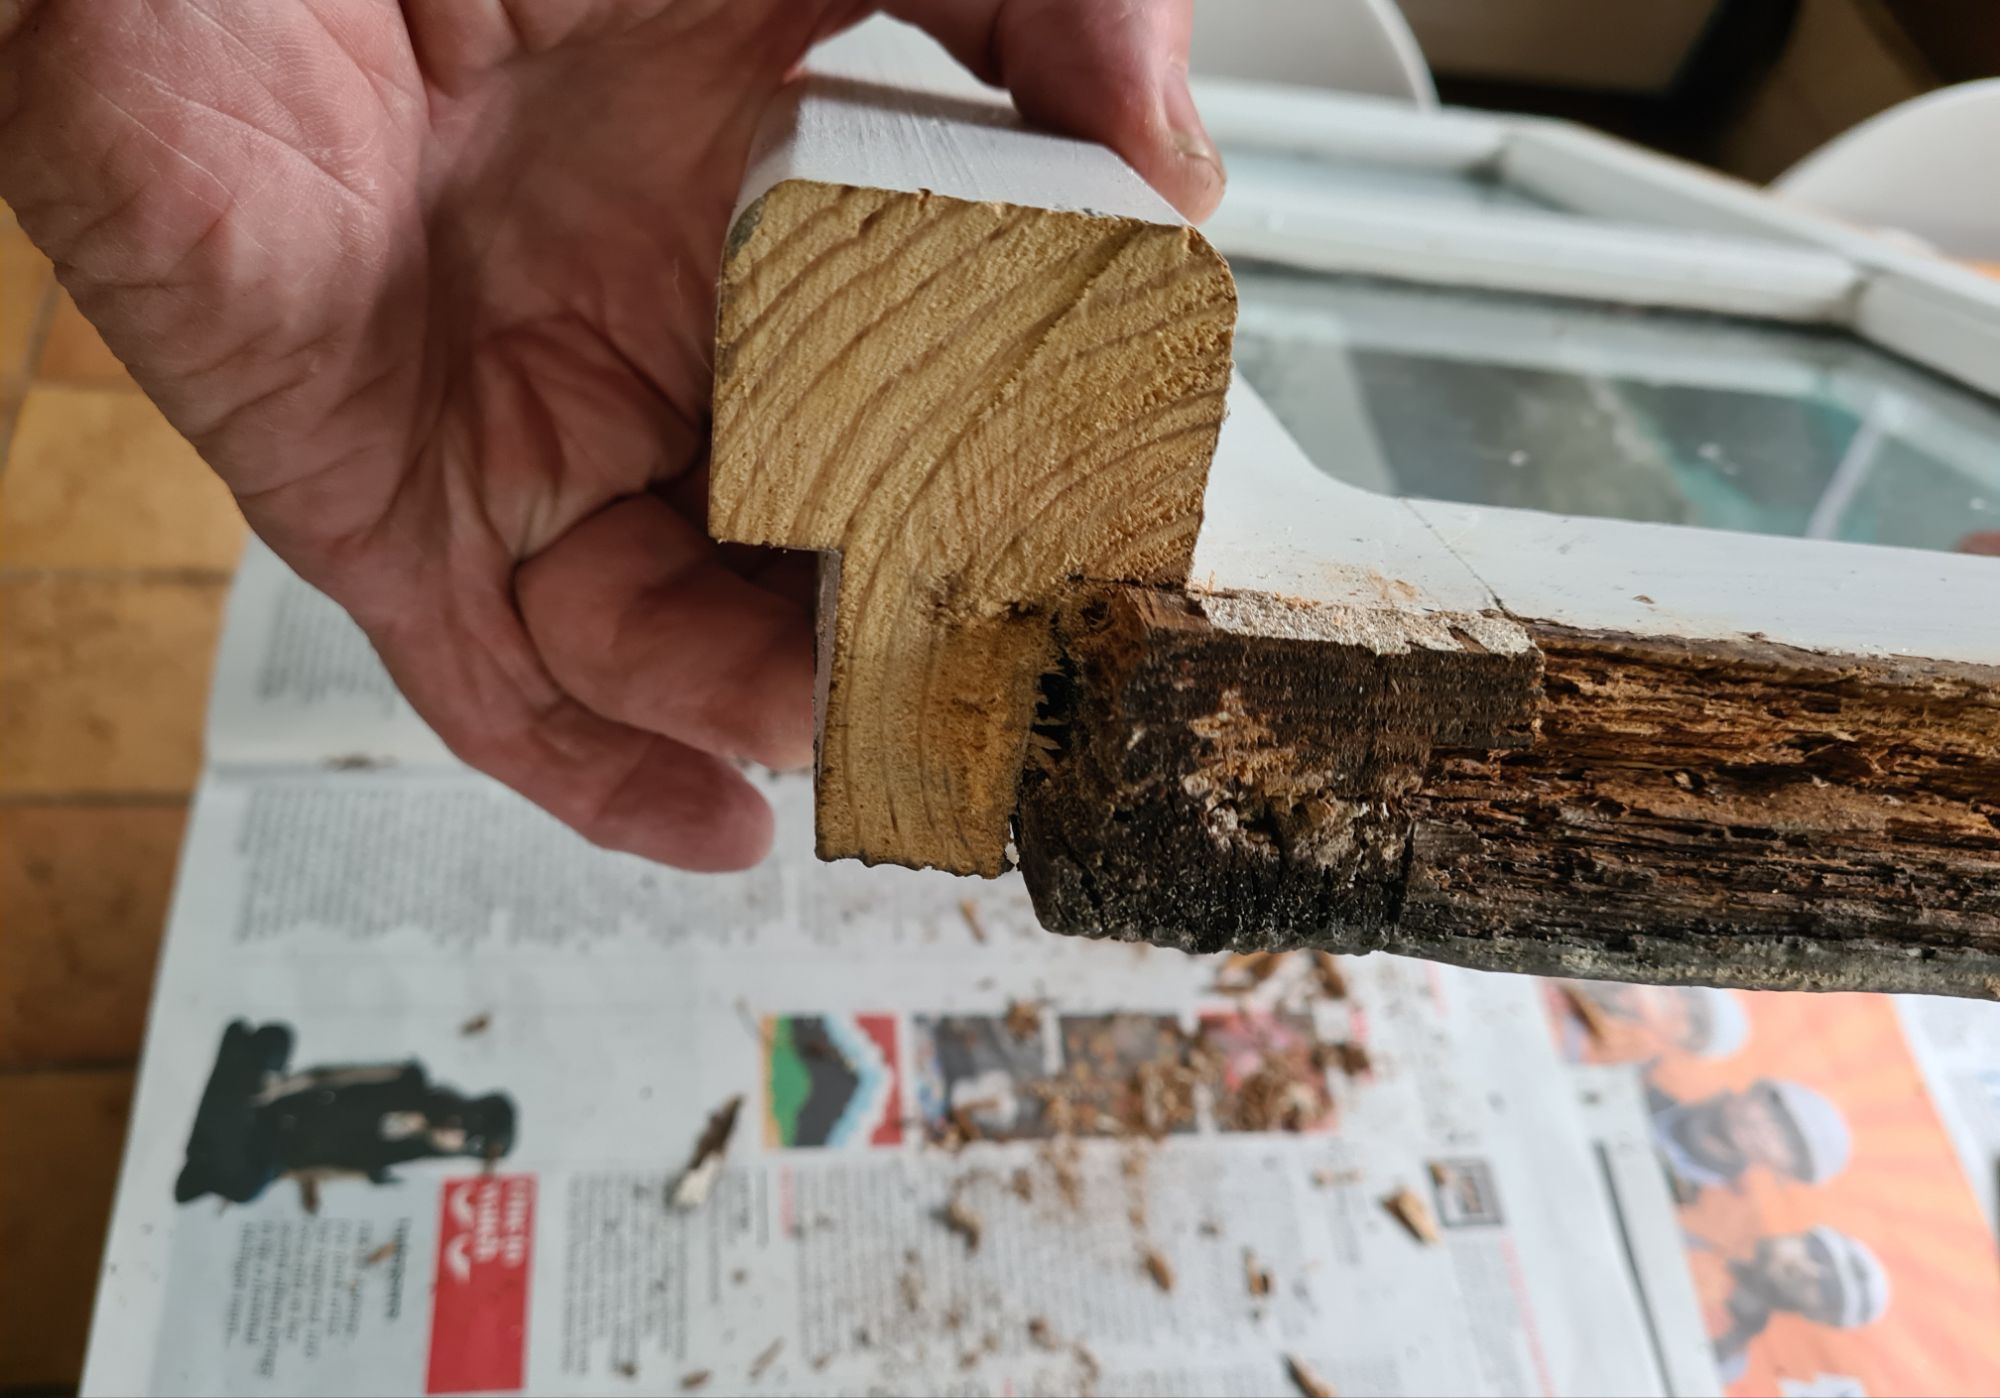
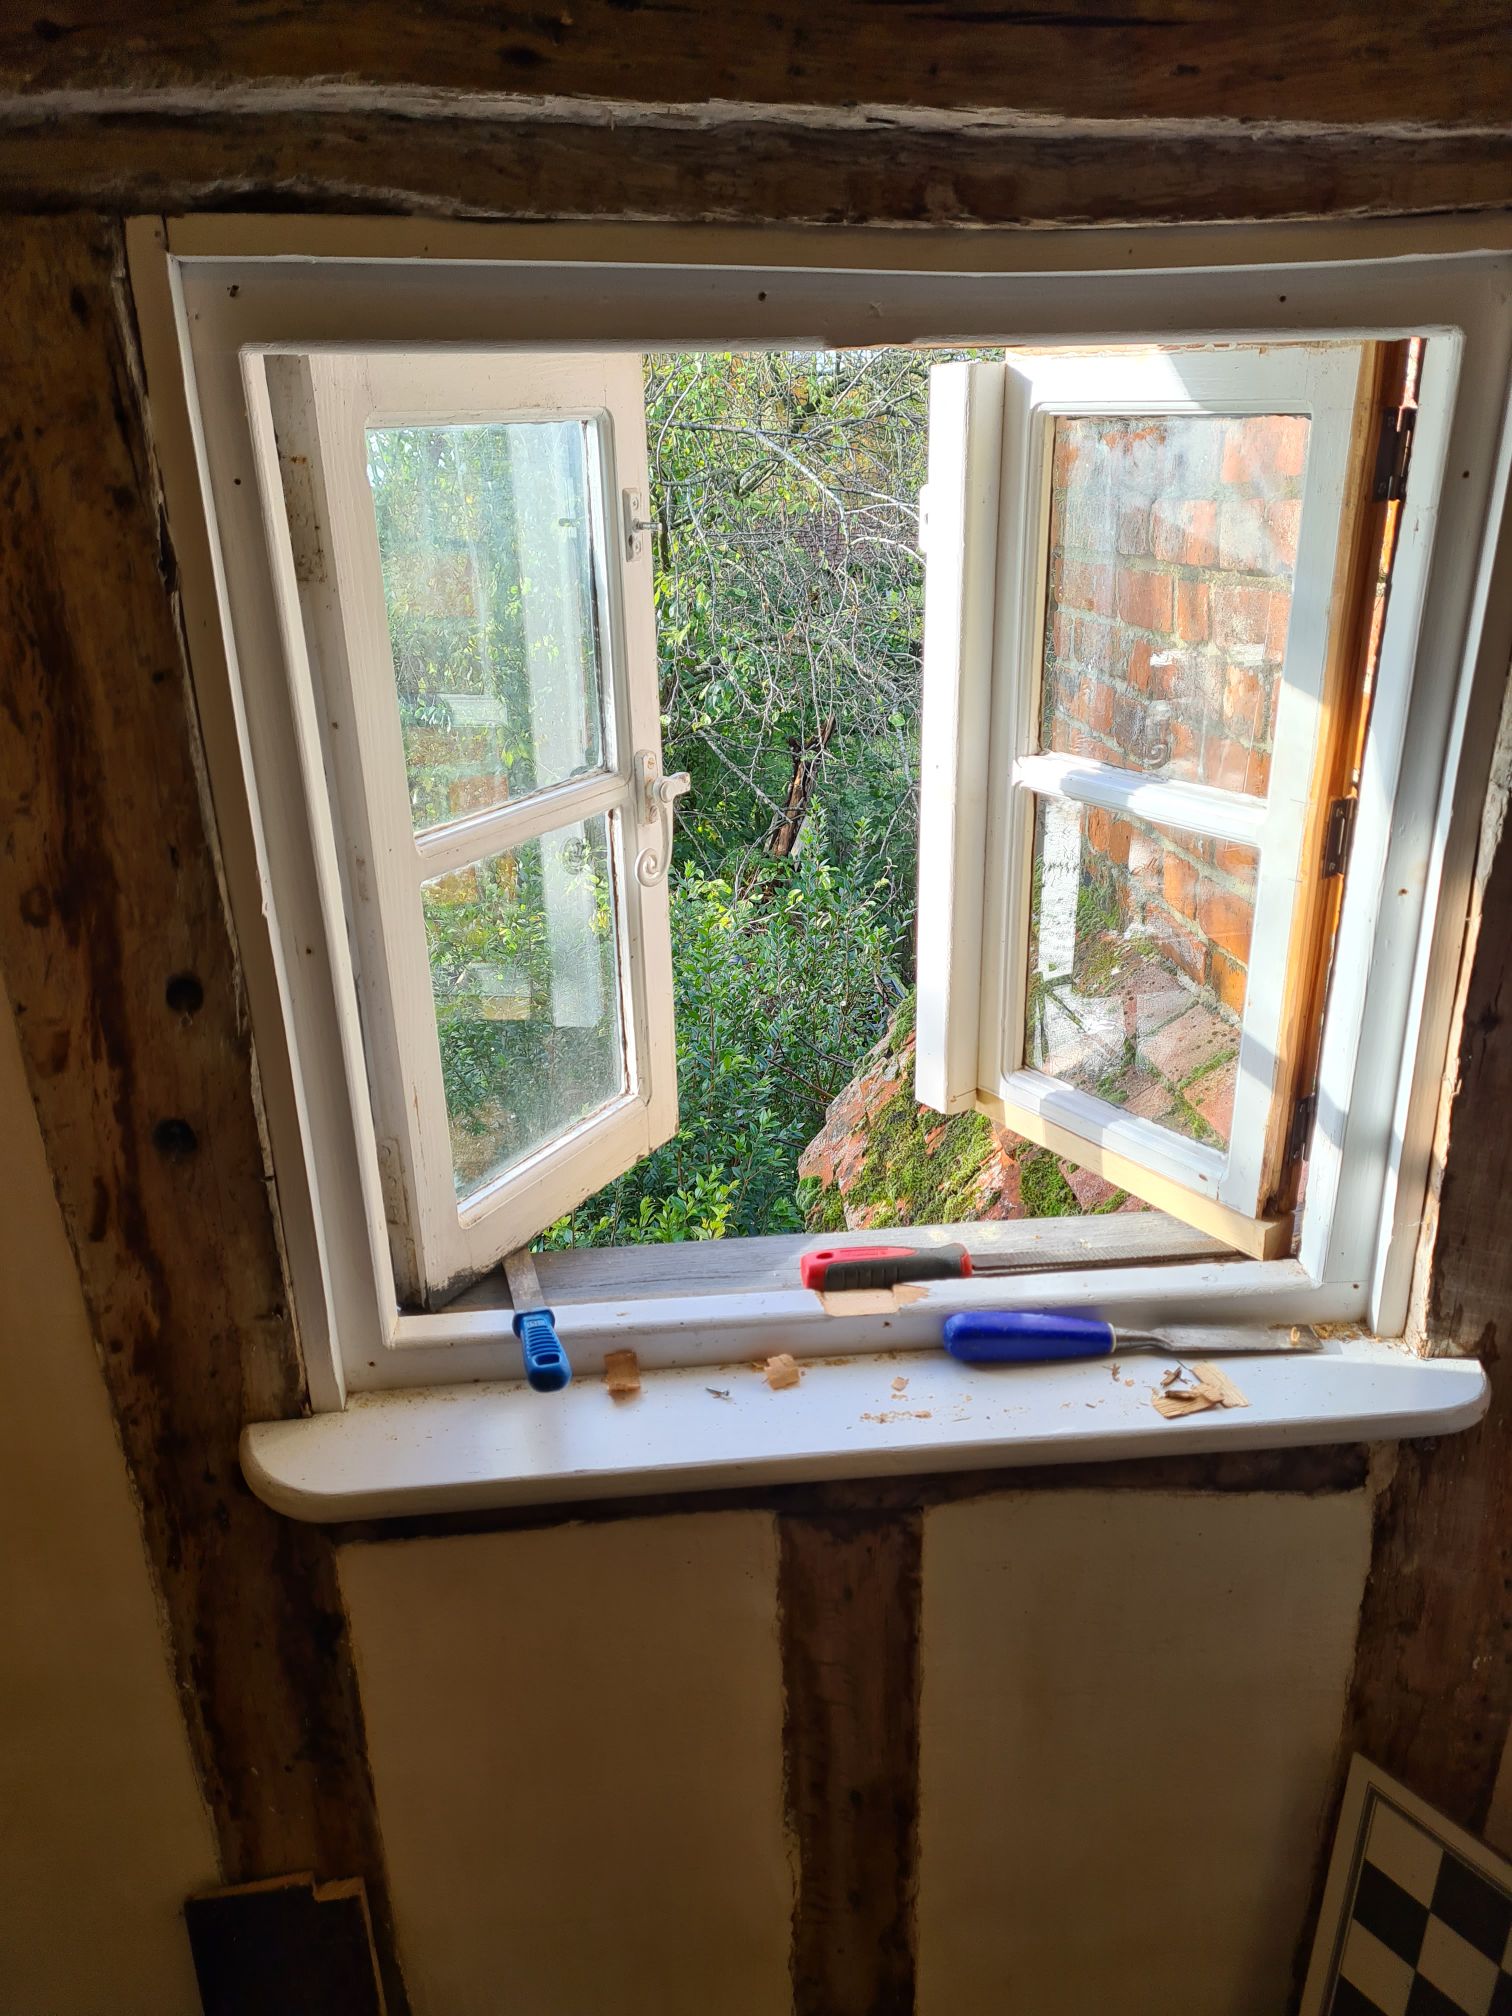
Taking out the old window, which luckily was lightly nailed. We feared it might break and have to be completely remade, but it was intact.The saw cut and thebottom of the window, which was rotten. The rot was cut out and a new piece glued in.The window was a tight fit and had to be shaved to fit back with hinges The refitted opening window. The weather was breaking so finishing work– painting and a final trim – have been left for a dry spring day.
Energy prices have finally pushed us into doing something we’ve talked about for years – installing removable secondary glazing on the windows. In our case, this is worthwhile for draft proofing as much as for improved thermal efficiency, because we have 7 leaded windows, which are leaky, and impossible to seal any other way.
Secondary glazing needs to be light, easy to carry and hard to break, making it safer if we want to take it off for storage in spring and reinstall in the autumn. It turned out to be quite simple to do, using sheets of solid polycarbonate cut to size by the supplier.
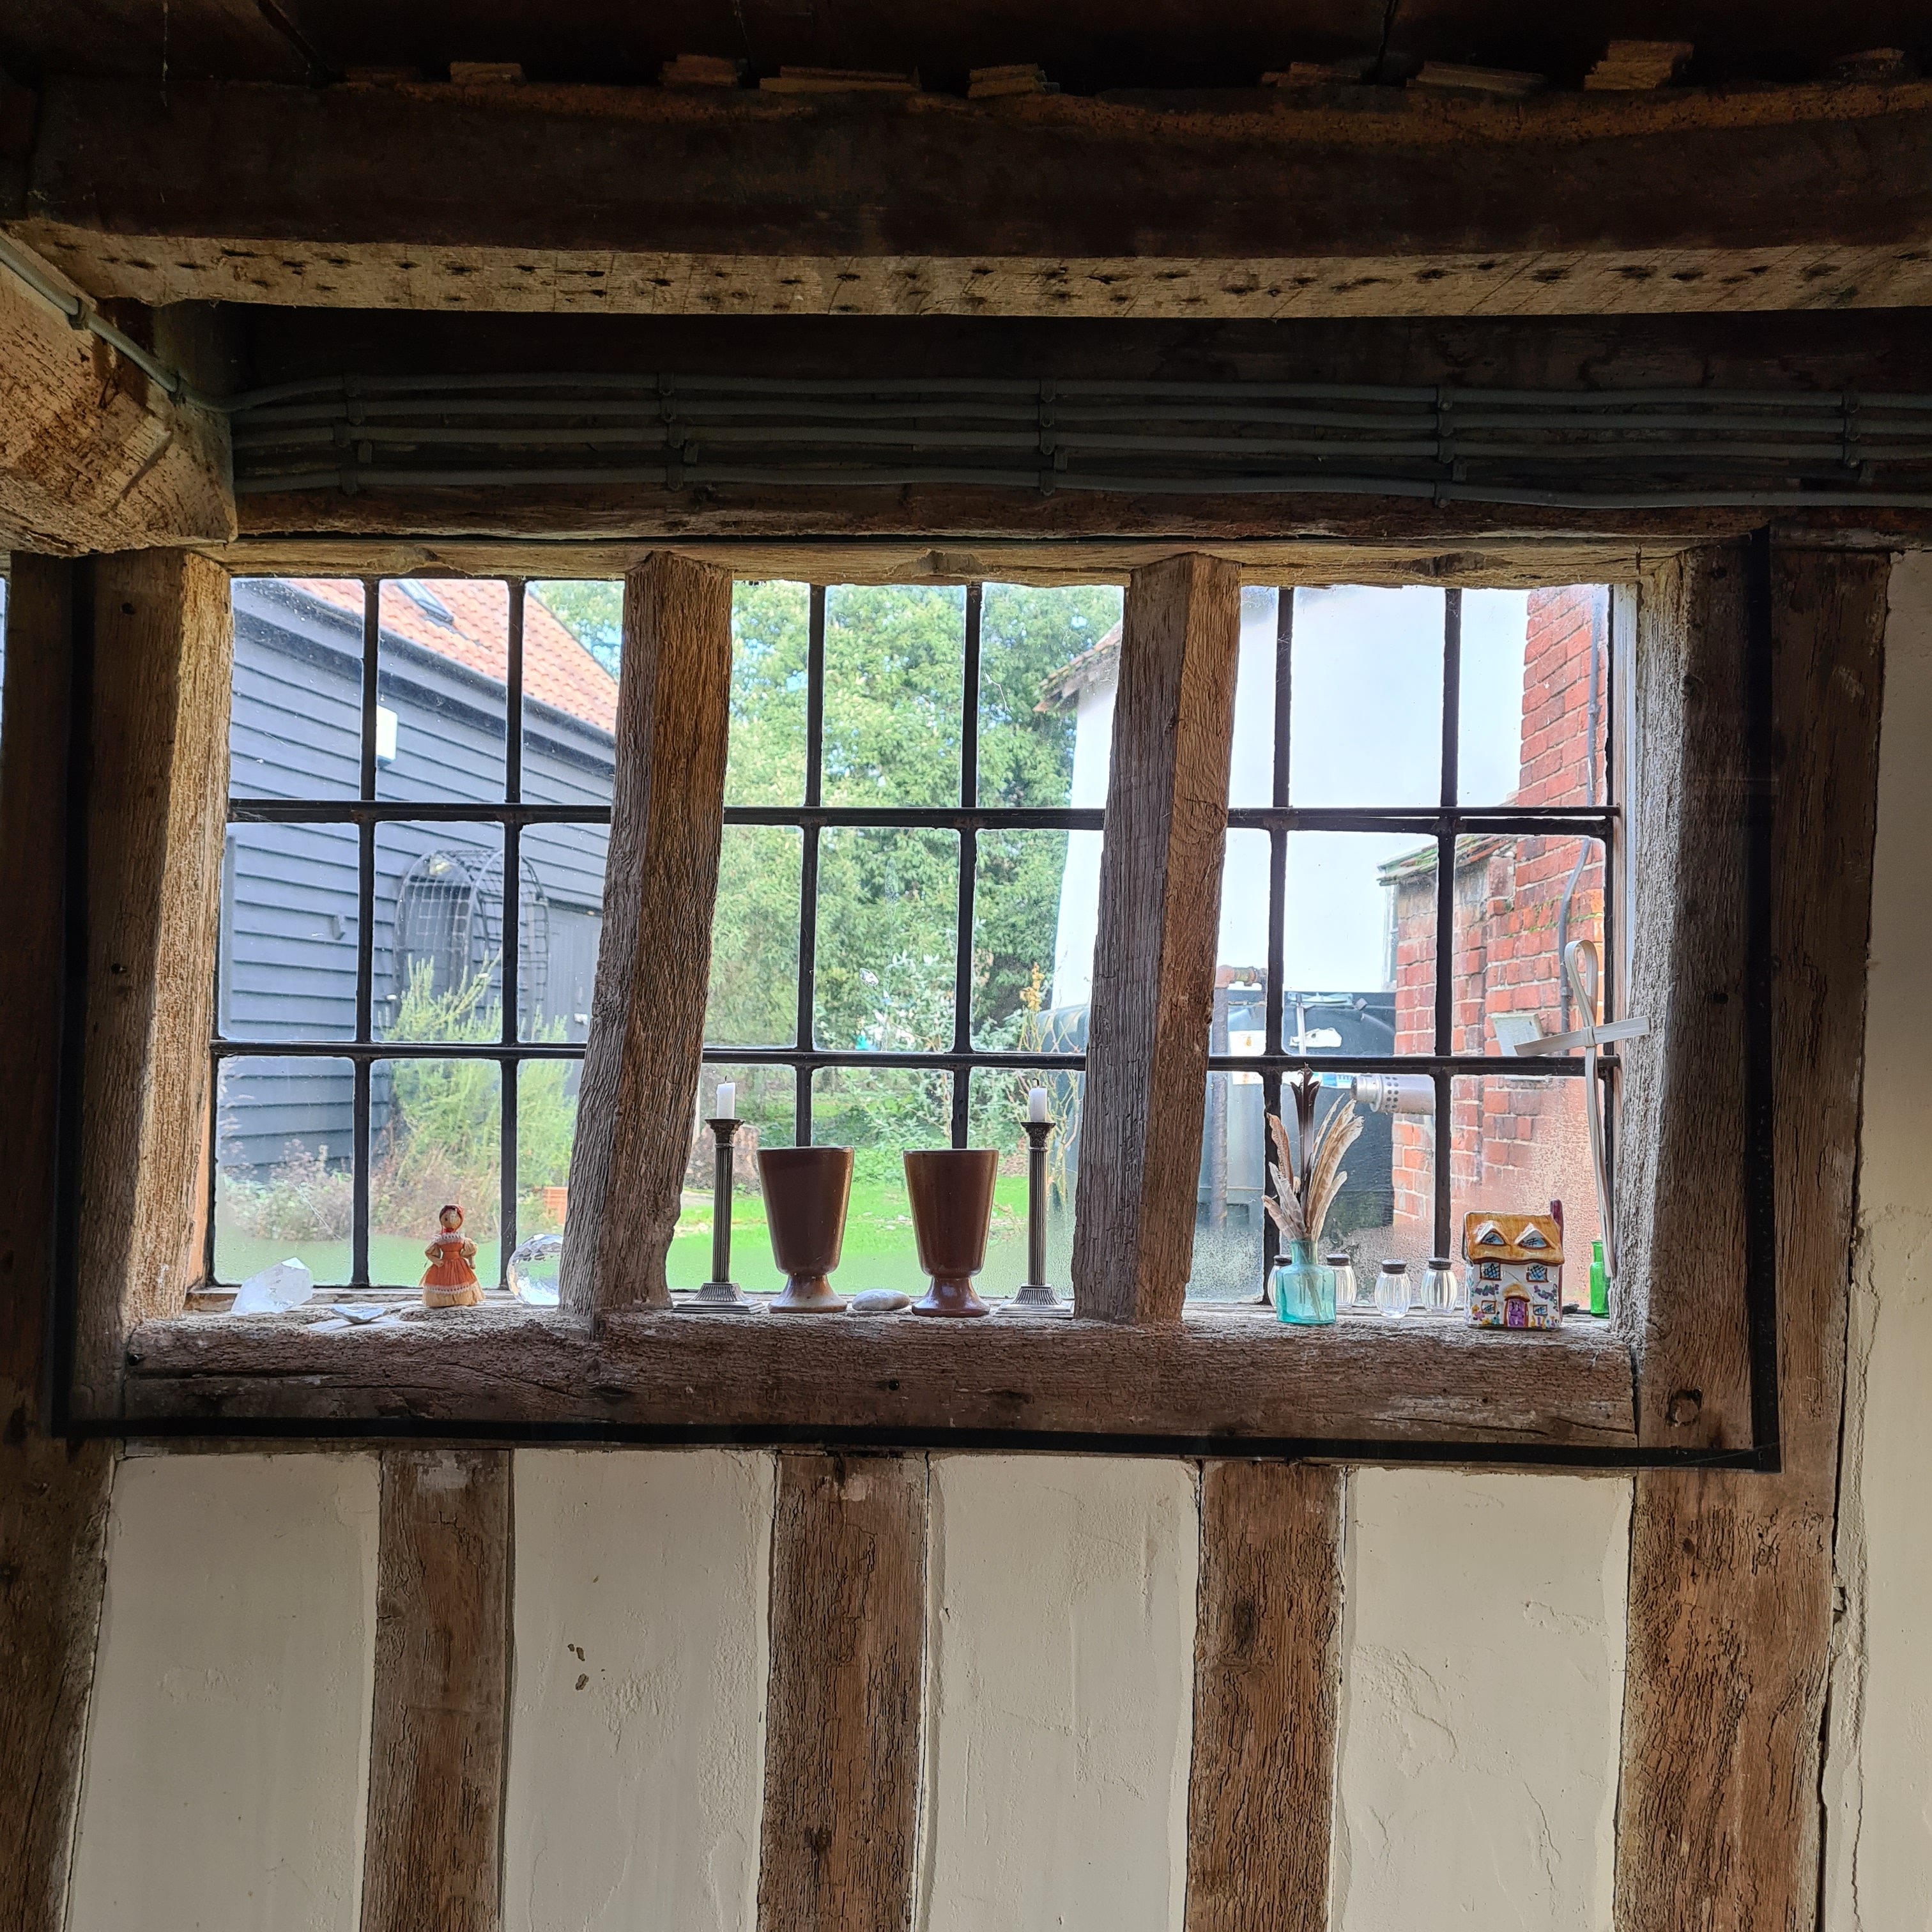
The polycarbonate sheet is hard to see on this mullion window
The great advantage of polycarbonate in a crooked old house is that it’s far easier to drill and cut to shape than glass. In our case, that required several curved cuts to fit against ancient oak posts and beams, which I’d hate to try with glass.
Polycarbonate is also half the weight of glass, just as transparent, and very tough indeed. The disadvantage compared with glass is that it is easily scratched by rough handling or careless cleaning if you don’t follow guidelines. But those problem are far outweighed in our case by the advantages.
There is another choice, clear acrylic. This is similar to polycarbonate, which was not far short of twice the price, at just under £50/square metre against around £26 for acrylic.
Polycarbonate is much the strongest. It’s a bit less easy to cut and drill, but its UV resistance and much greater strength – needed for regular removal and reinstallation – made it worth spending more.
At first, we thought we’d need to build wood frames to support the polycarbonate. We bought a 3mm thick sheet for one window as a trial, and it was clear immediately that the polycarbonate was stiff enough to mount without a frame.
Thought needs to be given to how to fix the sheets and that will vary with preference and type of window.
Nine windows in the old part of our house are old and irregular, eight of them with oak mullions, one of which is already well insulated.
Polycarbonate on a 19th century window
After playing around with the trial sheet, much the easiest solution was simply to screw it to the window frame, accepting that the small holes would be visible when the glazing is removed. This worked with both the mullion and the more modern windows.
A complication is that it is advised not to drill holes less than 40mm from the edges of the sheets, or it could produce cracks. So where the window layout does not allow a good overlap of the sheet with the frame, another method is needed. The simplest is to hold the polycarbonate against the foam with removable battens.
This short piece of wood was enough to hold one side firmly against the draught-proofing foam
Given the sheets’ stiffness, the battens do not need to be continuous all the way round. A few short ones or small, swivelling toggles would do the trick, depending on the exact design of the window. Others may come up with different solutions.
Next question is how to make a seal between smooth plastic and the frame. Our solution was ordinary foam draftproofing strips with adhesive backs, stuck all the way round the edges of the sheets.
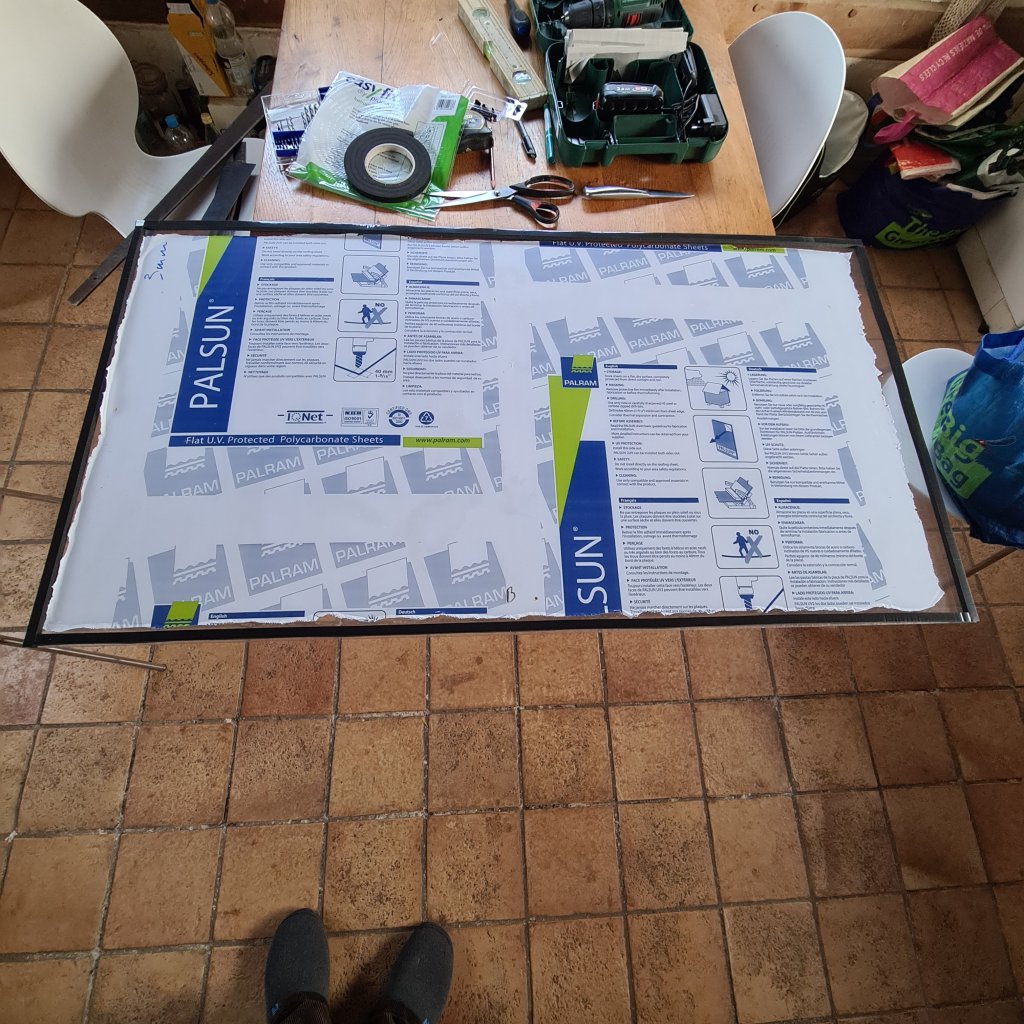
Applying draught excluder to the edge of the sheet. While working, leave most of the protective film on the polycarbonate sheet till the last minute, peeling back just near the edge to applythedraught excluder.
For the Victorian and more recent windows, where the timber surface of the frames is flat, white 5mm foam was enough. For the irregular oak timbers framing the mullion and other windows, we used brown 10 mm draftproofing strips.
The technical advice sheets say use new and very sharp drill bits for the holes to avoid cracking or overheating.
Tighten the screws evenly, each one a little at a time, as you go round the perimeter, several times. Tighten as little as possible, or the polycarbonate will distort. They need to be just tight enough for the foam to make contact all round.
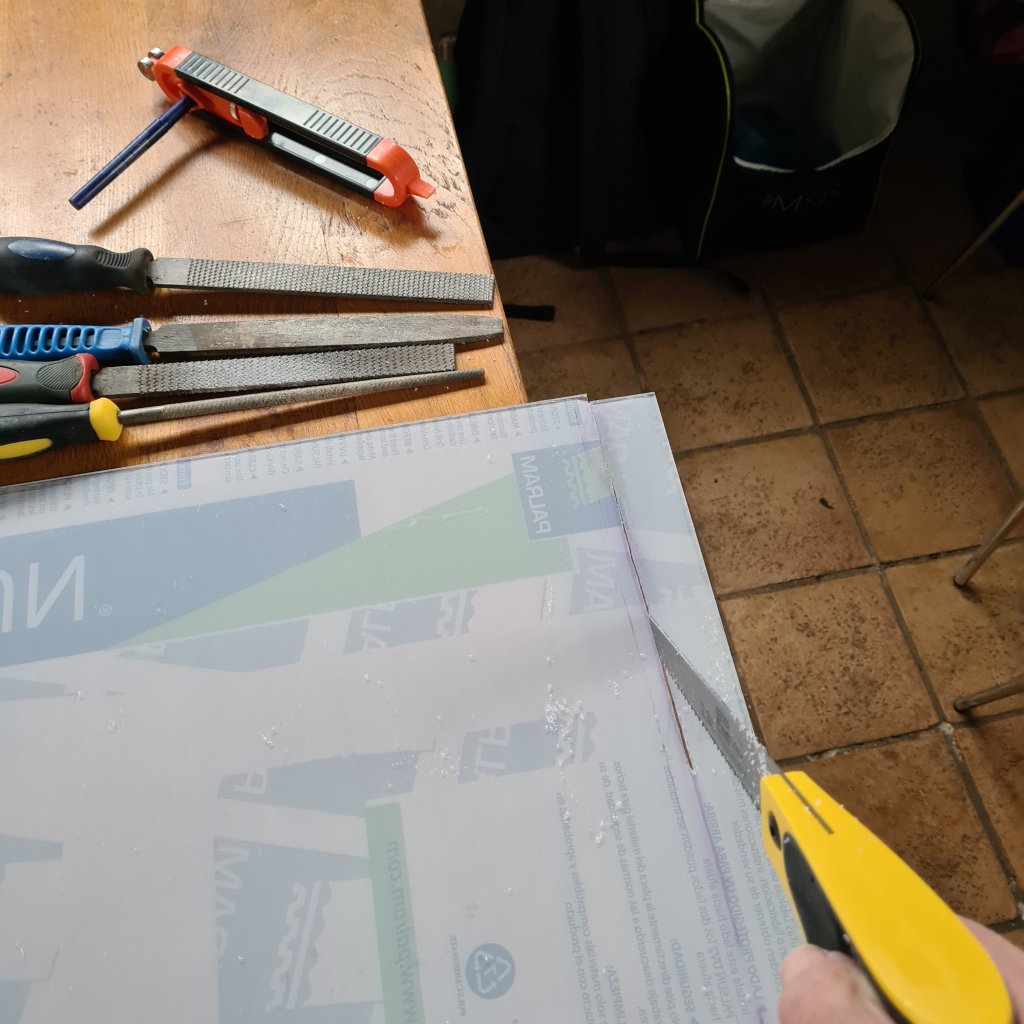
Using a fine saw to trim the sheet, leaving in place the protective film on both sides. A scribing tool was needed on this sheet to mark a gentle curve.
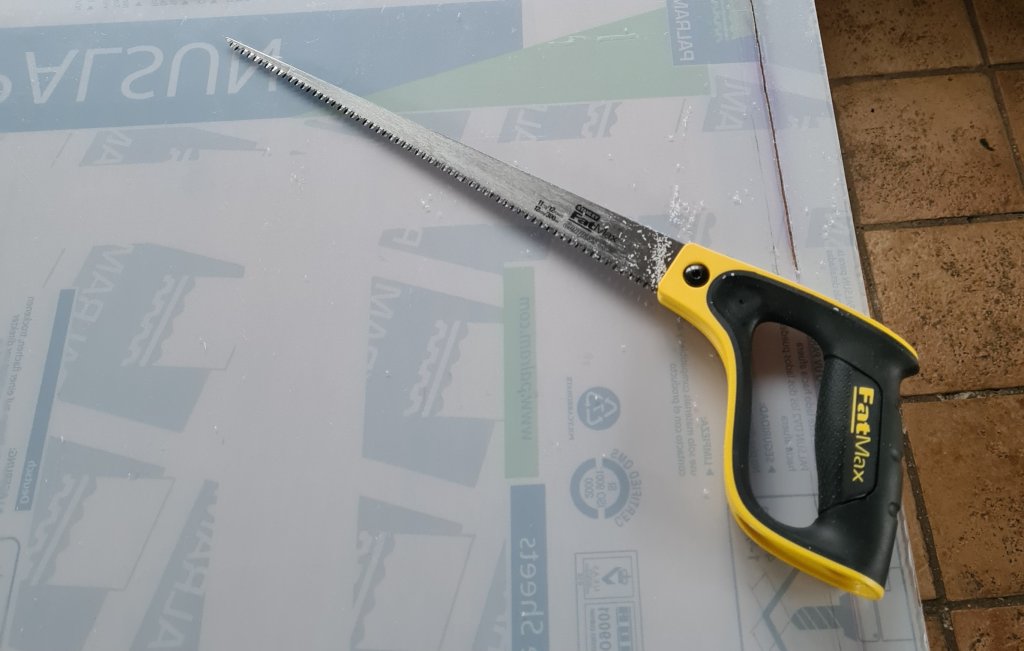
Some trimming of the sheets may be needed if the window frames are not square; if done with a power jigsaw, then a specialist blade for plastic is required, to avoid melting the material. In fact, it was easier to use a new, sharp handsaw, as we did not have much cutting to do.
This saw cut shallow curves quite well…..and this very fine-toothed saw worked well for straight cuts.
Fine adjustment of the shape of the perimeter can be done with a sharp flat file, though make sure the sheet of polycarbonate rests on a clean, flat surface while you do it.
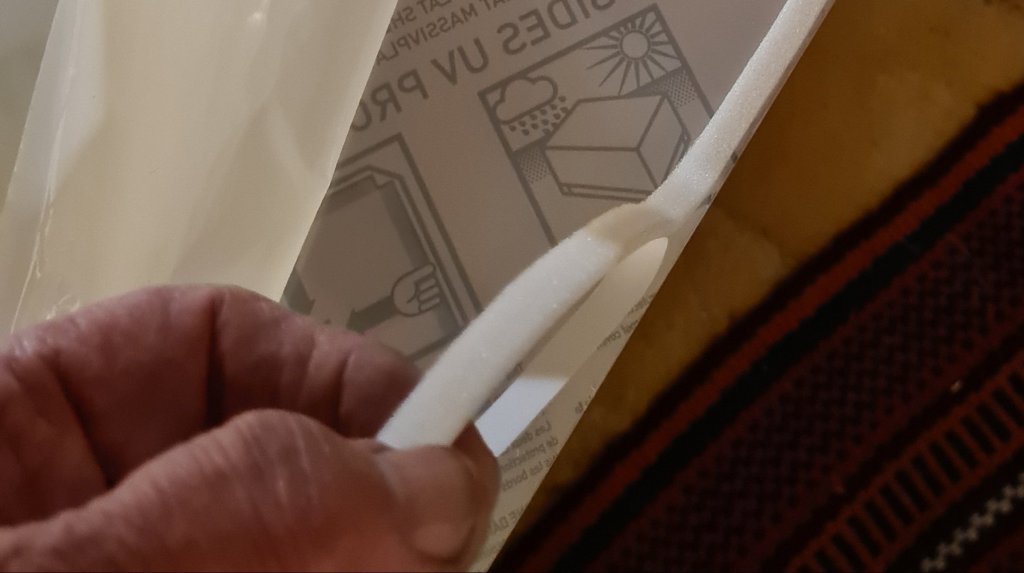
The sheet comes with a plastic protective film on both sides, to peel off just before final installation – it is important to leave it on as long as possible. The type we bought has ultra violet protection on one side, and that should face outwards. The correct side is marked on the film. Some later sheets had UV protection on both sides.
Sheet with protective film still in place, ready to screw to window frame. Here black draught excluder has been applied all round the edge.
Because polycarbonate is stiff, we found 6 x20mm screws at around 250mm to 300mm centres were an adequate size on windows where the sheet rested on the window sill and 5mm foam was used.
Where the sheet used 10mm foam (on rougher oak surfaces), and had no support from below, we used 8x25mm screws. We used zinc-plated steel screws on white-painted windows, and round-headed black japanned where we screwed into dark oak timbers.
An old oak window with polycarbonate fittedusing black draught excluder. (Three mullions are missing from this window).
The cost averaged at around £60 a window, including a modest amount for draughtproofer and screws. Our supplier, which delivered accurately cut sheets on time, was https://www.thepolycarbonatestore.co.uk
Be very careful cleaning polycarbonate, because it scratches easily, even though it is hard to break. I made a mistake on one window, cleaning it with an ordinary wet cloth and not noticing grit had fallen from the limewash wall above. I found tiny scratches, luckily much less obvious than the distortions and scratches on the old Victorian glass of the window behind. Your supplier should have advice sheets on cleaning: stick to what they say. Some everyday cleaning products and cloths can damage polycarbonate and it should not be wiped and dusted with dry cloths.
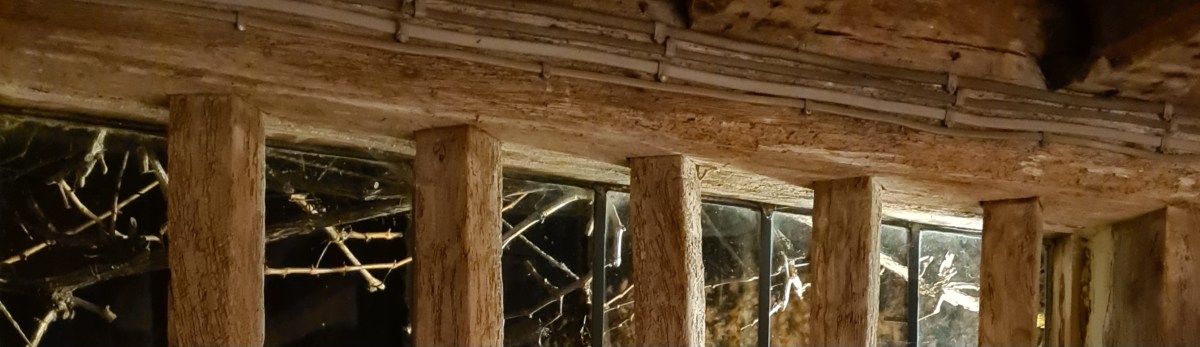
Apart from the sill, none of the sides of this window are straight, so trimming was needed.Detail – the sheet and foam fitted neatly upwards into the slot in the beam above this mullion window, along which the old wooden shutters used to slide. We have one complete workingexample of a traditional shutter, so that window does not need polycarbonate.
We had planned to remove the polycarbonate each spring and reinstall in autumn but, on reflection, there’s not much point on the mullion windows as they cannot be opened. So these will only come off for cleaning. Polycarbonate on opening windows will go in the garage for summer storage.
Keep any cardboard sheets the polycarbonate is packed in. It will be useful to protect them during summer storage. I also kept some of the protective film, in case any sheets turned out to need more work.
And finally,there is a great deal of information on line about secondary and double glazing. For modern double glazing, optimum air gaps are no more than 20mm, beyond which convection begins to remove some of the benefits.
For a complicated listed building like ours, secondary glazing can only be fitted in practice with much larger air gaps, of 50 to 150mm, so thermal performance cannot be anything like as good (though noise insulation is improved, if that is what you need – but we don’t).
I can’t quantify the heat performance of our secondary glazing, and anyway it would not tell us much if we knew.
That’s because an unquantifiable part of the heat loss is through the leakiness of our old windows, especially our 7 leaded windows, which have draughts around many of the small panes, and I cannot see any other simple way of stopping that.
All I can say is that there was an immediate improvement in thermal comfort once secondary glazing was installed, from a combination of reduced draughts and improvement in thermal efficiency.
PS One way to judge which windows in an old house are leakiest is to see how many spiders webs are on and around them. Where there are draughts, spiders put webs, because draughts help them catch prey more effectively. Till installing the secondary glazing, our leaded windows have had to be cleared of webs every couple of weeks. Spiders are ineradicable from a 16th century house, though thankfully ours are mostly the tiny bodied, long-legged but innocuous looking Daddy Longlegs.