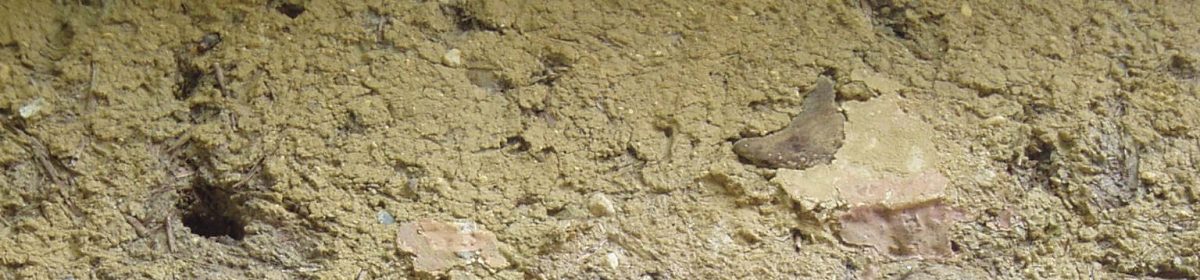
With the housepecker feeding on the building (see previous post), we were reminded to check the walls for surface cracks and any exposed clay daub beneath. The birds love digging into a soft clay surface to find insects.
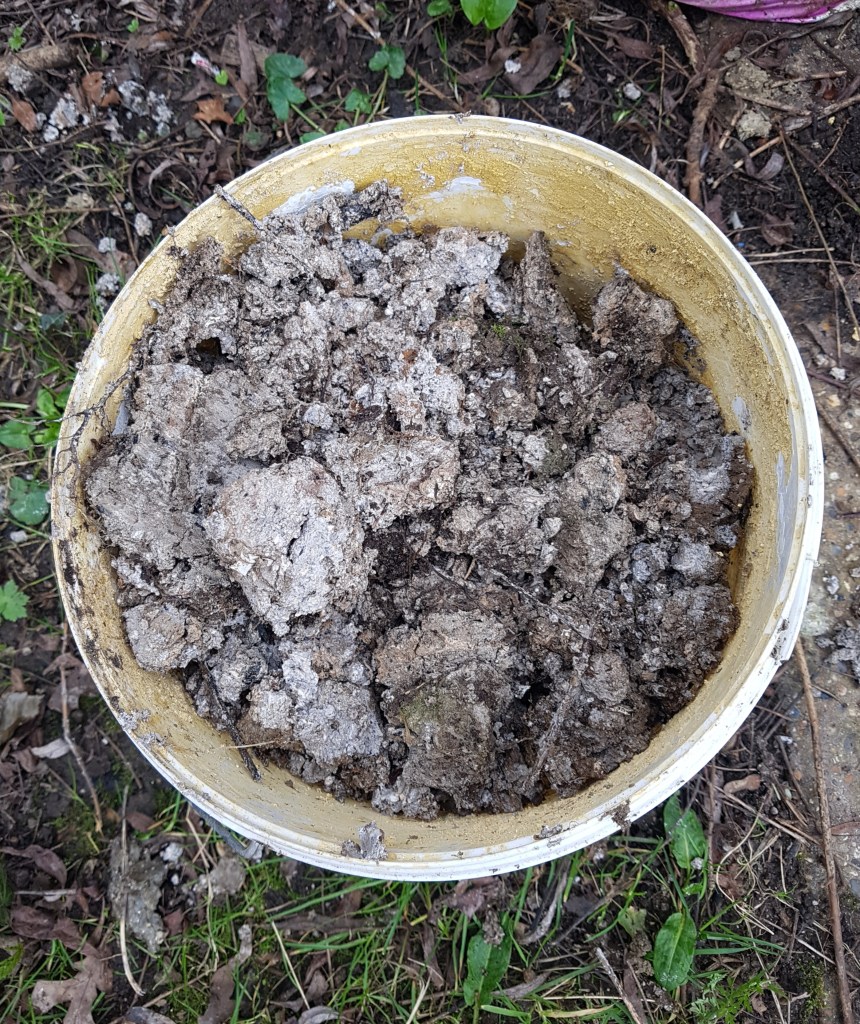
Chalk-lime plaster from Anglia Lime is excellent for these quick repairs. It works almost like putting stitches or sticky tape over a crack. When cured, the fibres give a thin layer of plaster a lot of strength. You can see this by picking up a dried spill: it will bend like a piece of leather and be resistant to tearing.

This is very helpful on an old clay daub wall, which is always prone to non-structural surface cracking, as the clay underneath the wall’s footings dries in summer and wets in winter. These surface cracks are not serious, but if left can quickly spread, letting water, insects and eventually woodpeckers get at the soft clay underneath.
Our walls are a messy mixture of surfaces accumulated over centuries. We agreed early on with the conservation officer that we’d patch repair as much as possible to preserve the old clay, a piecemeal approach which is probably what the farmers have always done. A full surface strip and replastering loses a lot of old material.
The clay daub seems to have been preserved originally with many layers of limewash straight onto the daub, creating a thick crust like a plaster, which is still there in some places. In more recent years – which could mean back into the 19th century – thin patches of cement have been slapped on to cover damaged clay surfaces, sometimes with broken brick shoved underneath to fill holes in the clay daub.
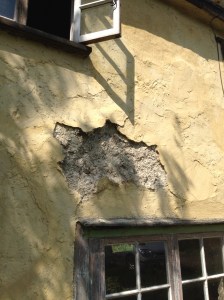
When we arrived, the first thing we did to the outside was to use new clay daub and a lime and sand render on a dozen areas where old coatings had fallen off, the clay was exposed and woodpeckers had dug deep holes (I’m afraid I do go on about them sometimes, lovely as they are). After some good expert advice, we later switched to a chalk-lime plaster instead of a render, which is much better.
The stitch repairs are not meant to be permanent, and eventually more substantial work will be needed. In fact, we expected these quick and simple repairs to last a few months to give a breathing space while we found time to do the bigger jobs. But in the 5 or 6 years since we started routinely catching cracks in the surface early and plastering over them with the chalk-lime mix, we haven’t had a single large surface failure. In the previous couple of years, several quite large chunks of old render had fallen off.
It sounds like a bodge, and it is, but it’s in the spirit of patching, make do and mend that has kept the walls together for so long.
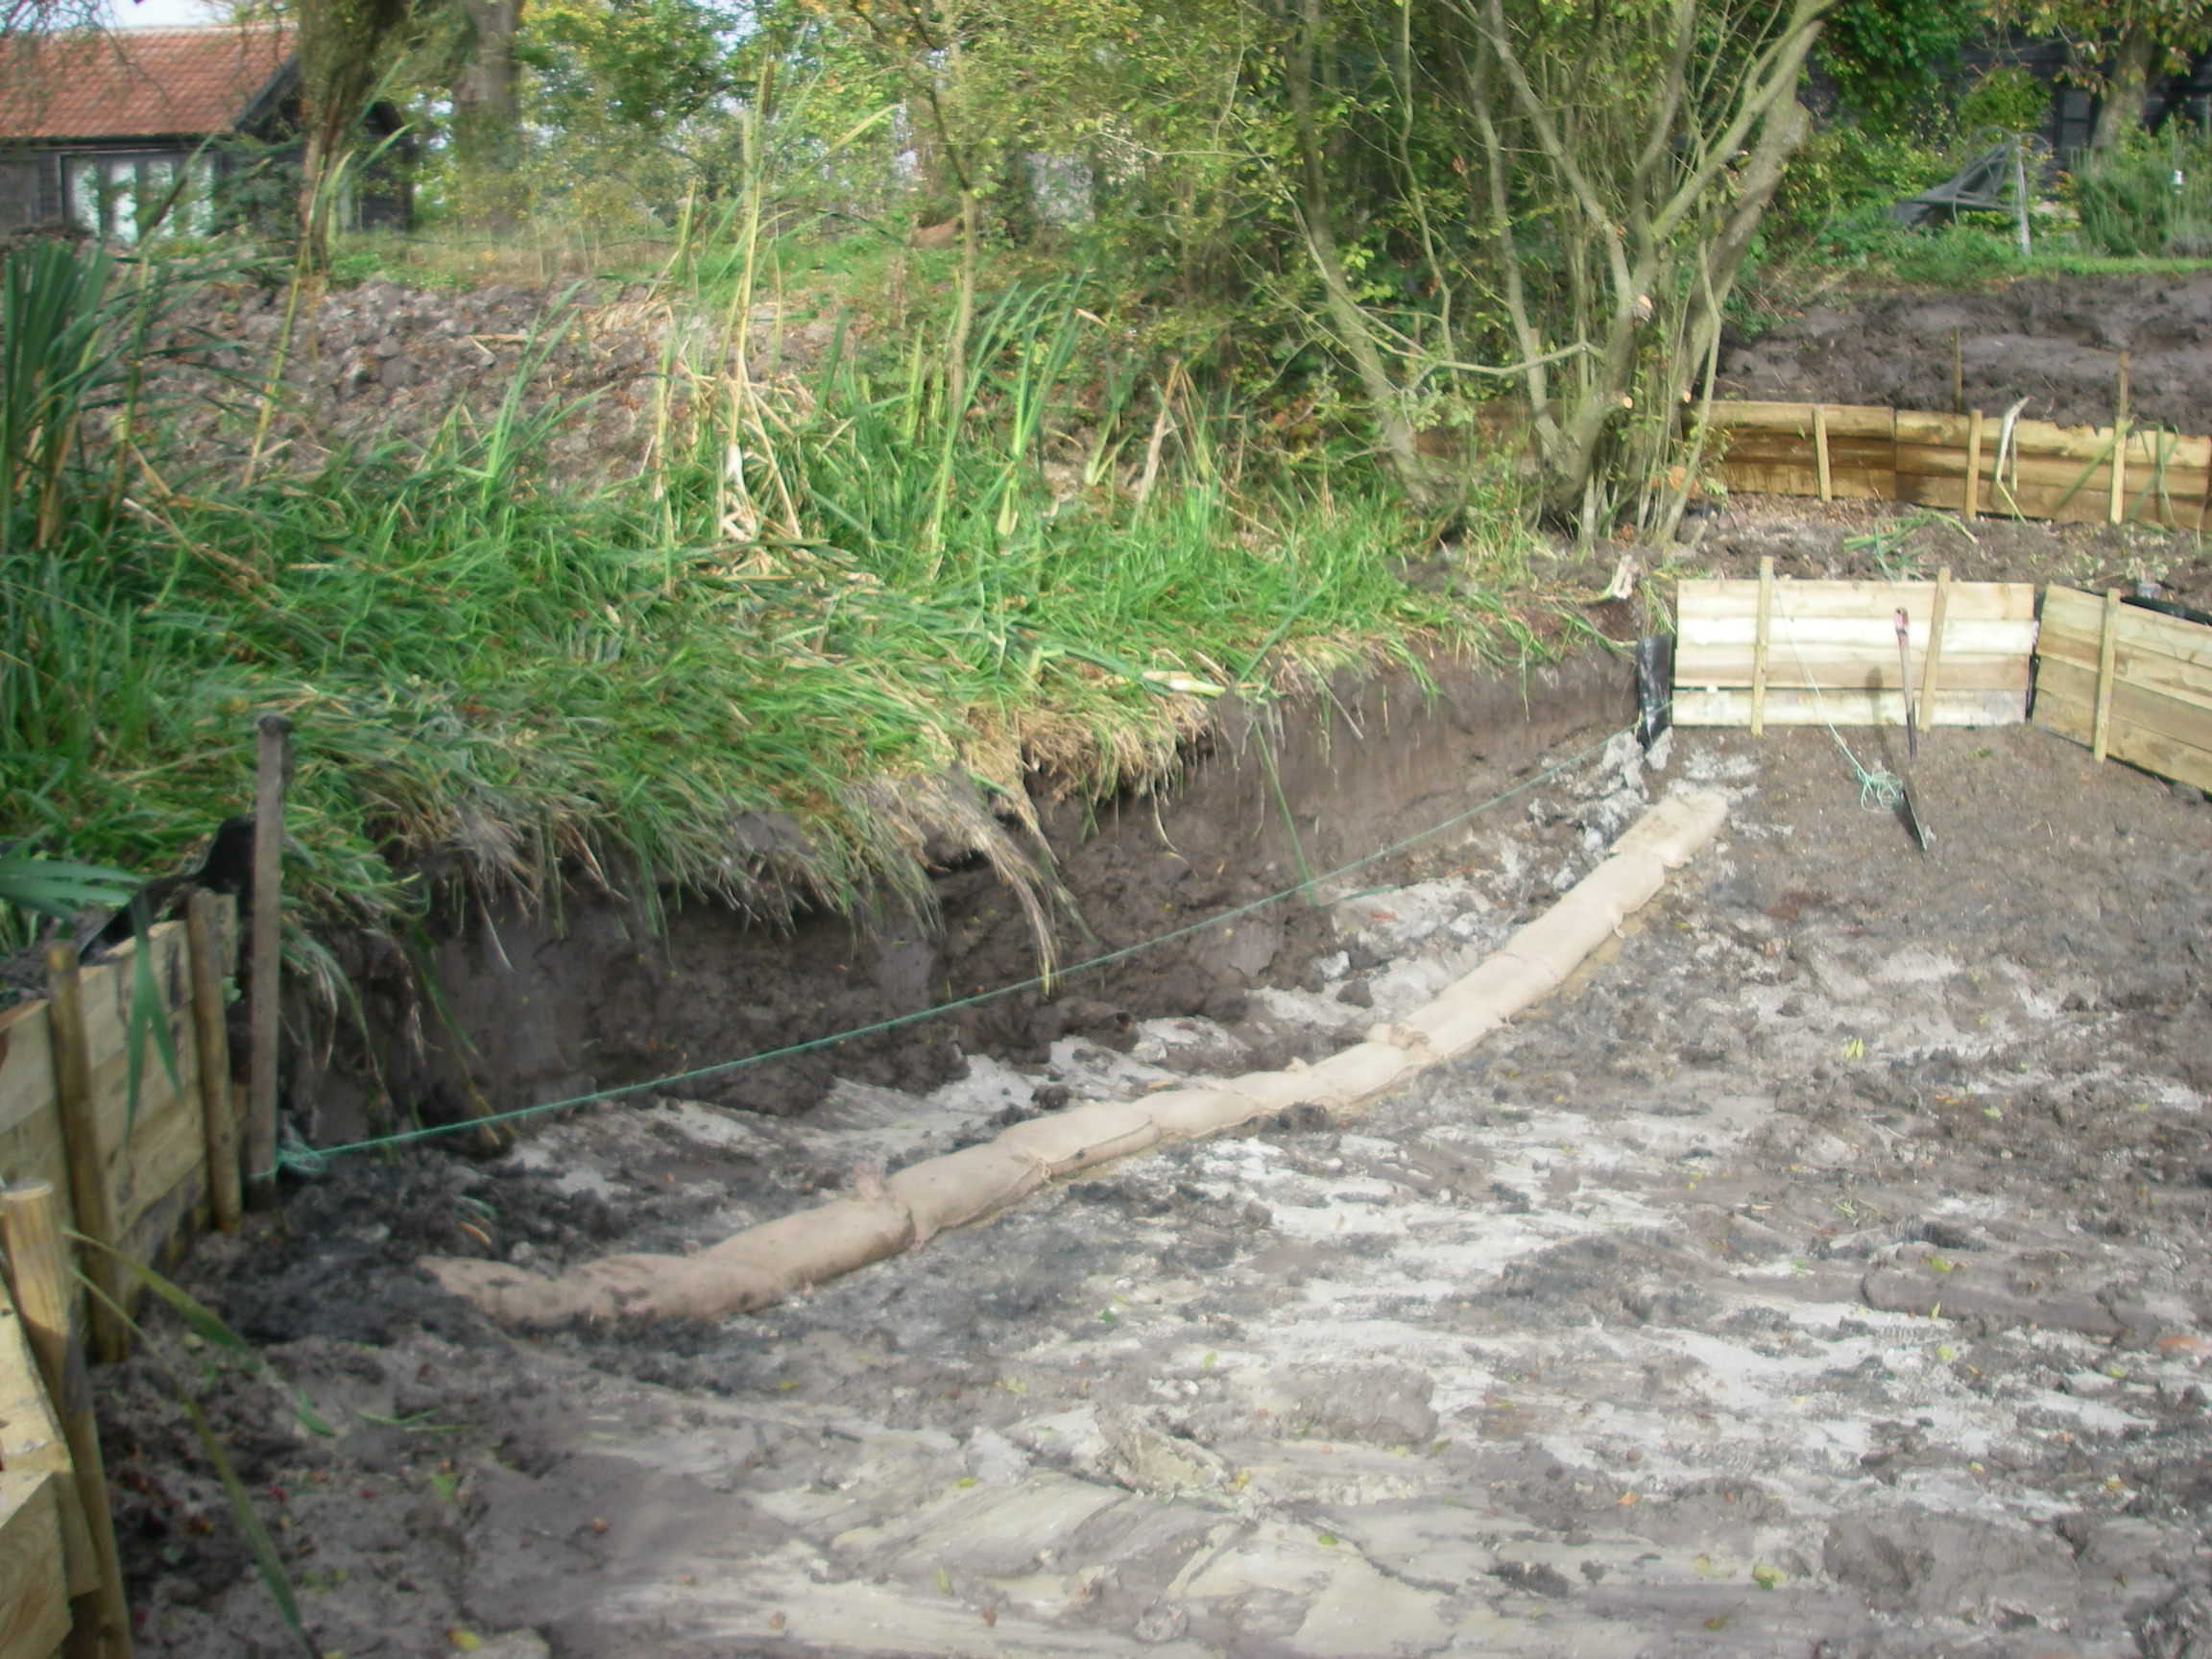
Of course, when there is a serious deterioration of the wall, for example when some old cement render drops off and pulls clay with it, then there is no alternative to a full repair. We will use new clay daub to fill cavities and then plaster to protect the surface.

Our method works, but the result is not pretty – I remember the appalled expression on the face of a professional plasterer when he saw our walls!