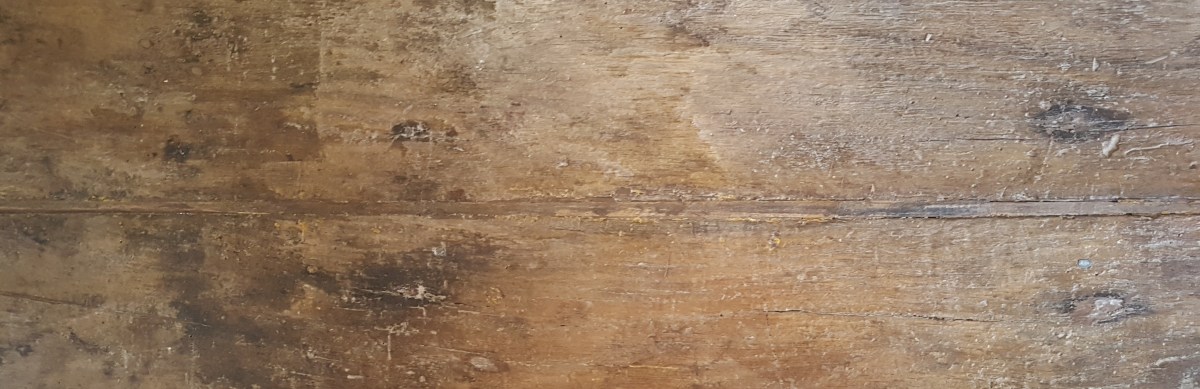
What wood is the floor made from and how old is it?
Clue (1): an extra pair of joists made of ash, not the usual oak, have been inserted crudely either side of the central beam, with notches and wedges instead of a mortice and tenon.

What wood is the floor made from and how old is it?
Clue (1): an extra pair of joists made of ash, not the usual oak, have been inserted crudely either side of the central beam, with notches and wedges instead of a mortice and tenon.
I go into a great deal of detail in these floor posts, on the grounds that if you’re interested in repairing a very old floor you’ll need it; for the rest, read no further! Over the years it’s the blog posts like this that seem to be read most, I assume by people doing similar jobs.
Rotten sections, weakened sections, blackened, stained and crack and holed sections – the whole messy old floor came together into one attractive, if battered, whole, once beeswax polish was applied.

It’s great what a coat of beeswax can do for a damaged floor.
The first thing to do was to protect the room underneath from debris falling through the many cracks as we worked on the floor above. The solution was a plastic tarpaulin tied to the joists:

The second thing to do was to make sure the boards were firmly on their joists so not springy when walked on. There were two bad patches, where the boards had to be screwed down hard onto the joists to stop movement. Since the undersides were exposed, we were also able to push in wood spacers from below. Continue reading “Repairing the floor – 2”

The floor we want to repair is of unknown age but must be pretty old, not just because of its battered state but because the boards are of uneven widths of up to a foot or so, presumably because they were cut from the same tree. Continue reading “Repairing the floor – 1”
And now for the next challenge, but I need to get fit first: does everyone get quite as stiff as I do when trying to work for long hours on a floor? It is the most uncomfortable position to work in, apart perhaps from plastering a ceiling, but we are about to start on repairing a lovely old floor that until now has been covered to protect it, so the pain will be worthwhile (I hope). Not entirely sure what it is, but think that it is oak or elm. More later, as we get going on the job next week.
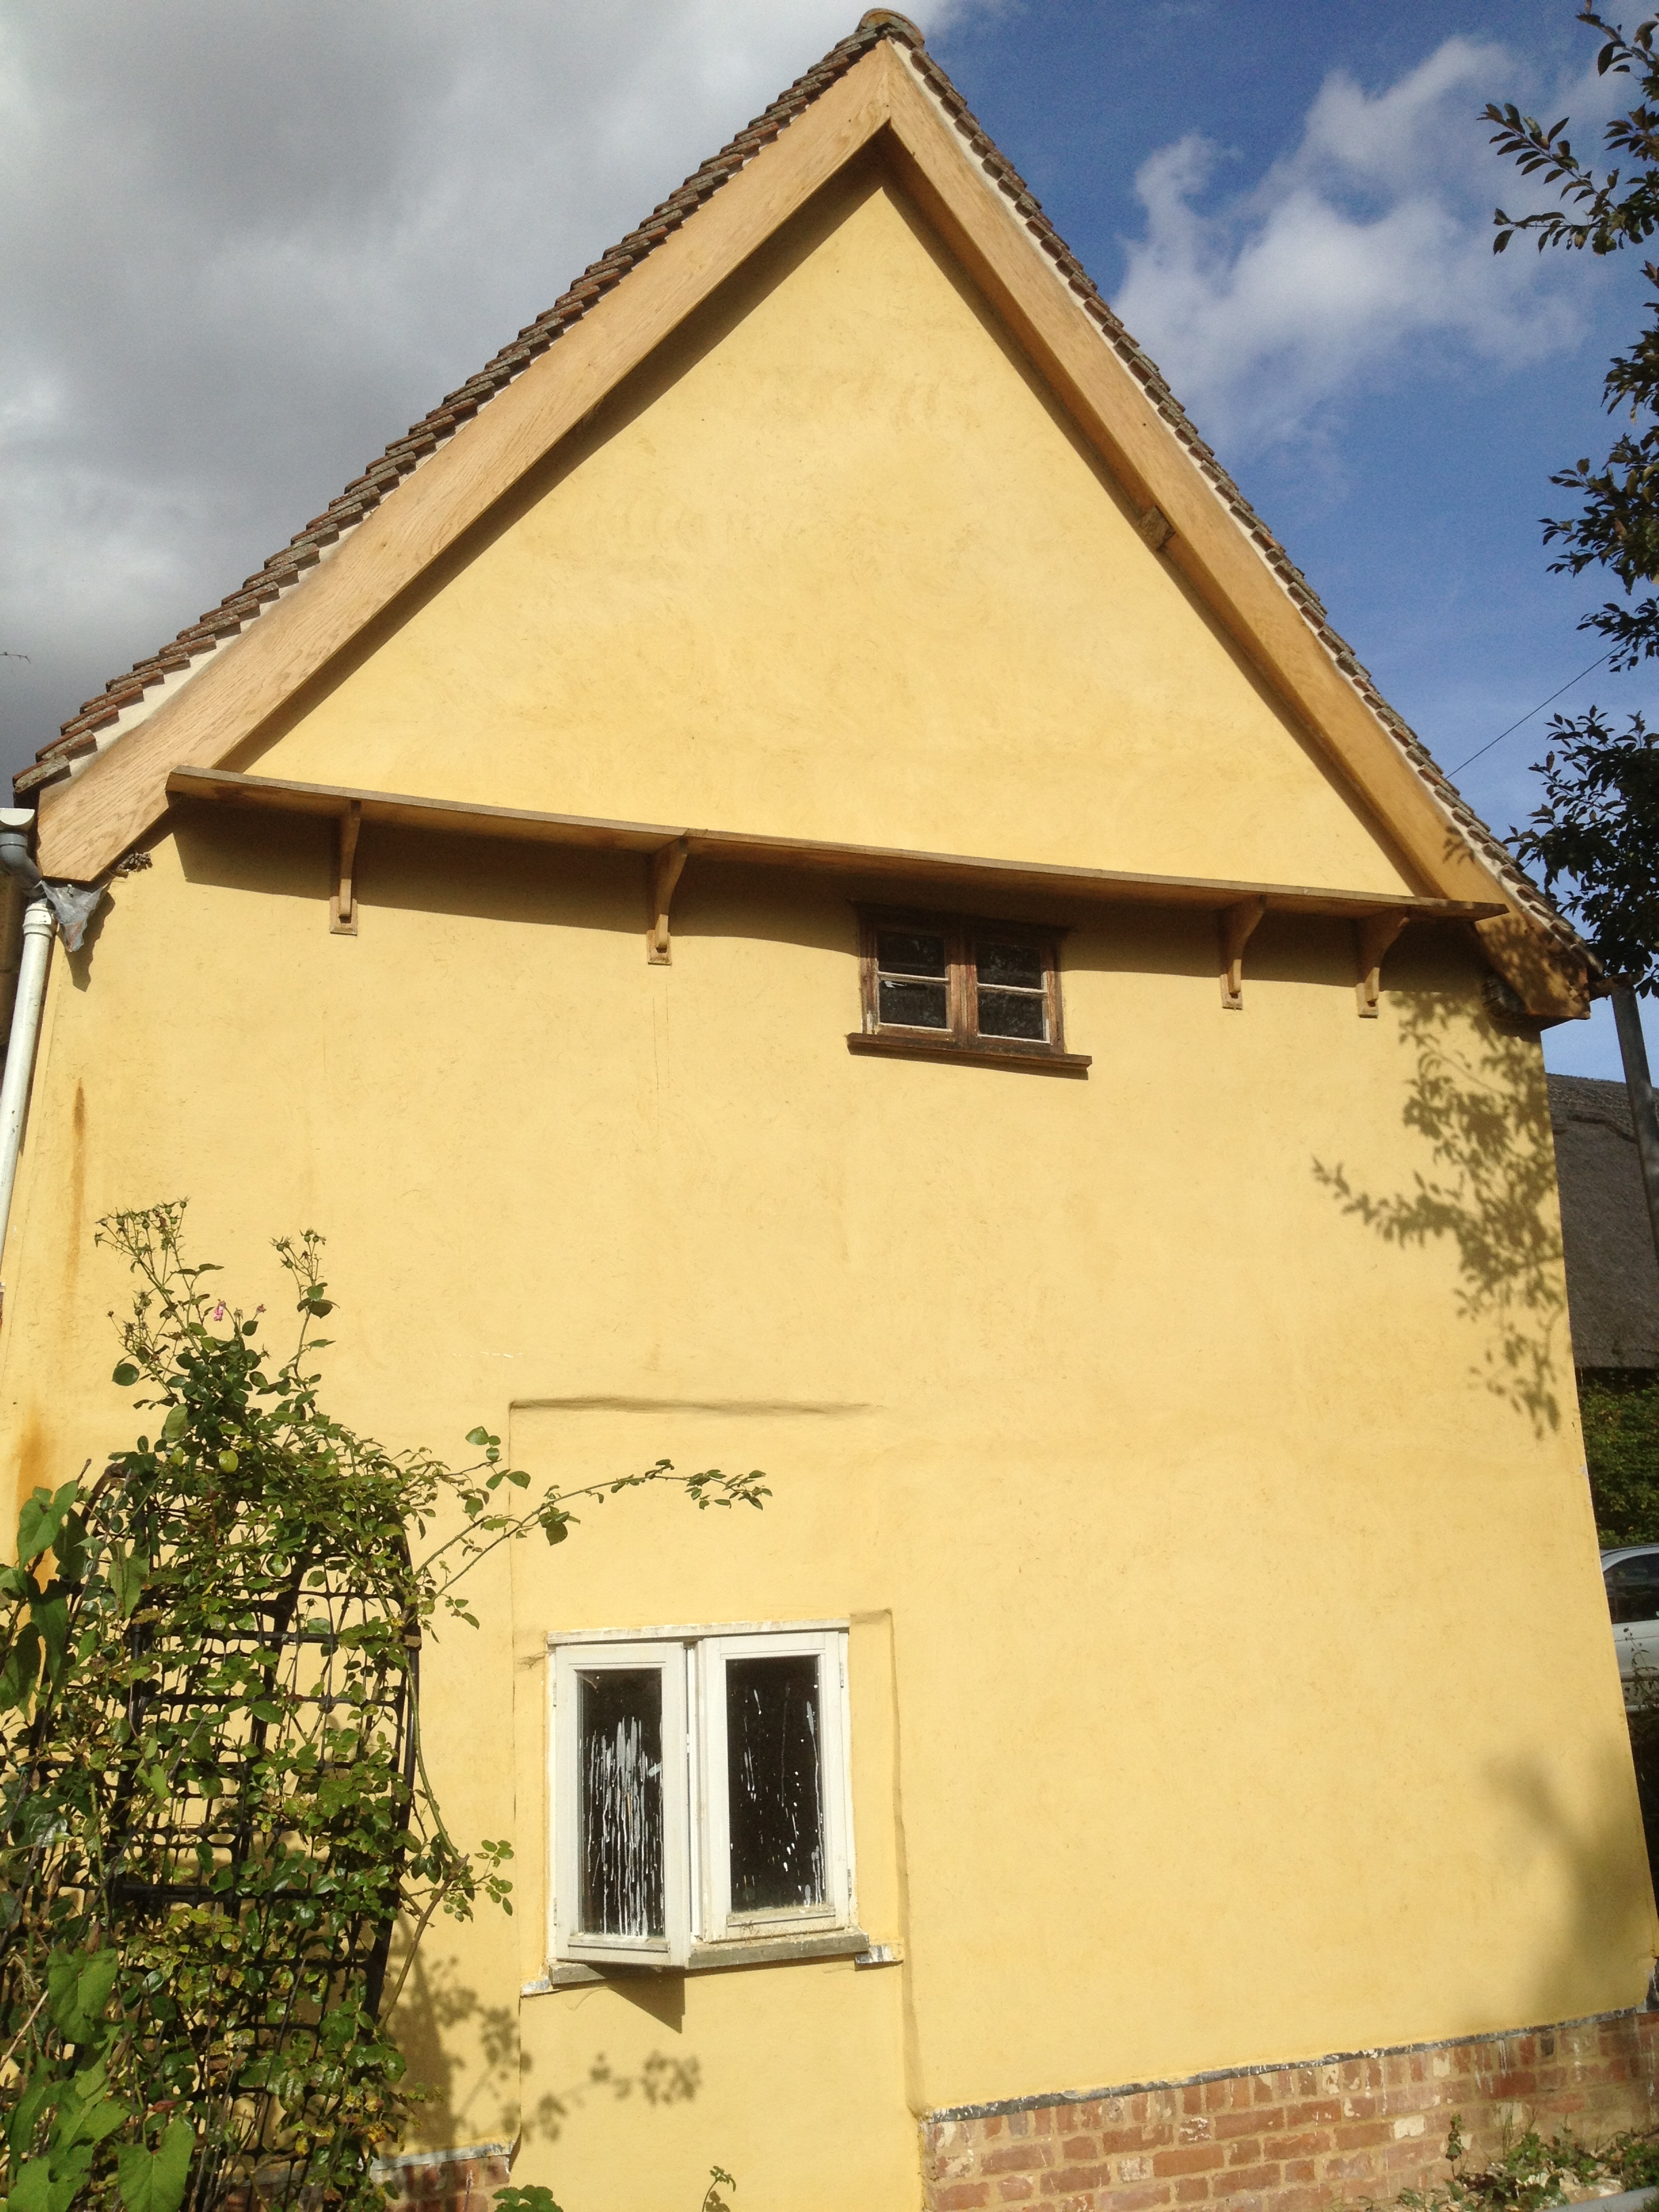
When the cement was removed, we found some repairs were needed for the timber frame, including a new stud where an old one had disappeared (judging by the empty mortice), completing another stud that had rotted away for the first foot above its mortice in the sole plate, a knee to reinforce the joint between a main internal beam and a post, and a strengthening of one of the corners, where a sound main corner post did not seem very well tied in to the sole plate. It was reinforced with a flexible glass fibre rod through the timbers and a steel plate. All the timber work was carried out by William Clement Smith. Continue reading “Oak and other problems under the old render”
Because the floor was due to be replaced and lowered 8 inches, it was imperative to deepen and strengthen the footings, which were mostly only two or three bricks deep. They were built down a metre by digging a trench in sections around the house. New bricks were laid almost direct onto the clay, on a thin layer of limecrete.

Most of the oak sole plates supporting the walls, laid onto the old brick footings, were rotten. They were replaced with the same wood, oak. Continue reading “Repairing brick footings and oak sole plates”
BASIC WORK ON THE OLD BUILDING
2007-9
We gained planning permission and listed building consent for structural repairs to the building, installation of services, a new vehicle entrance and construction of a cart-lodge style garage and also a small extension – essentially, a porch, though with a shower room squeezed in. We decided we would split this into several phases, leaving the porch extension, some of the repair work and the garage until later.
The repairs under Phase I were undertaken by Robert Norman Construction of Framlingham. The main items were: Continue reading “First stage repairs”