BASIC WORK ON THE OLD BUILDING
2007-9
We gained planning permission and listed building consent for structural repairs to the building, installation of services, a new vehicle entrance and construction of a cart-lodge style garage and also a small extension – essentially, a porch, though with a shower room squeezed in. We decided we would split this into several phases, leaving the porch extension, some of the repair work and the garage until later.
The repairs under Phase I were undertaken by Robert Norman Construction of Framlingham. The main items were:
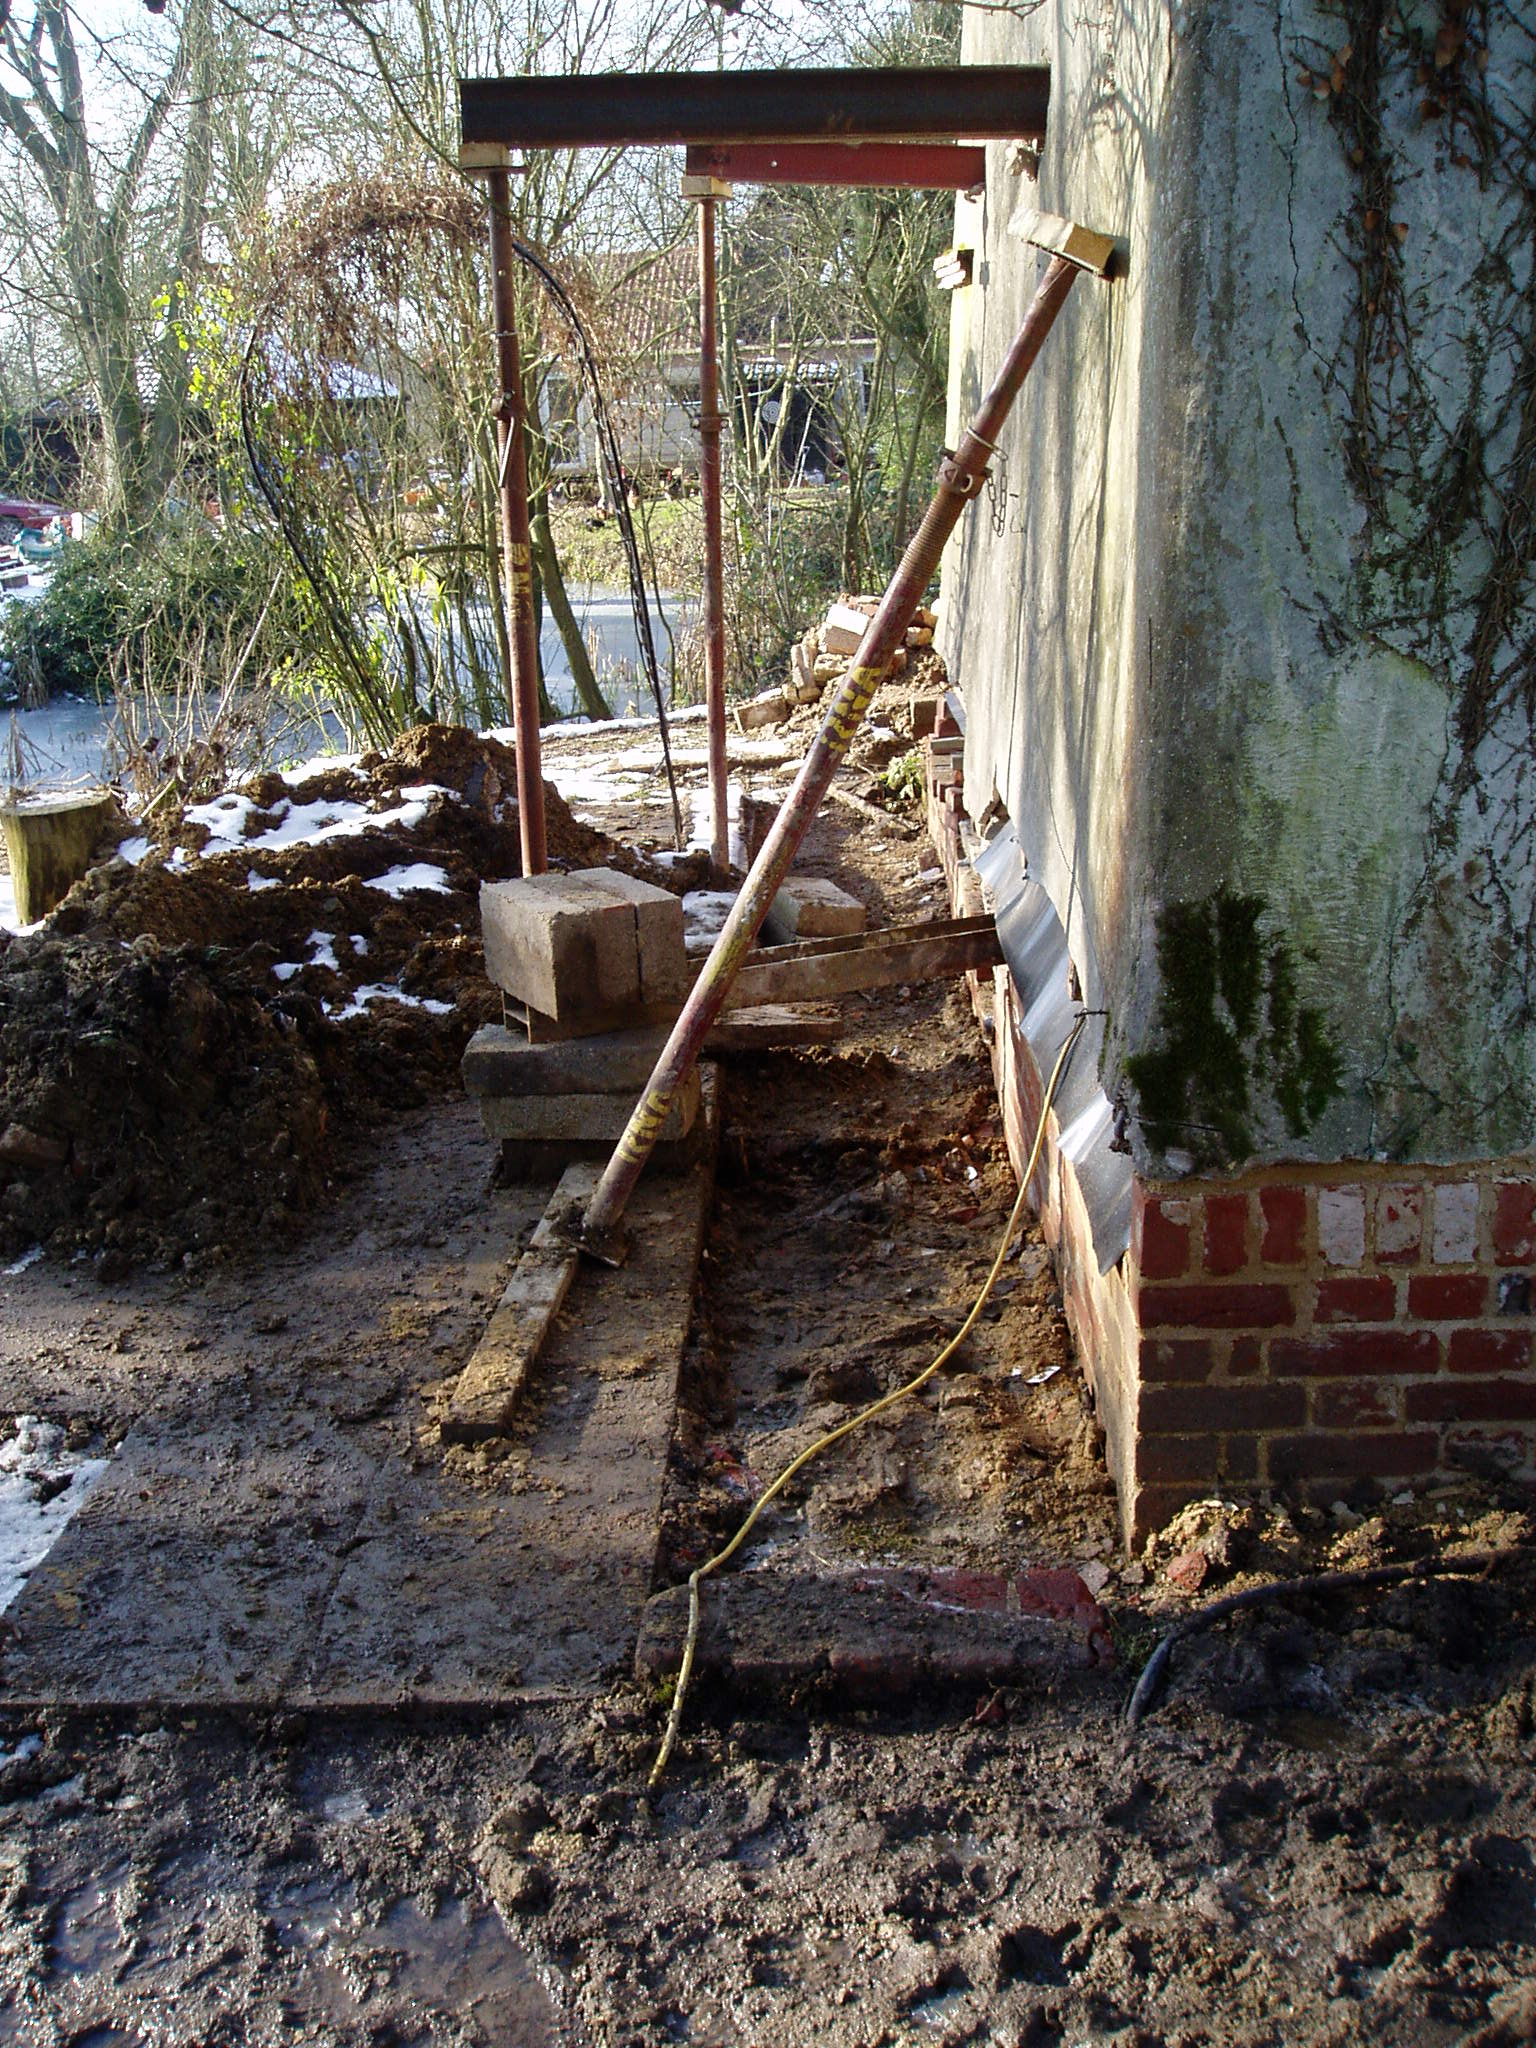
- Dig under the footings all round the building in sections, propping up the frame with steel props and beams inserted through the walls just under ceiling height, and then build new and much deeper brick footings resting on the clay.

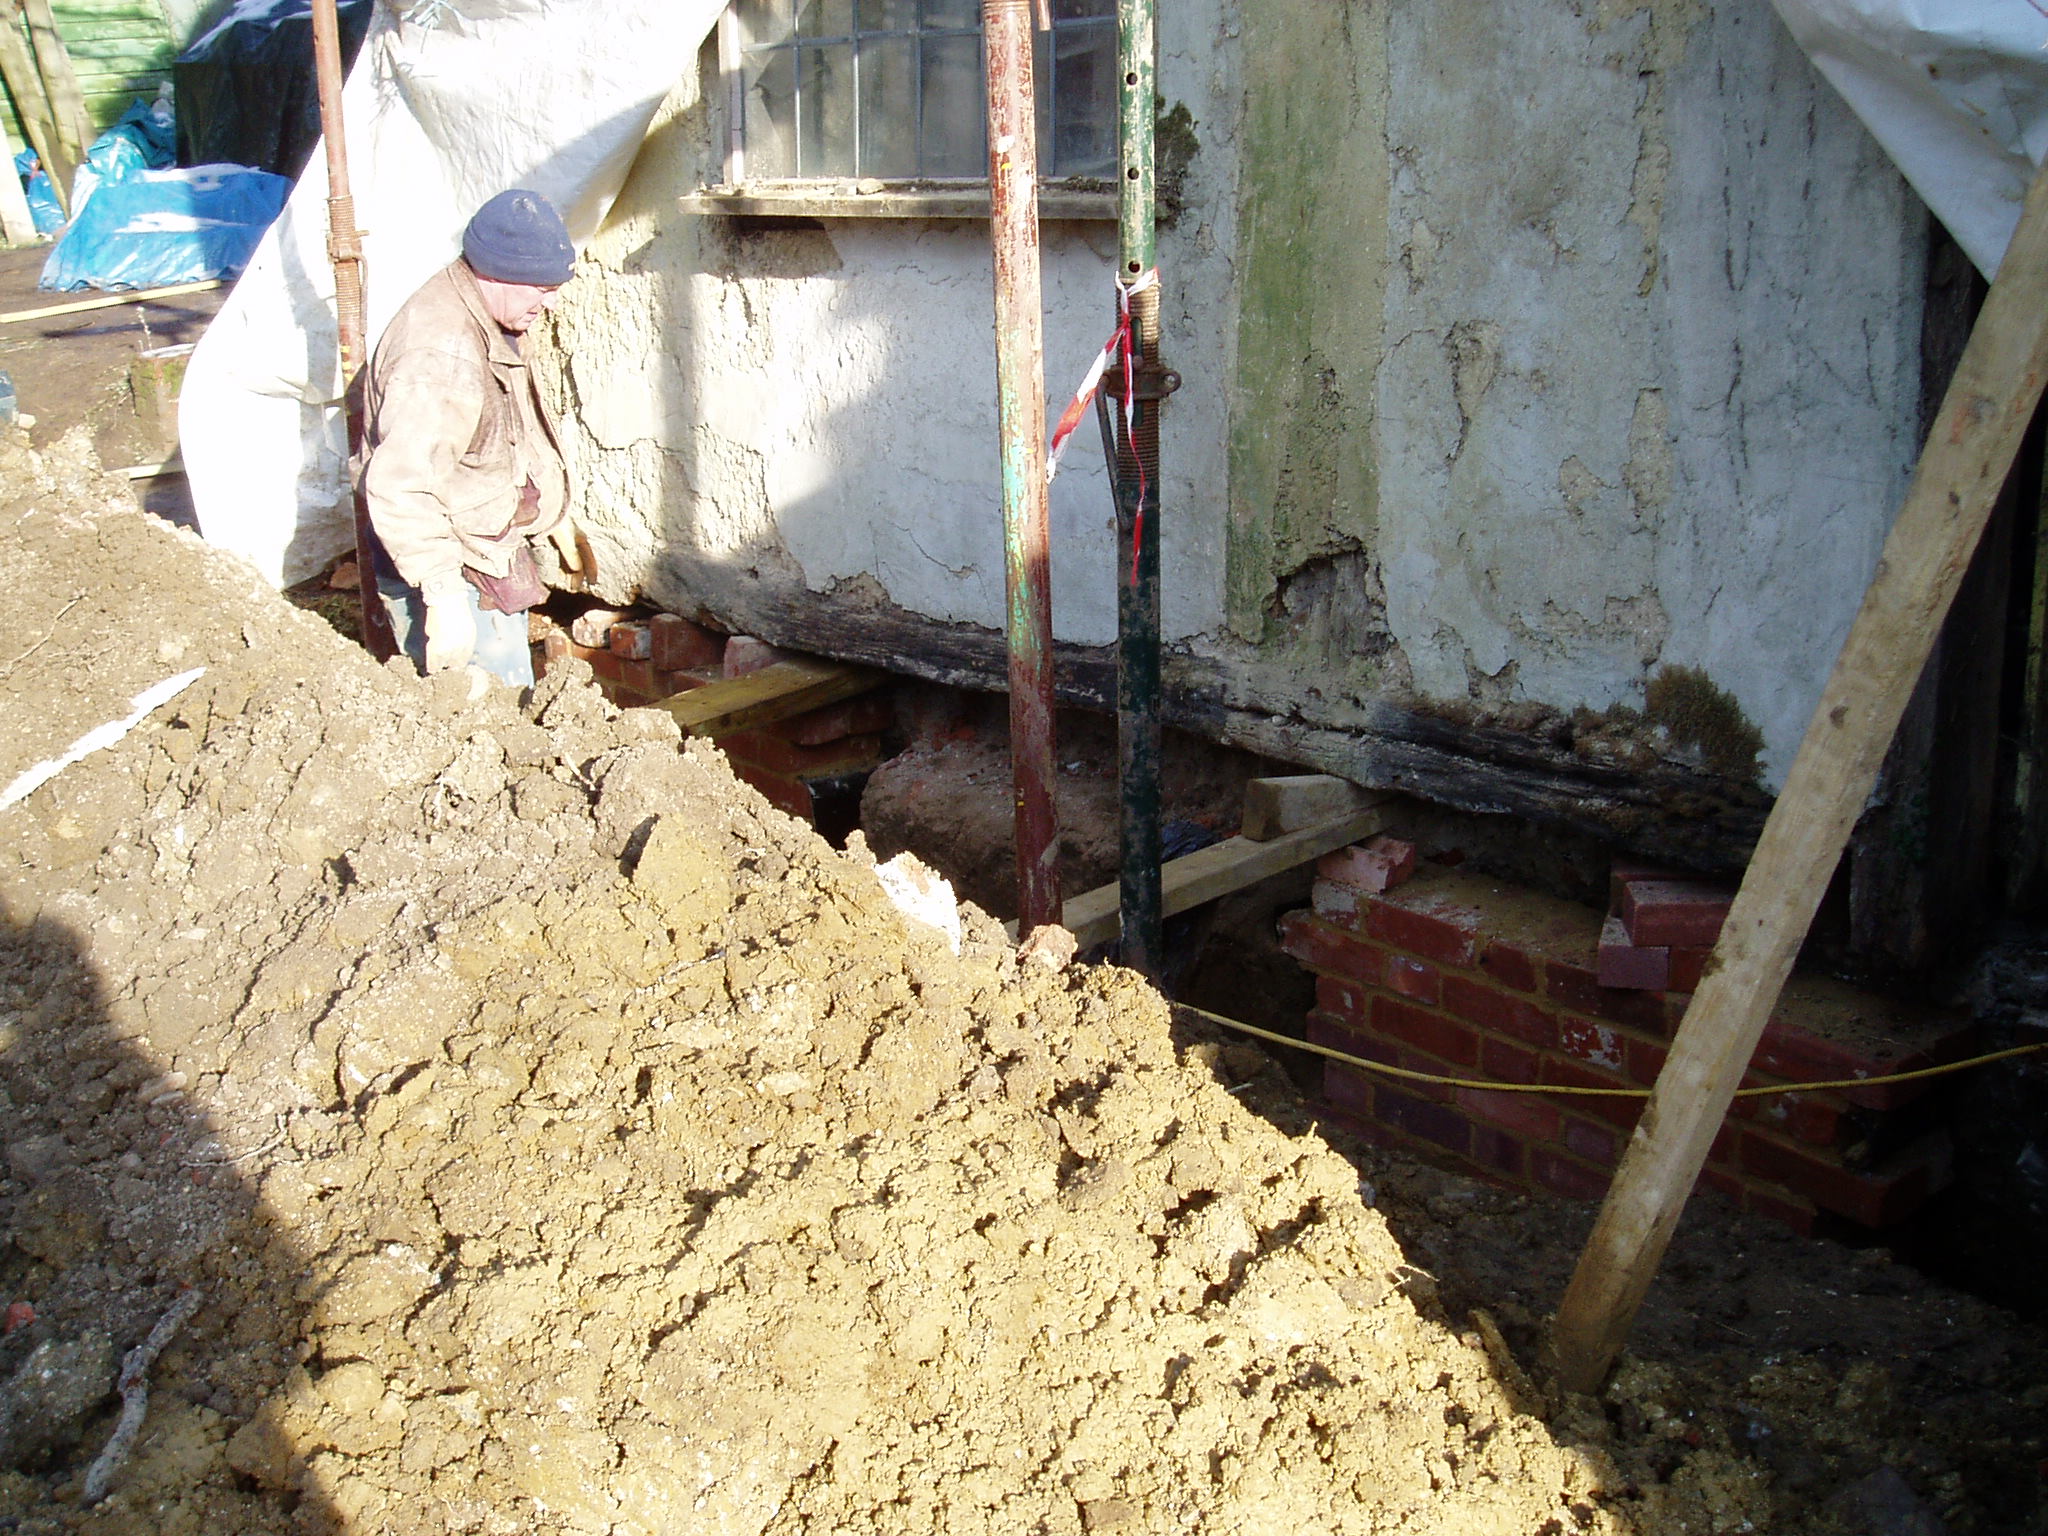
Steel beams supporting the house at first floor level so the sole plates could be removed. - Remove the rotten oak sole plates (almost all of them), and mortice replacement green oak plates back onto the bases of the original oak posts, removing the jacks to let the new plates down onto the new footings.

Sole plate still to be removed, showing new footings being built up towards it. 
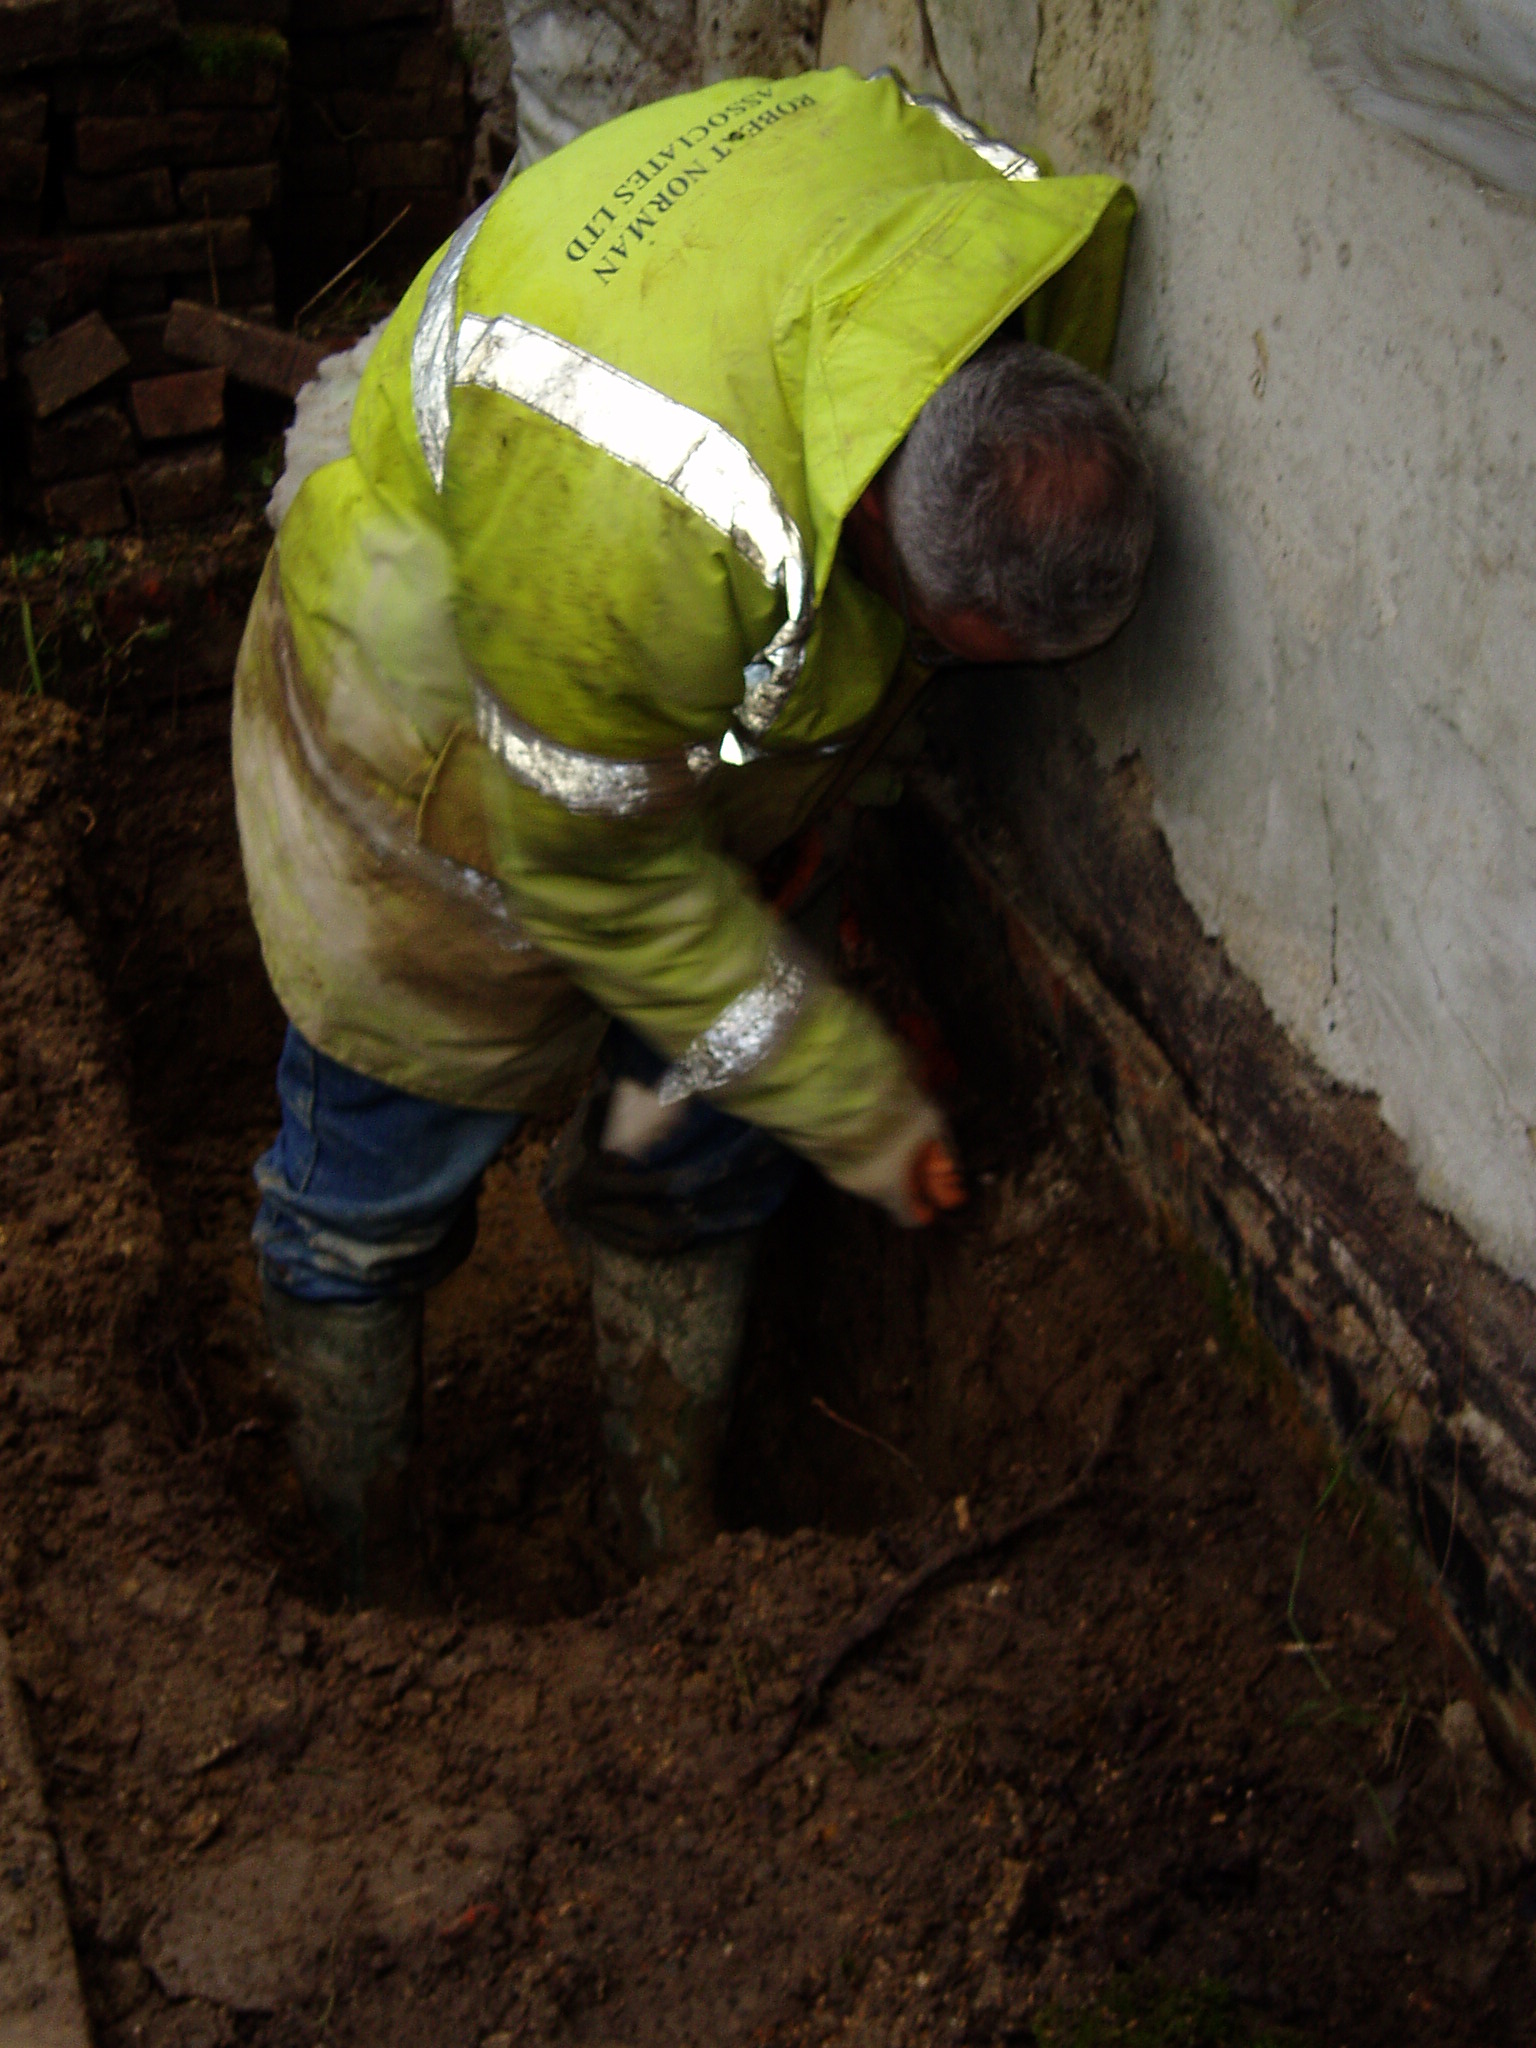
Removing a rotten oak sole plate - Repair and render the holes made by the steel beams and the gaps left above the sole plates where wall infilling material had fallen out when the building was propped up.

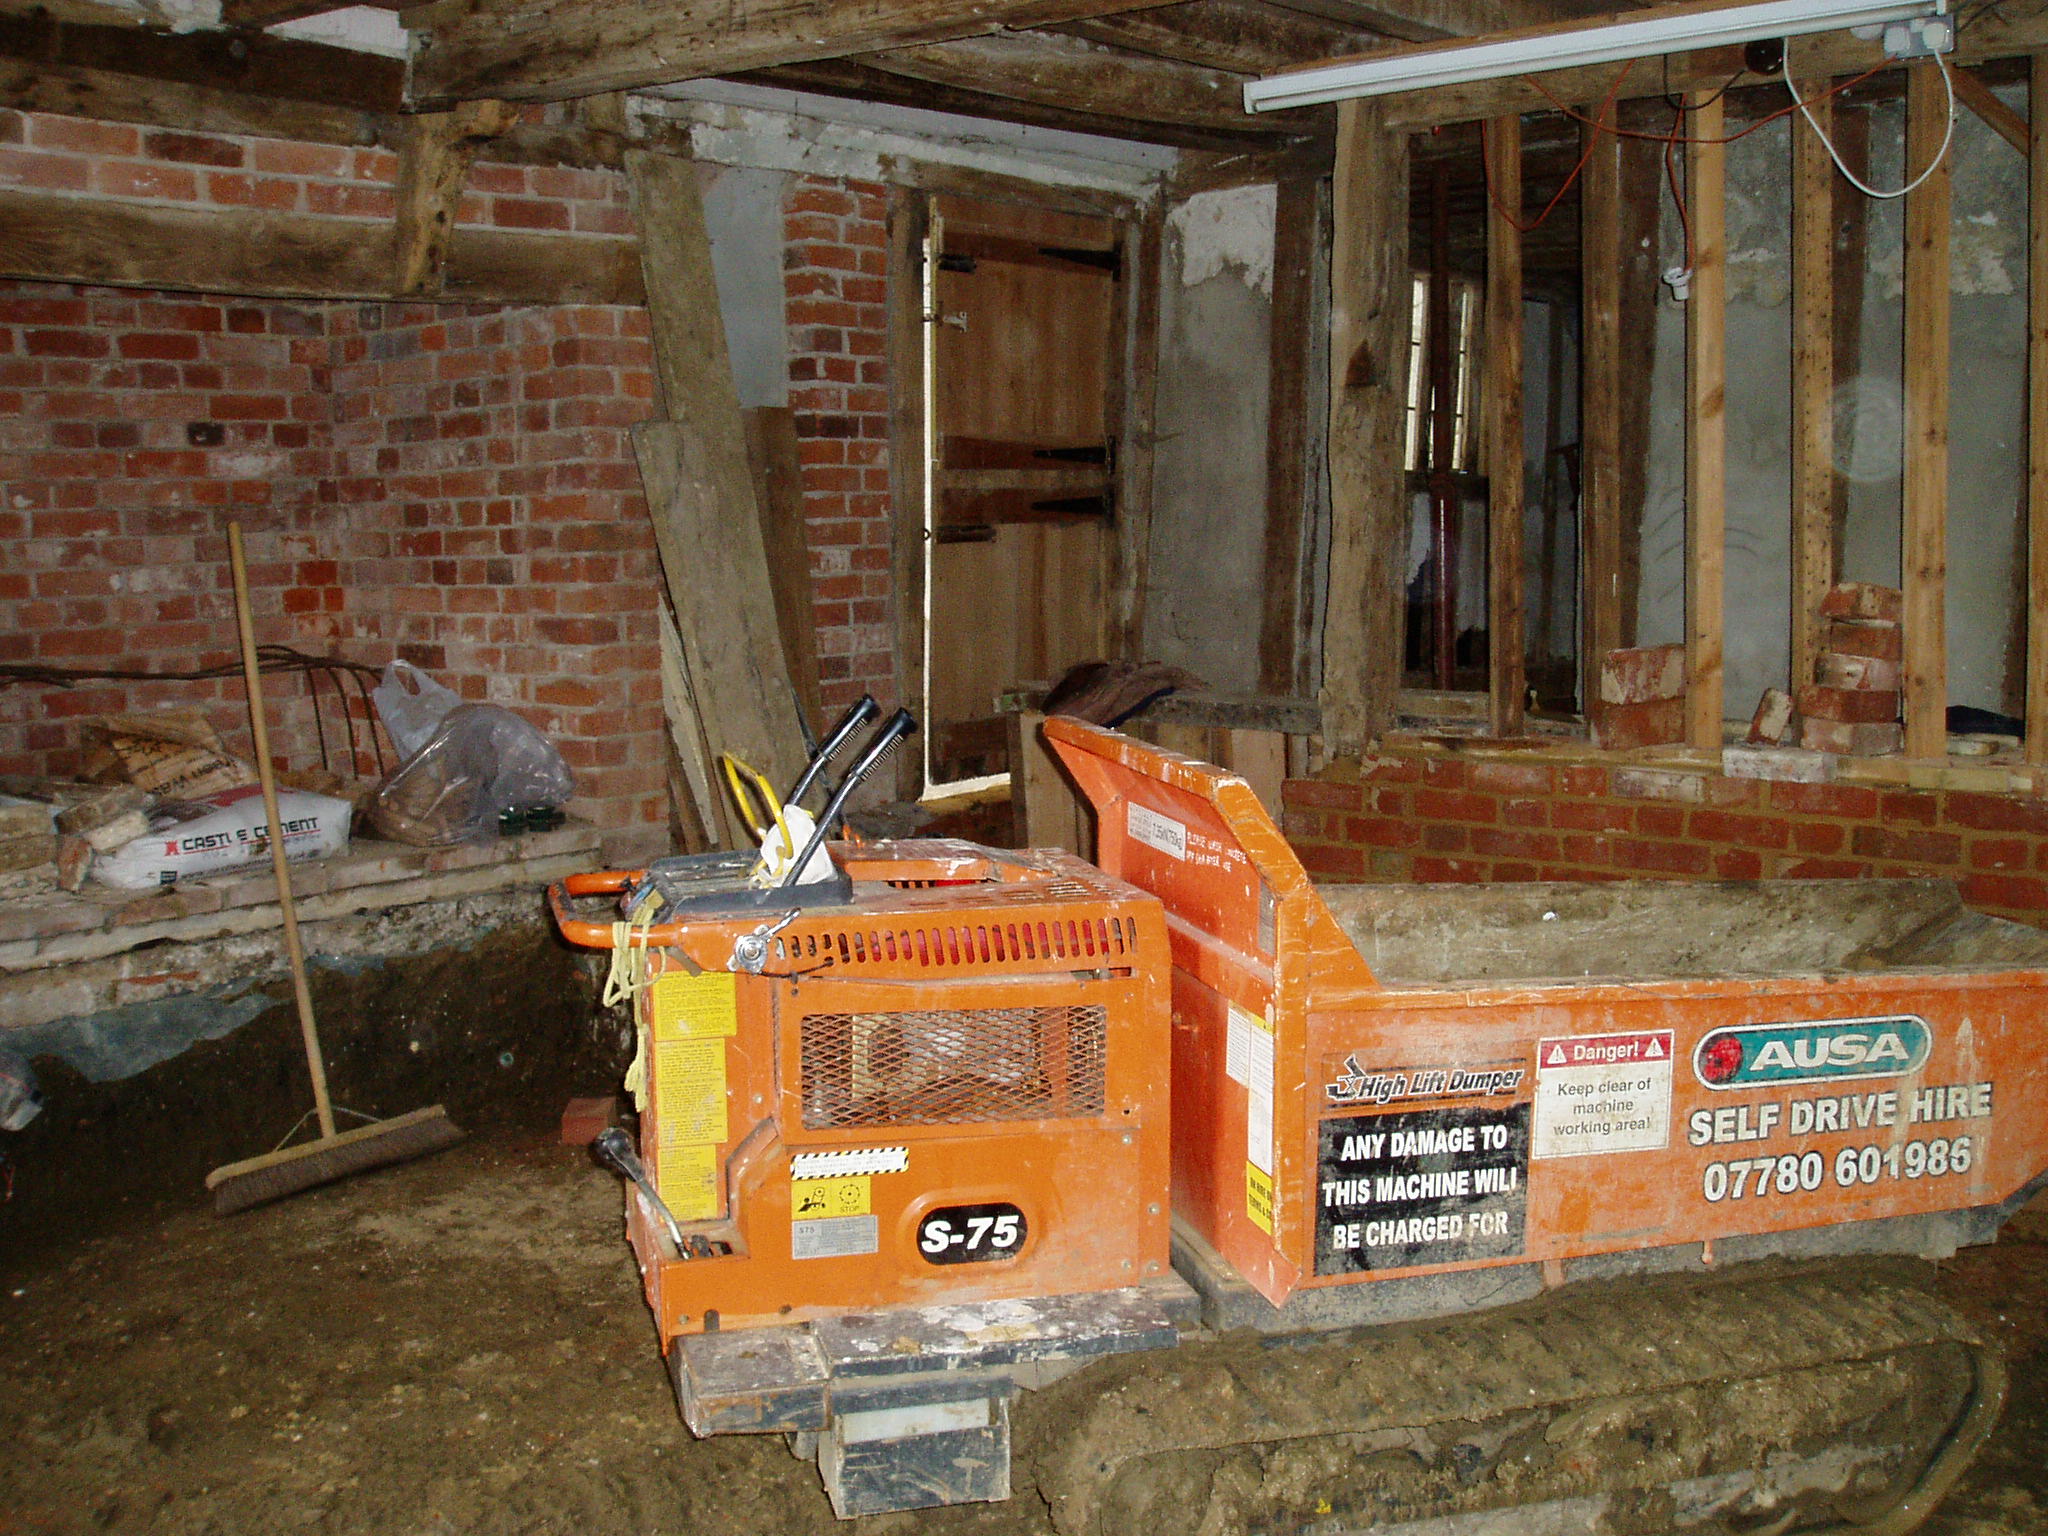
Excavating the floor - Excavate the floor, to lower it 20 cm. Lay glass balls as insulation and then breathable limecrete as a floor.
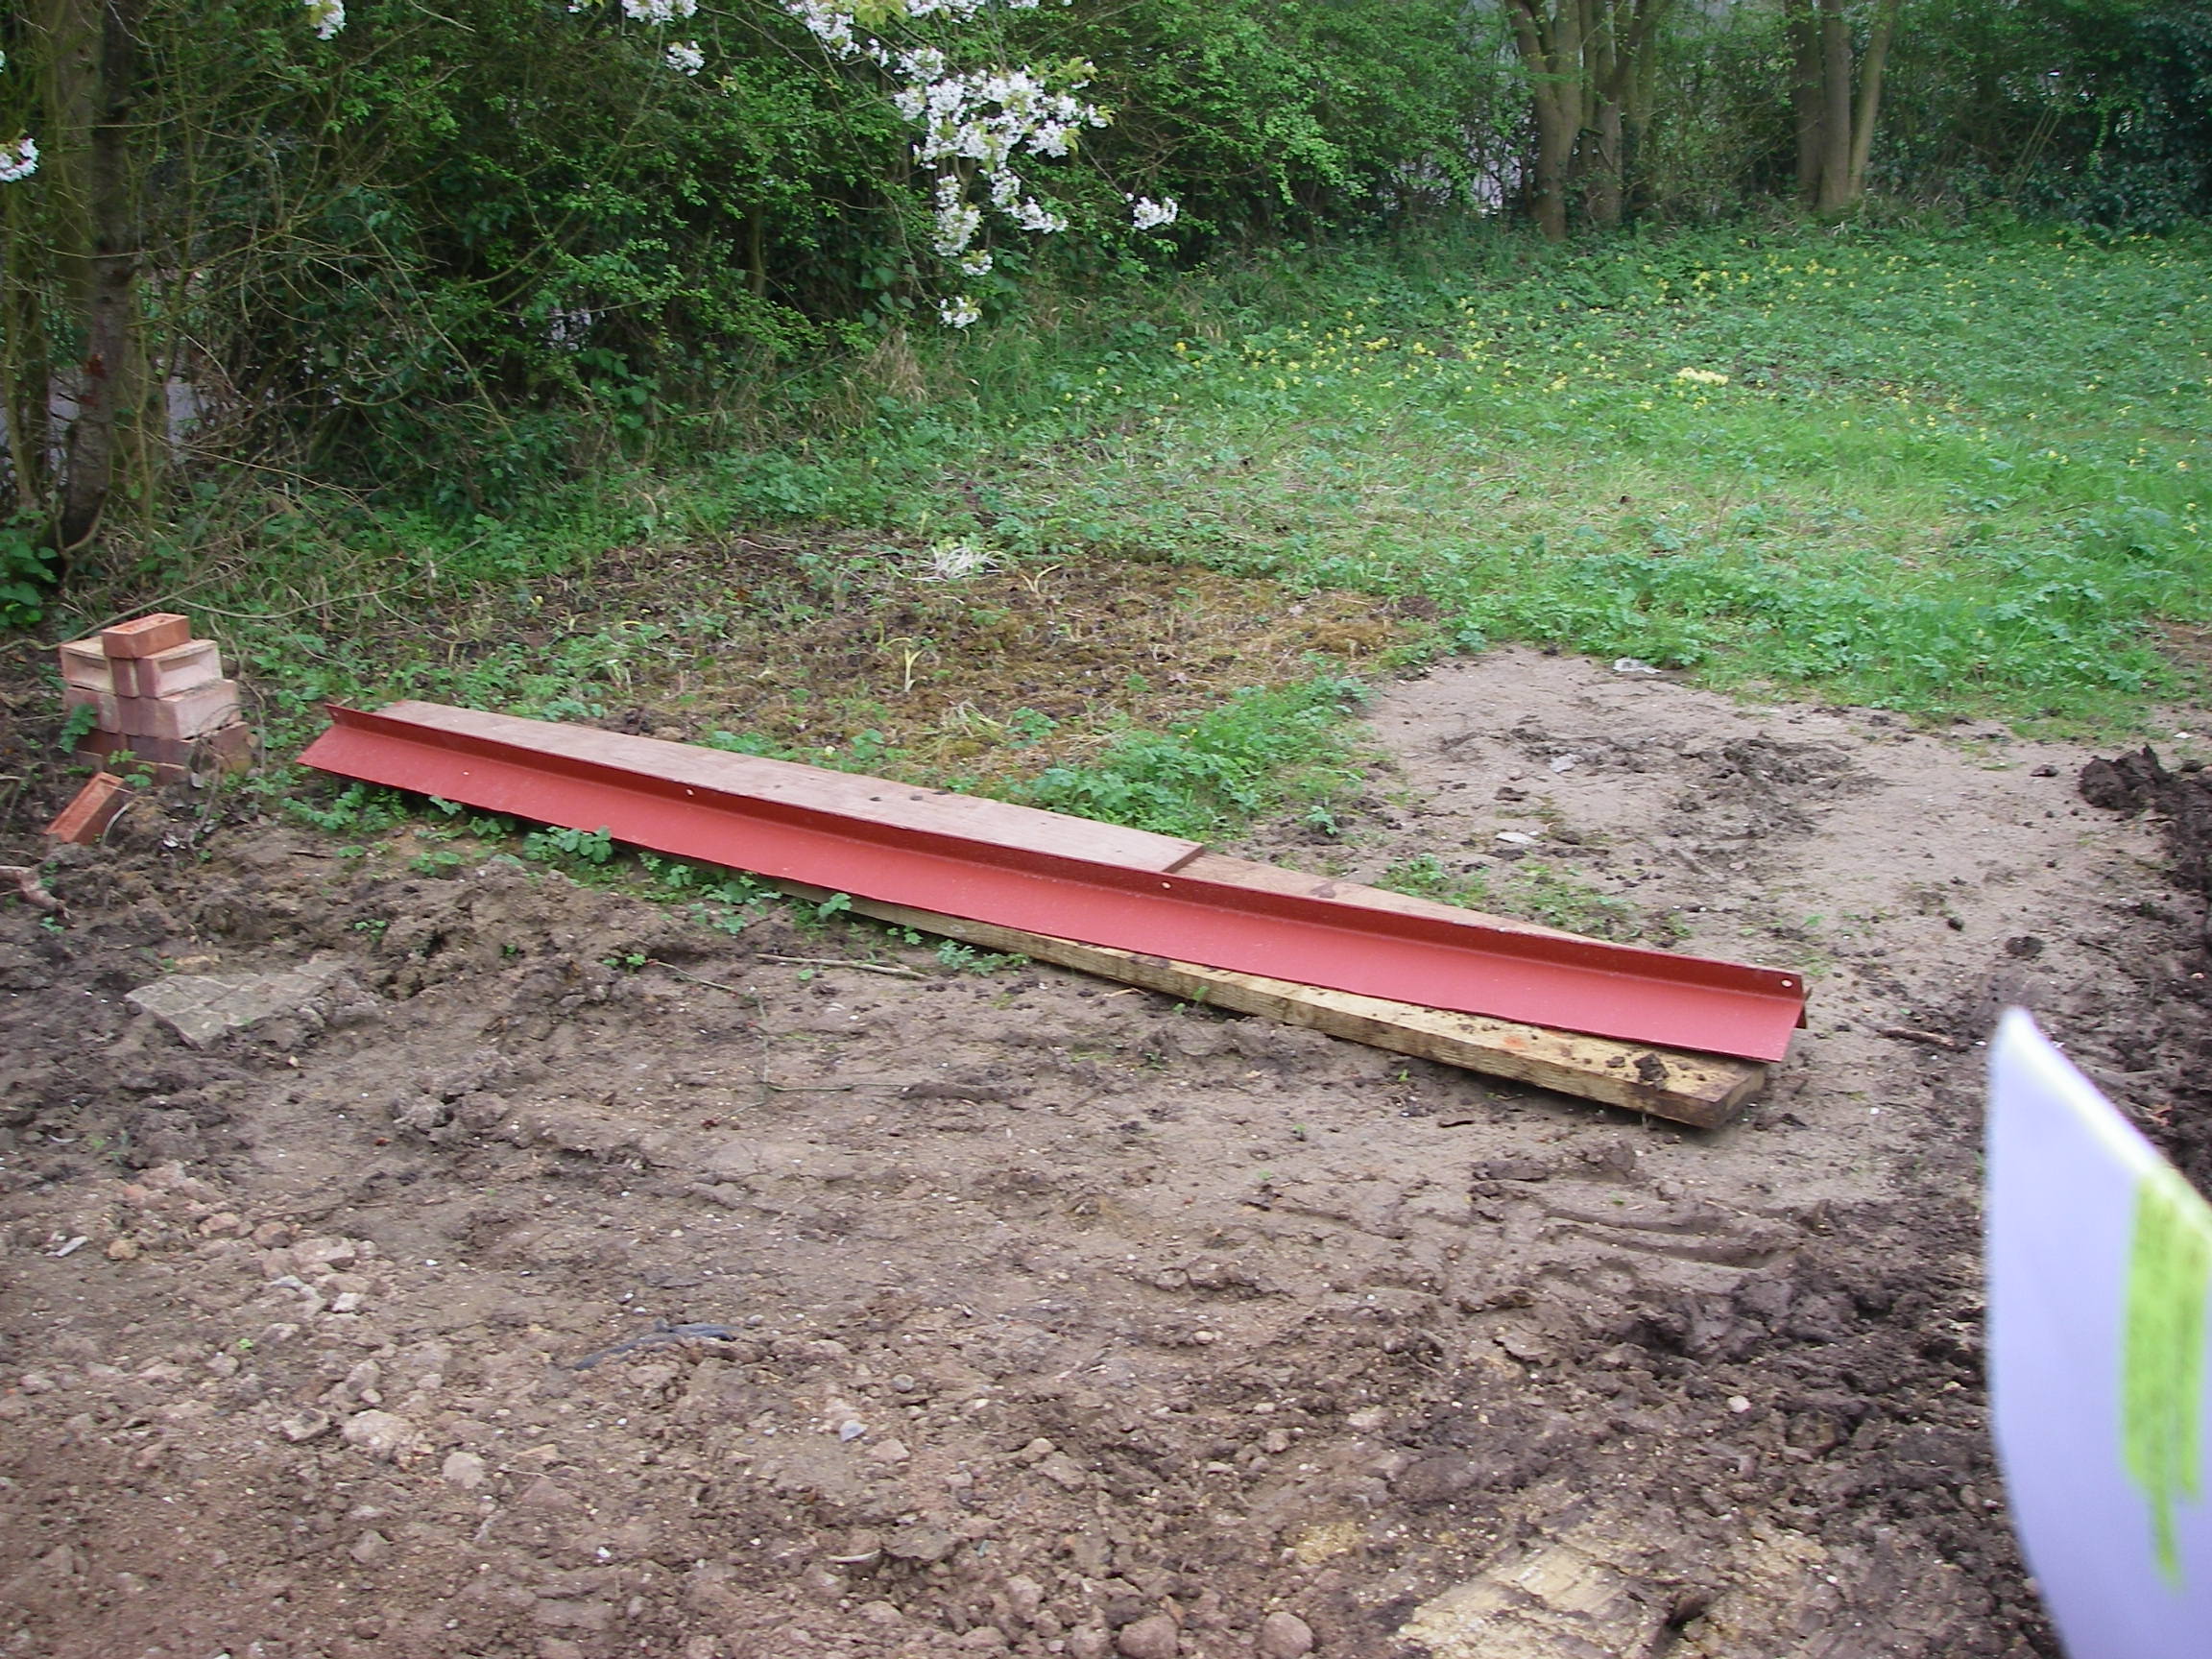
- Insert a steel flitch plate in the main (chestnut rather than oak) beam holding up the kitchen ceiling.

The flitch plate for the kitchen ceiling beam - Make a new road entrance and hard standing to council driveway standards.
- Install a Klargester sewage treatment tank, mains electricity and water.
- Wire the house, including circuits for storage heaters.
- Install hot water tank (with immersion heater), bath, lavatory, wash basin and kitchen sinks and associated plumbing.
- Make a temporary wall (with a small window) to block up the opening from the planned extension into the building. The main entrance is to be moved to the extension in due course.

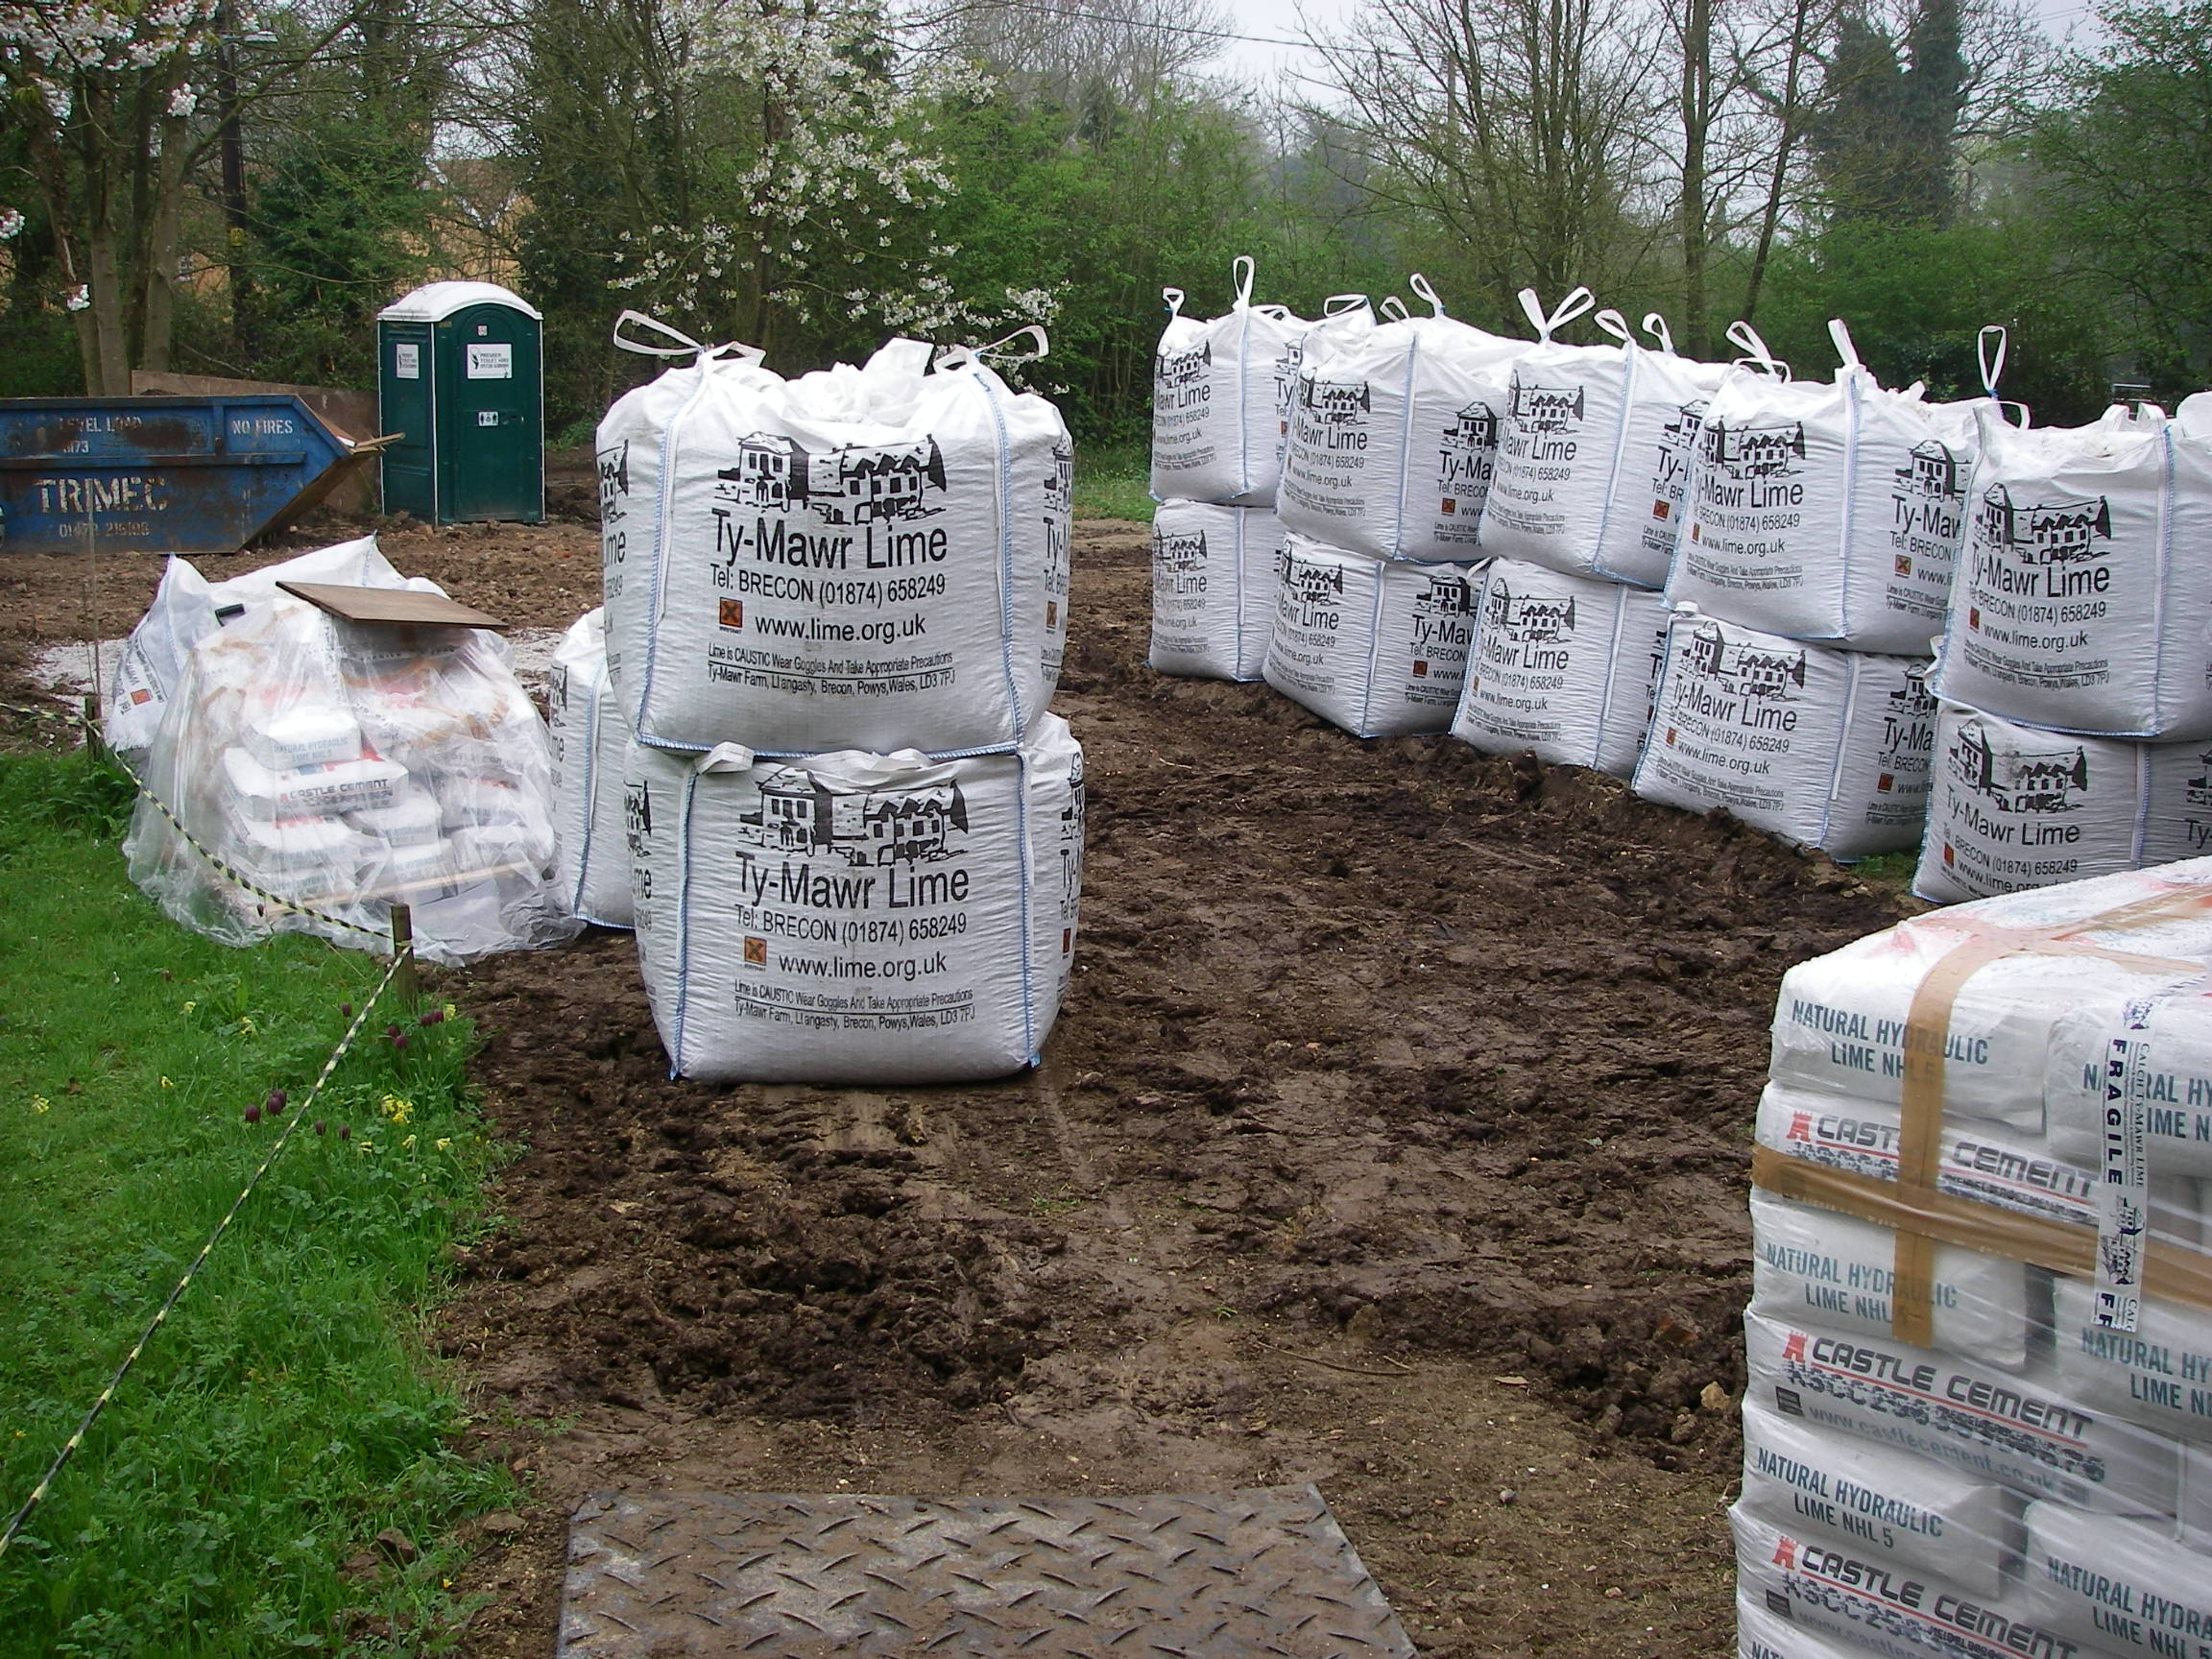
Materials for the limecrete floor
This work took from the end of December 2008 to early May 2009. Much of it was completed by late February. We moved in during May.
Everything then slowed down, because we continued the repairs alongside working on the garden and getting the house into a more comfortable state. In fact, there was no compulsion or pressure to get everything finished, once we had moved in, because the jobs themselves were enjoyable and we planned to space them out over quite a few years, prioritising the ones that were important to the maintenance of the building’s fabric. That means keeping the water out and ensuring decent ventilation so the building can breathe, while gradually replacing old cement repairs with lime.
