Another round of work needed

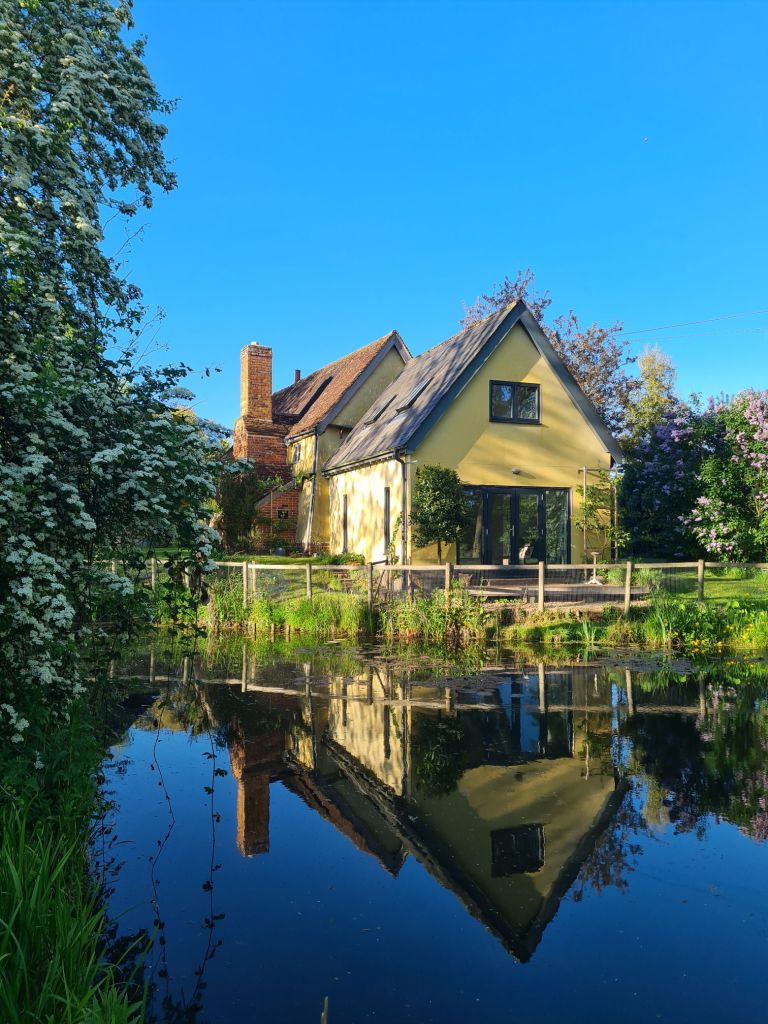
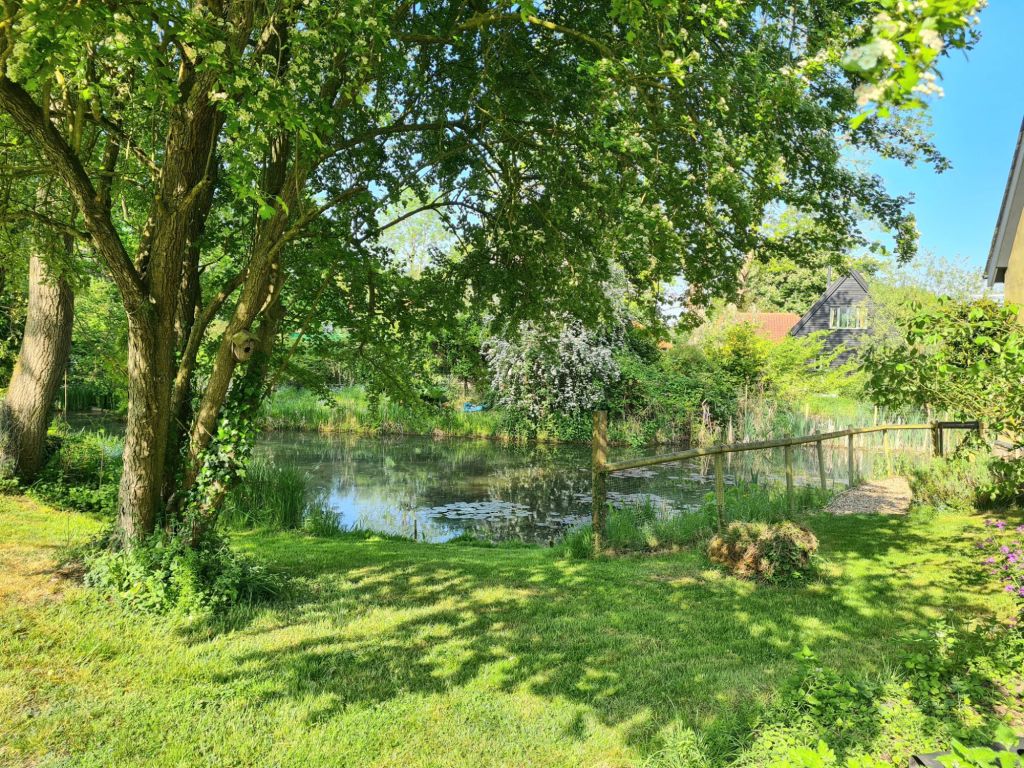
Instead of spending a lot of our time working on the house, recently we’ve just enjoyed being there, looking after the garden and pond, which together can take up a lot of time. This post is a pause for thought about what’s next.

The garden and pond are rewarding to work on, but the house now needs more attention

We’ve carried out no substantial work other than maintenance for 6 years, but there are several bigger jobs piling up that need doing, and it’s time to start thinking about them.

To begin, a reminder of what we’ve already done: major work in 2008-9 made the building habitable, and this included the replacement of rotten oak soleplates on which the wall timbers rest, and the installation of electricity, water and sewage from scratch – the little building had been a house, but was unlived in for hundreds of years. These big projects were mostly done by professionals, as was the construction of the extension in 2014.

There were also a large number of ancillary jobs that we either tackled ourselves or did with professional help and advice over the years. They included repair of damaged walls with new clay daub, removal of old cement render used by previous owners and its replacement with lime, stabilising sections of two clay side walls, lime plastering and repairing inside walls and ceilings, limewashing the whole house inside and out and a host of smaller jobs described in this blog.

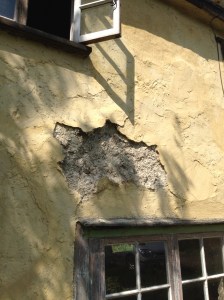
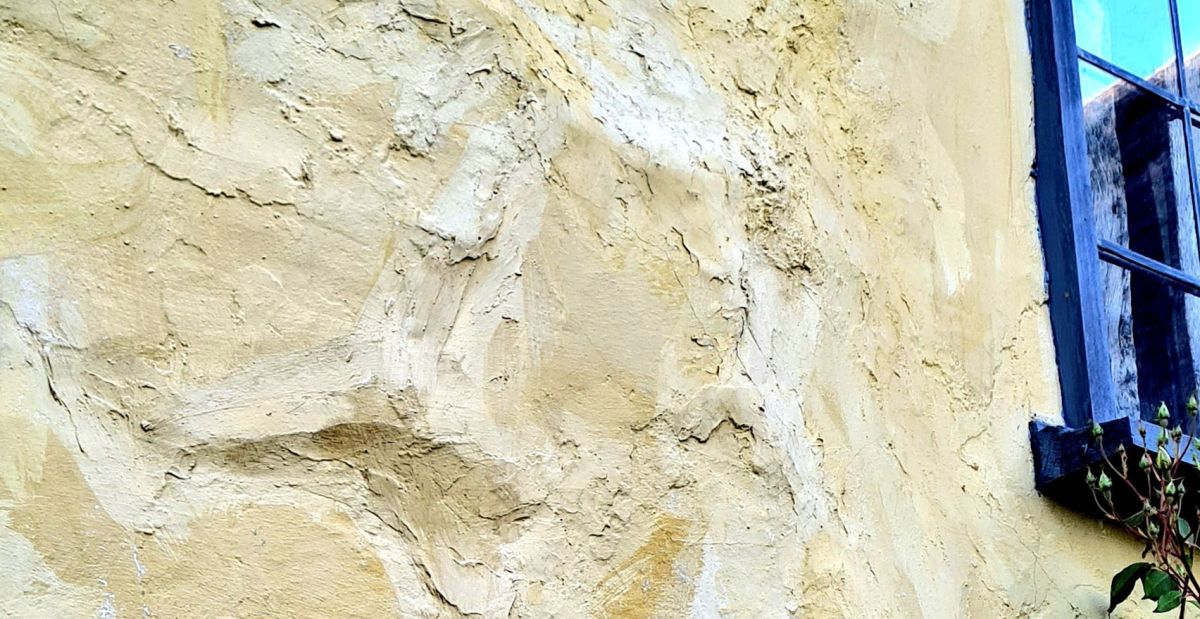
The most pressing work now is the north gable, where there are cracks and breaks in rough cement render applied in the 20th century, revealing ancient clay daub underneath. That is overdue for stripping back to the clay, which will need repairing and then re-rendering.

When we repaired the south gable we covered it in porous Savalit boards before plastering, to give extra insulation and protection, and we need to do the same again. The work will need scaffolding and professional help.

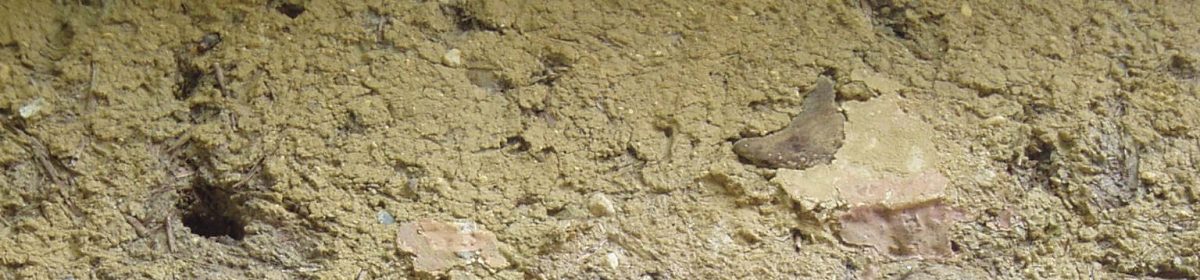
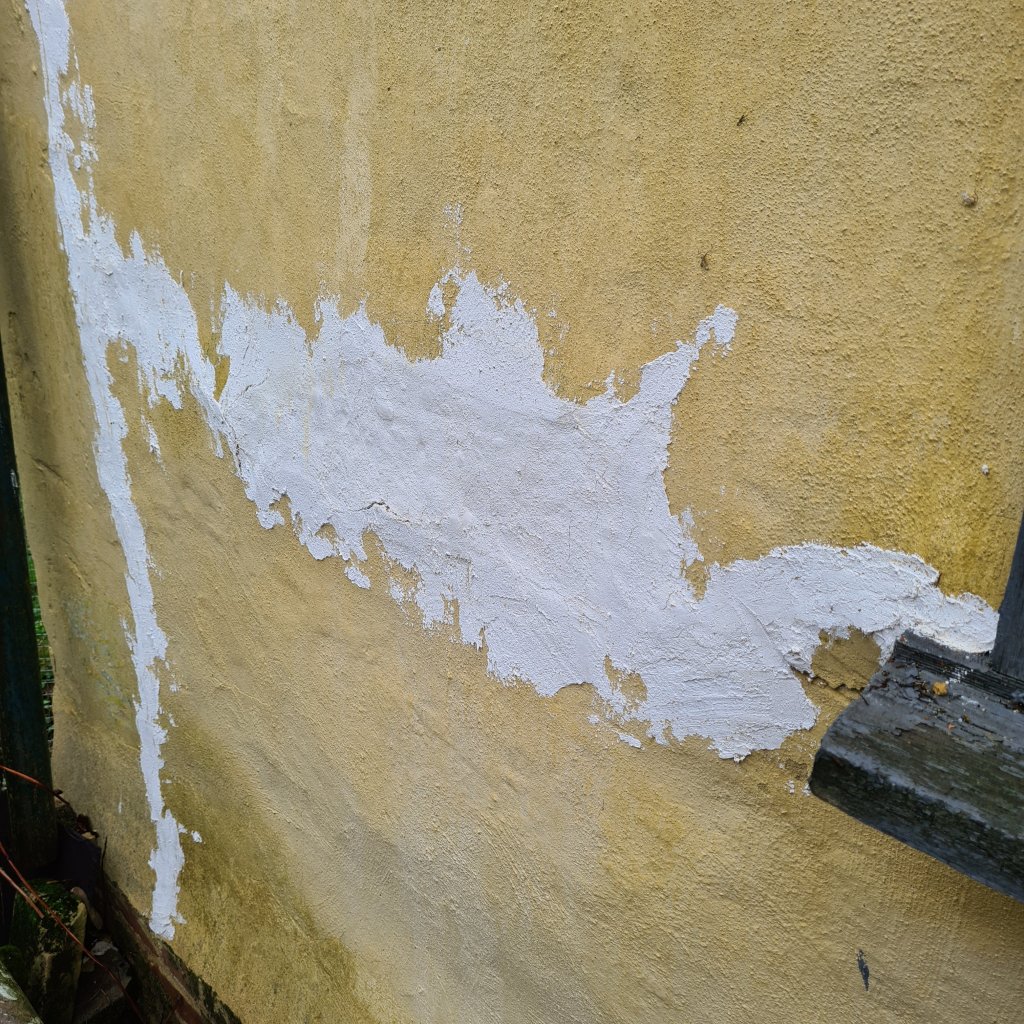
Secondly, we patched large holes in the side walls with clay in 2009. But other weak areas of the old wall material were preserved in place by using chalk lime plaster mixed with fibres to stitch over the cracks to slow further deterioration.

That was a relatively short term solution, though it has lasted a dozen years. We need to think now of more thorough repairs, which we can tackle ourselves.

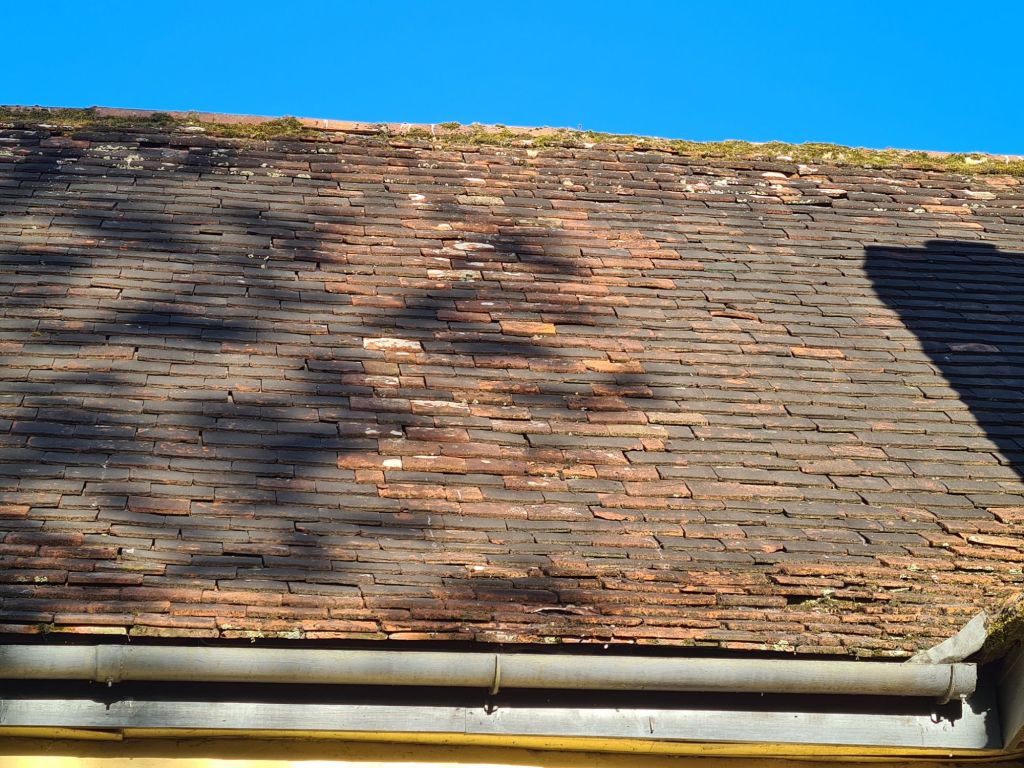
Thirdly, the roof needs attention. A worrying number of the clay peg tiles have frost damage. Luckily, we have several hundred recycled tiles left over from construction of the garage. A roofer tells us that it is feasible to replace damaged tiles, though tricky because of the way the peg tiles are laid with nails. But we want to avoid full stripping and repair, which would involve negotiation with the heritage department, and a lot more expense.

The roof does not look bad yet from a distance, but there are more missing and cracked tiles than we’re comfortable with.

There’s a list of other smaller repairs  which has lengthened as we have focused on the pond and garden, so it will be good to practice on those before we gear up towards larger projects.

Old and new –  closest to the pond is the replacement for the end of the building, which fell down well before we arrived. The 16th century building is behind.

Plastering over the cracks

With the housepecker feeding on the building (see previous post), we were reminded to check the walls for surface cracks and any exposed clay daub beneath. The birds love digging into a soft clay surface to find insects.

Chalk-lime plaster from Anglia Lime is excellent for these quick repairs. It works almost like putting stitches or sticky tape over a crack. When cured, the fibres give a thin layer of plaster a lot of strength. You can see this by picking up a dried spill: it will bend like a piece of leather and be resistant to tearing.

When the plaster is dry, it will be touched up with limewash

This is very helpful on an old clay daub wall, which is always prone to non-structural surface cracking, as the clay underneath the wall’s footings dries in summer and wets in winter. These surface  cracks are not serious, but if left can quickly spread, letting water, insects and eventually woodpeckers get at the soft clay underneath.

Our walls are a messy mixture of surfaces accumulated over centuries.  We agreed early on with the conservation officer that we’d patch repair as much as possible to preserve the old clay, a piecemeal approach which is probably what the farmers have always done. A full surface strip and replastering loses a lot of old material.

The clay daub seems to have been preserved originally with many layers of limewash straight onto the daub, creating a thick crust like a plaster, which is still there in some places. In more recent years – which could mean back into the 19th century –  thin patches of cement have been slapped on to cover damaged clay surfaces, sometimes with broken brick shoved underneath to fill holes in the clay daub. 

When we arrived, the first thing we did to the outside was to use new clay daub and a lime and sand render on a dozen areas where old coatings had fallen off, the clay was exposed and woodpeckers had dug deep holes (I’m afraid I do go on about them sometimes, lovely as they are). After some good expert advice, we later switched to a chalk-lime plaster instead of a render, which is much better.

The stitch repairs are not meant to be permanent, and eventually more substantial work will be needed. In fact, we expected these quick and simple repairs to last a few months to give a breathing space while we found time to do the bigger jobs. But in the 5 or 6 years since we started routinely catching cracks in the surface early and plastering over them with the chalk-lime mix, we haven’t had a single large surface failure. In the previous couple of years, several quite large chunks of old render had fallen off.

It sounds like a bodge, and it is, but it’s in the spirit of patching, make do and mend that has kept the walls together for so long.

Of course, when there is a serious deterioration of the wall, for example when some old cement render drops off and pulls clay with it, then there is no alternative to a full repair. We will use new clay daub to fill cavities and then plaster to protect the surface.

Thin layers of ready-mixed chalk lime from Anglia Lime were plastered over the cracking and a few inches either side. You can use a trowel or – if you don’t mind mess – apply and smooth the plaster with your fingers, wearing PVC gauntlets. That works better than it sounds, because it pushes the plaster into the cracks. PVC gloves are also good for smoothing. In either case, a large bucket of water is needed nearby for regular rinsing of tools and gloves.

Our method works, but the result is not pretty – I remember the appalled expression on the face of a professional plasterer when he saw our walls!

Long-lasting lime plaster for repairs

I’ve just done a few pre-winter repairs of the outside walls in spots where surface render has lost its grip on the clay daub beneath. To my surprise, chalk lime plaster bought in 2014 is still usable.

It appeared to have solidified under an inch or so of water. But after scraping at the surface it quite quickly began to recover its original consistency. Lime putty when stored properly lasts many years – I still have an old tub of it in good condition – and this plaster is simply putty, chalk and fibre.

It is not entirely traditional: it uses synthetic fibres and they last indefinitely in the tub, unlike haired plaster, where the hair begins to disintegrate after a month or two.

Chalk-lime plaster – quick repair ahead of the winter

The old plaster is not ideal, because it takes hard work with a trowel to get back to the right consistency. But having forgotten to order a new tub, it’s good enough to protect small areas of exposed clay from rain and woodpeckers for a while. Next, I must order a new tub.

Chalk-lime plaster used externally has proved extremely effective over the years in temporarily patching areas of old wall that we haven’t fully repaired yet. A thin layer behaves almost like a sticking plaster over the cracks where old render is beginning to come away from the wall. Once cured, it has considerable strength and resists tearing.

There’s one quite large patch where the old render has almost entirely lost its grip on the clay – tapping reveals a hollow behind – but plaster over the cracks has kept it in place for the last few years.

It’s admittedly a bodge, but we wanted to delay full repairs as long as possible while effort and money went into other priorities. In due course the whole of one gable and about half of one wall still await a full overhaul.

Both will be a challenge. In the days when our house was part of a farm, a lot of running repairs on the clay were done with cement render. A bit less than a third of the walls is still cement render. The rest is our past repairs and some areas of wall that have been untouched for many years.

The latter are not even rendered, but are clay daub covered with many coats of limewash over a long period. The limewash has built into a thick layer that, until we examined it closely, we thought was in fact a render. So our farm building’s exterior walls may once have been rough clay daub given a protective limewash.

Back to daub

005 (3)
Exposed clay daub

After focusing on  a new timber framed extension for so long, we’re now back to repairing the old building. Weak bits of of a rough cement render have been dropping off  the front wall, as the picture shows. The cement is just a thin layer skimmed a few decades ago onto clay daub.

We’ve been expecting this, but took a decision early on to let it happen by natural weathering, and then patch repair bit by bit.  Looking at the evidence of what’s there, we think patching is the way the walls have been maintained for a very long time – any weakness, then they just slapped on a bit of clay and limewashed it, and owners only recently took to adding cement as well. Continue reading “Back to daub”

Removing cement render – 2013

…. in preparation for the extension

Repairs on a building this age are never really finished, but there is a list of essential jobs we want to do before starting on the extension, for which we won planning permission in late 2012. The first step is to finish the external repairs to the end of the old building where the extension will be built. This means removing a large amount of cement render. Continue reading “Removing cement render – 2013”

Moving on – chalk and woodwool boards

 Our thinking has moved on from when we started work in 2009 and 2010. One advantage of repairing a house very slowly is that it gives time to learn as you go along.

This applies particularly to the question of which materials to use when repairing walls and infill panels and when plastering and rendering, and to the question of energy efficiency. Continue reading “Moving on – chalk and woodwool boards”